Conservation and Technical Study of the Armchair
Title/Object: Armchair/Bergère
Accession Number: 88.DA.123
Artist/Maker: Georges Jacob
Execution Date: About 1765-1770
Materials: Painted and varnished walnut and beech; silk, linen, hemp, and horsehair upholstery with goose and swan down feather stuffing; silk trim; gilt-brass nails
Dimensions (H x W x D): 99.1 x 94 x 76.2 cm
Examining Conservator: Yang Xu, Arlen Heginbotham
Curator: Charissa Bremmer-David
Date of Report: June 17, 2019
Before 2019 treatment.
Source: https://www.getty.edu/art/collection/objects/5975/georges-jacob-armchair-bergere-french-about-17701772-or-early-1780s
Description and historical background
The armchair is delicately carved and painted white with varnish on the surface. The finish is intact and uniform, most likely to be original. The silk upholstery is original as well, with 18th century floral silk. The frame of the chair is stamped “G IACOB”, and an anchor flanked by “C” and “P” beneath a crown, which is the mark of the Château de Chanteloup. The dust cover of the seat and the underside of the cushion are also stenciled with the mark of the Château de Chanteloup.
The armchair probably came into the Château as embellishment after Etienne-Francois de Stainville, duc de Choiseul (1718-1785) purchased the Château de Chanteloup in 1761. He was in financial trouble by 1771. After he died in 1785, his widow sold the Château and all its contents to Louis de Bourbon, the duc de Penthièvre (1725-1793), who neither changed nor added anything. The chair was listed in the inventory dated March 5, 1794 of the contents of the Château de Chanteloup in the “Galerie” as number 1620. Penthièvre impounded with the contents of the château in 1793 and sold in 1794 to "Poitevin" Joubert and his wife Fleury. The earlier provenance is unknown (Bernard Steinitz, Paris, 1988).
According to Pierre Arrizoli Clemental, the fabric is not from Lyons, and suggests Tours, nearby Chanteloup (DASC and Curatorial files, 88.DA.123).
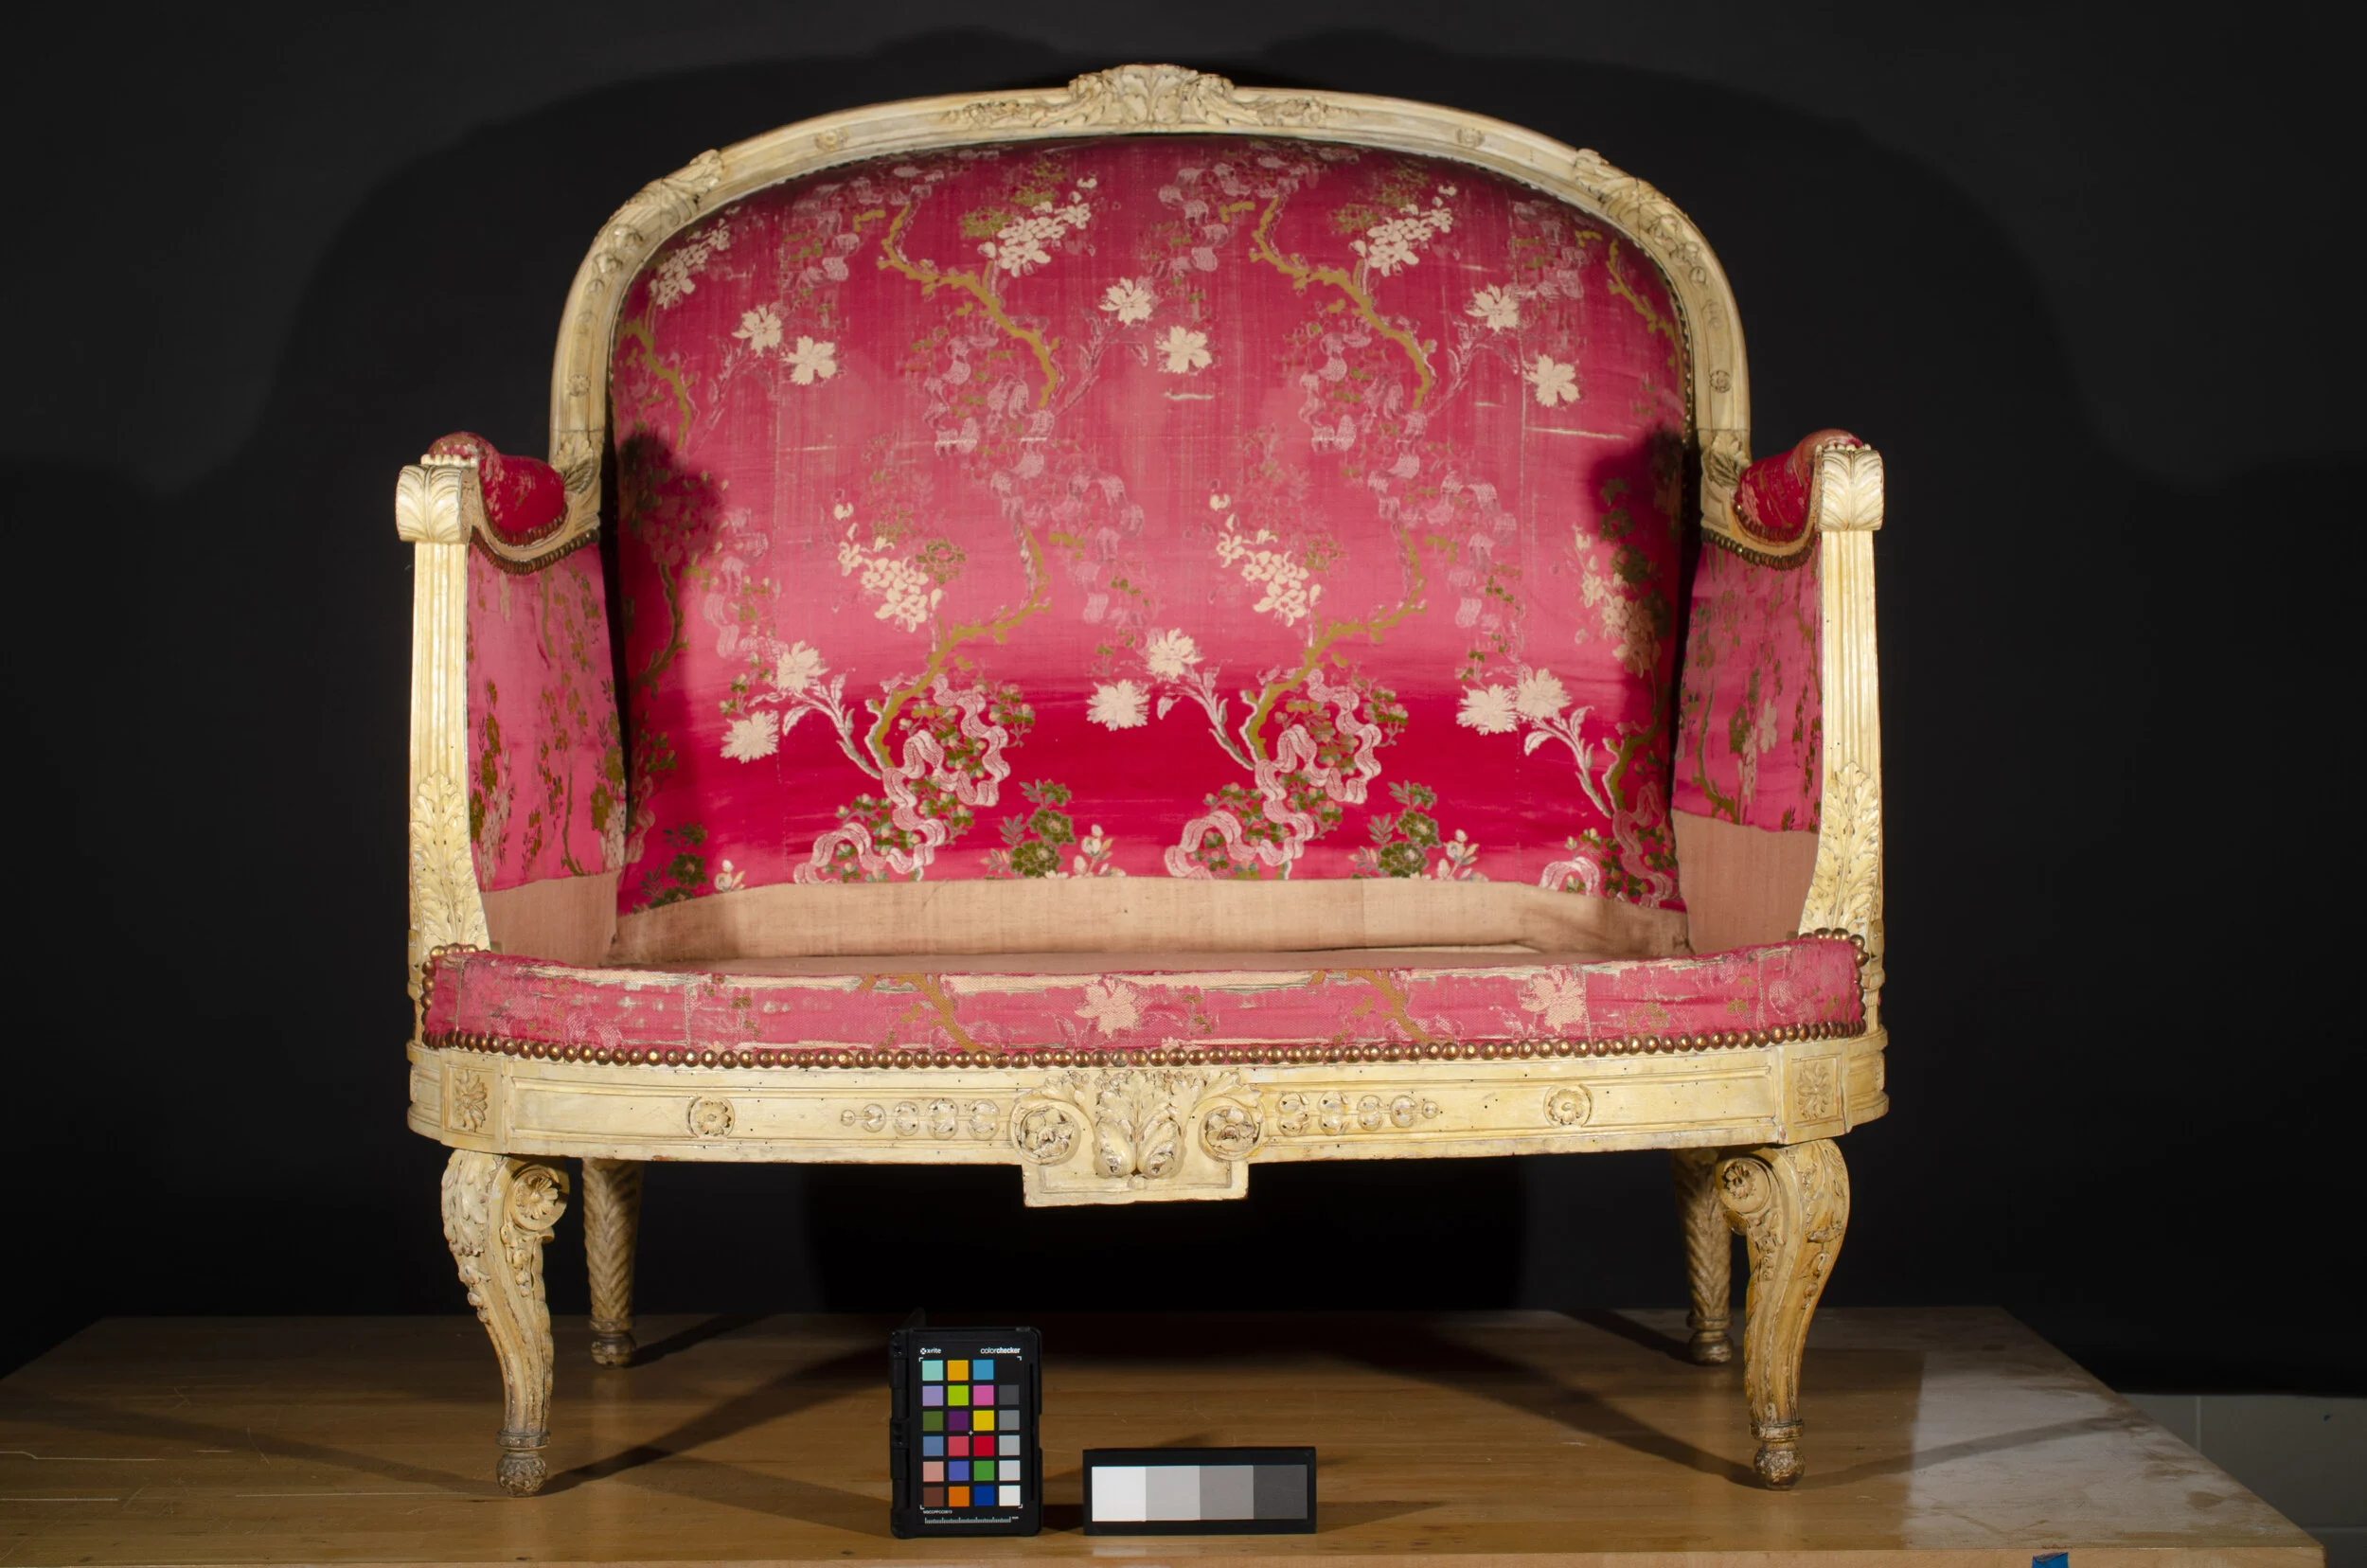
Before 2019 treatment. Front view, overall. Visible light.
Condition
The armchair is in overall good condition.
Carved and painted beech and walnut frame
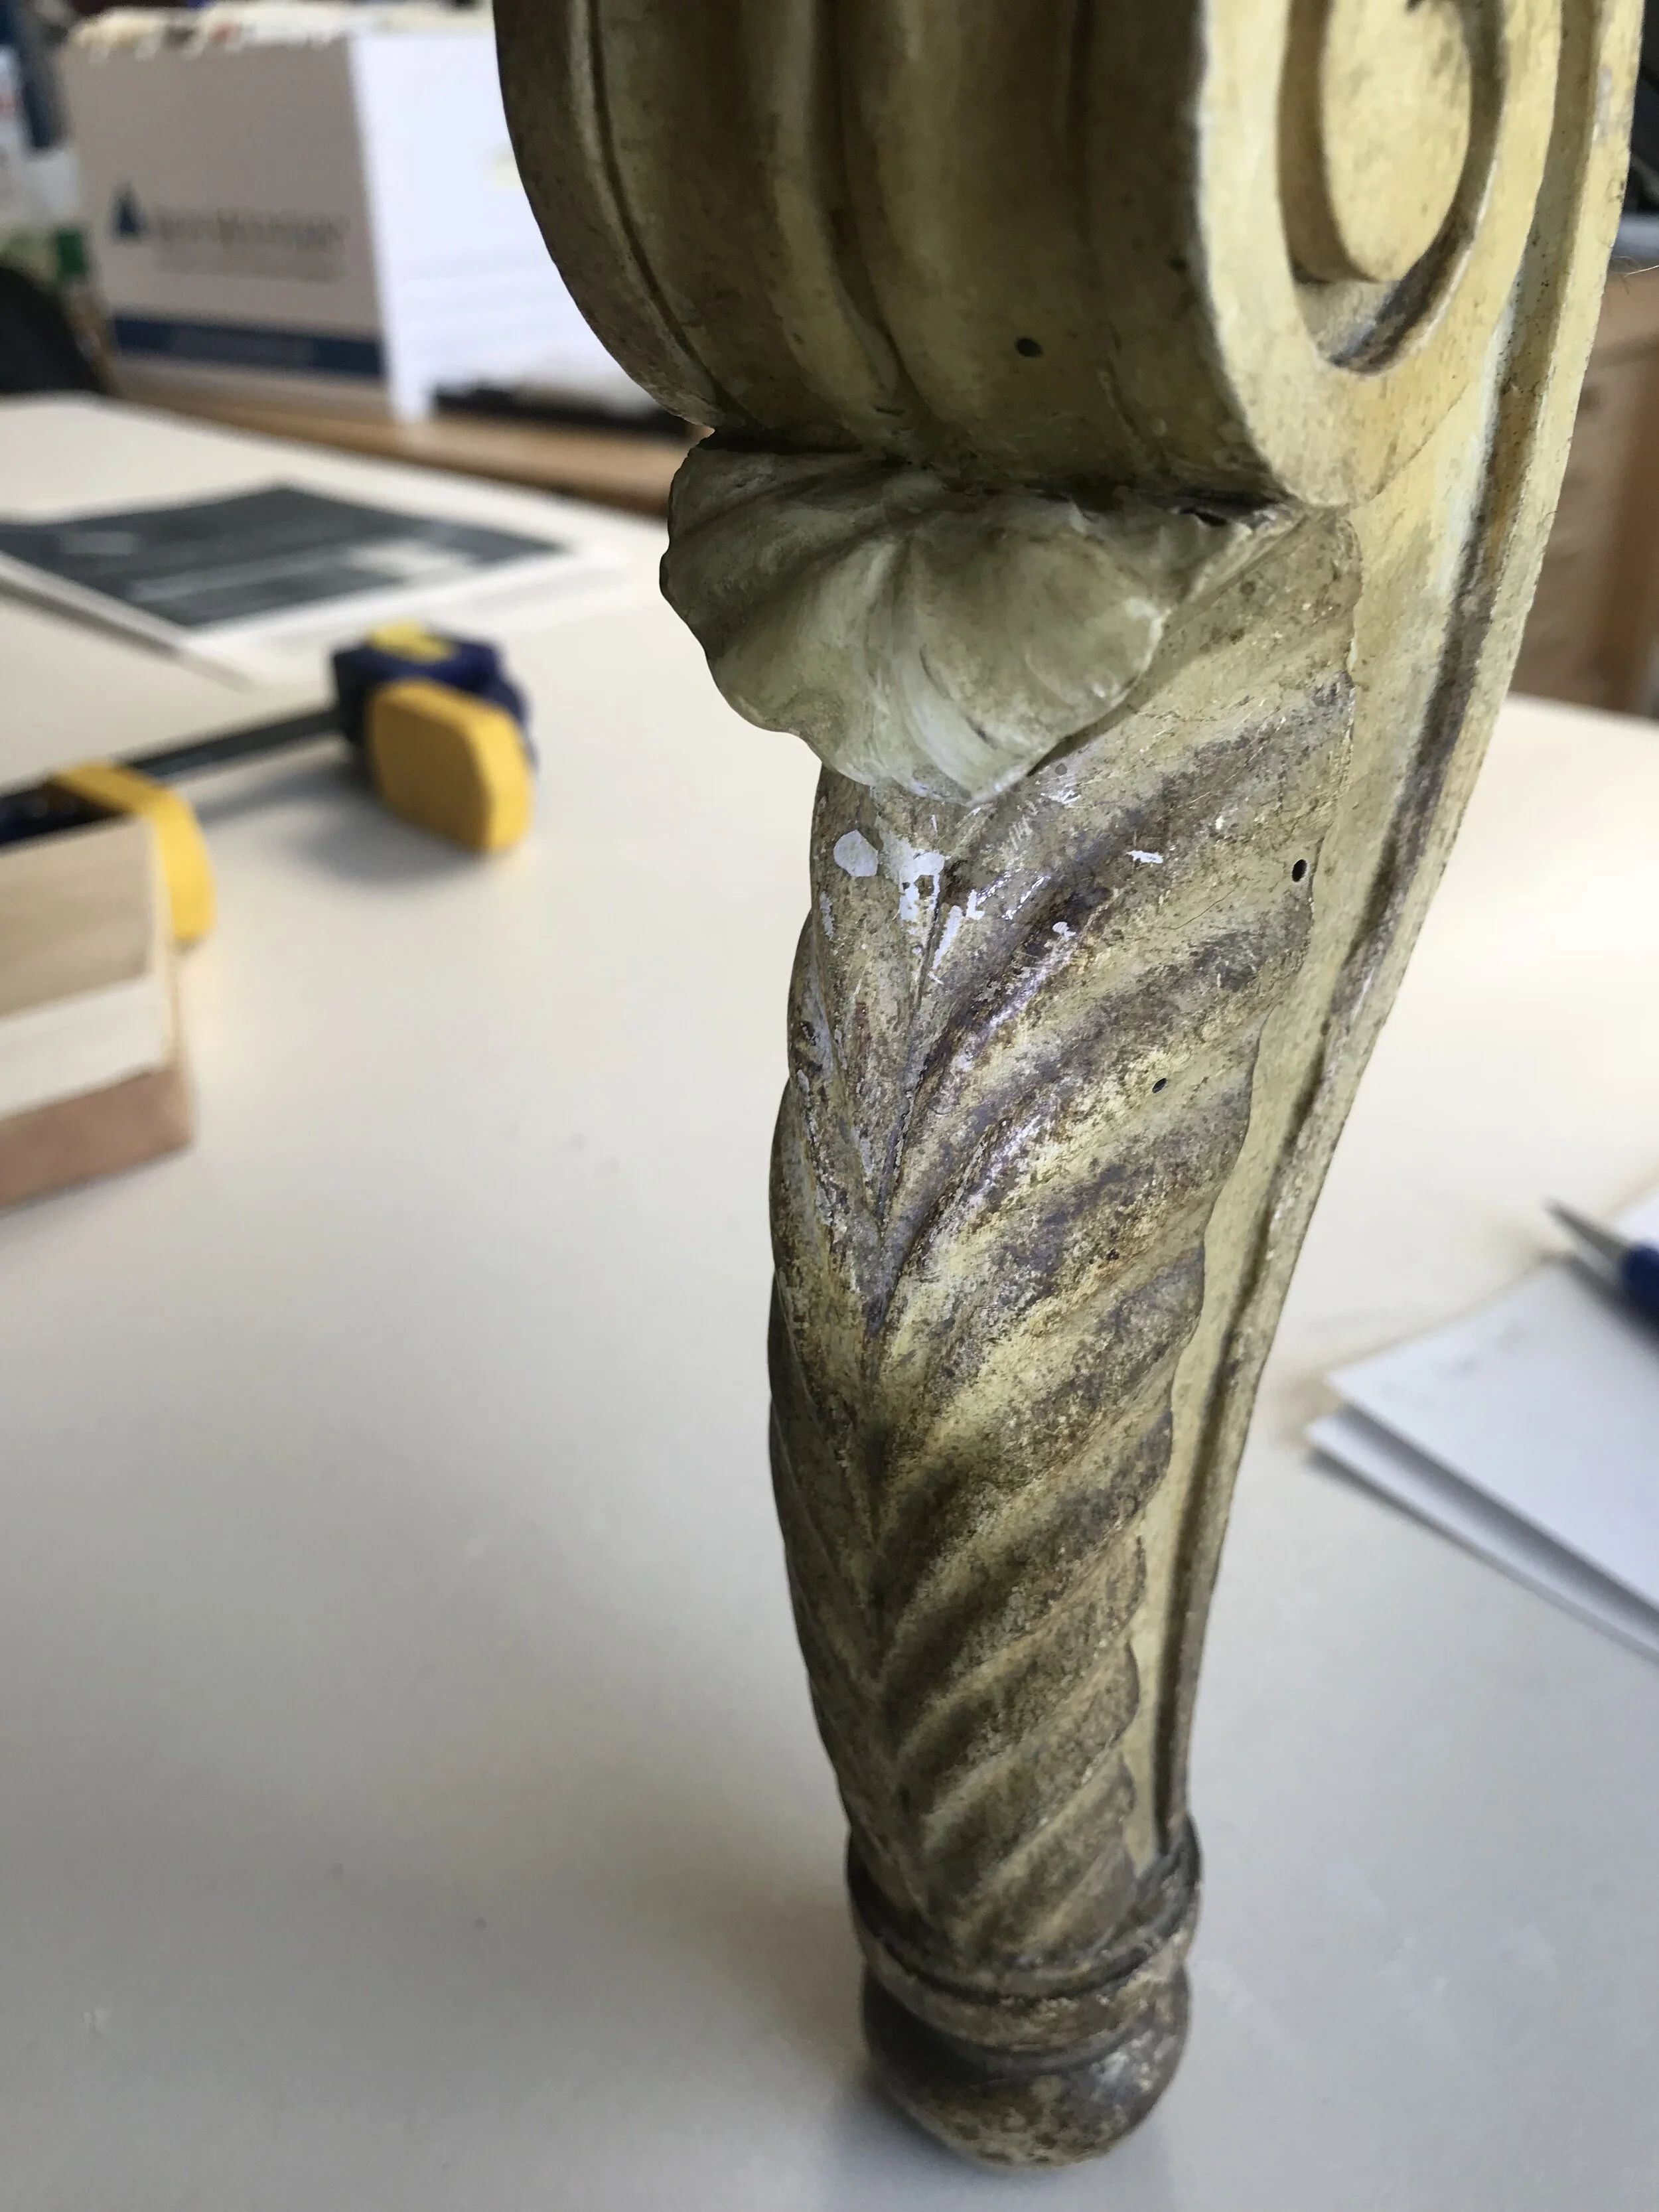
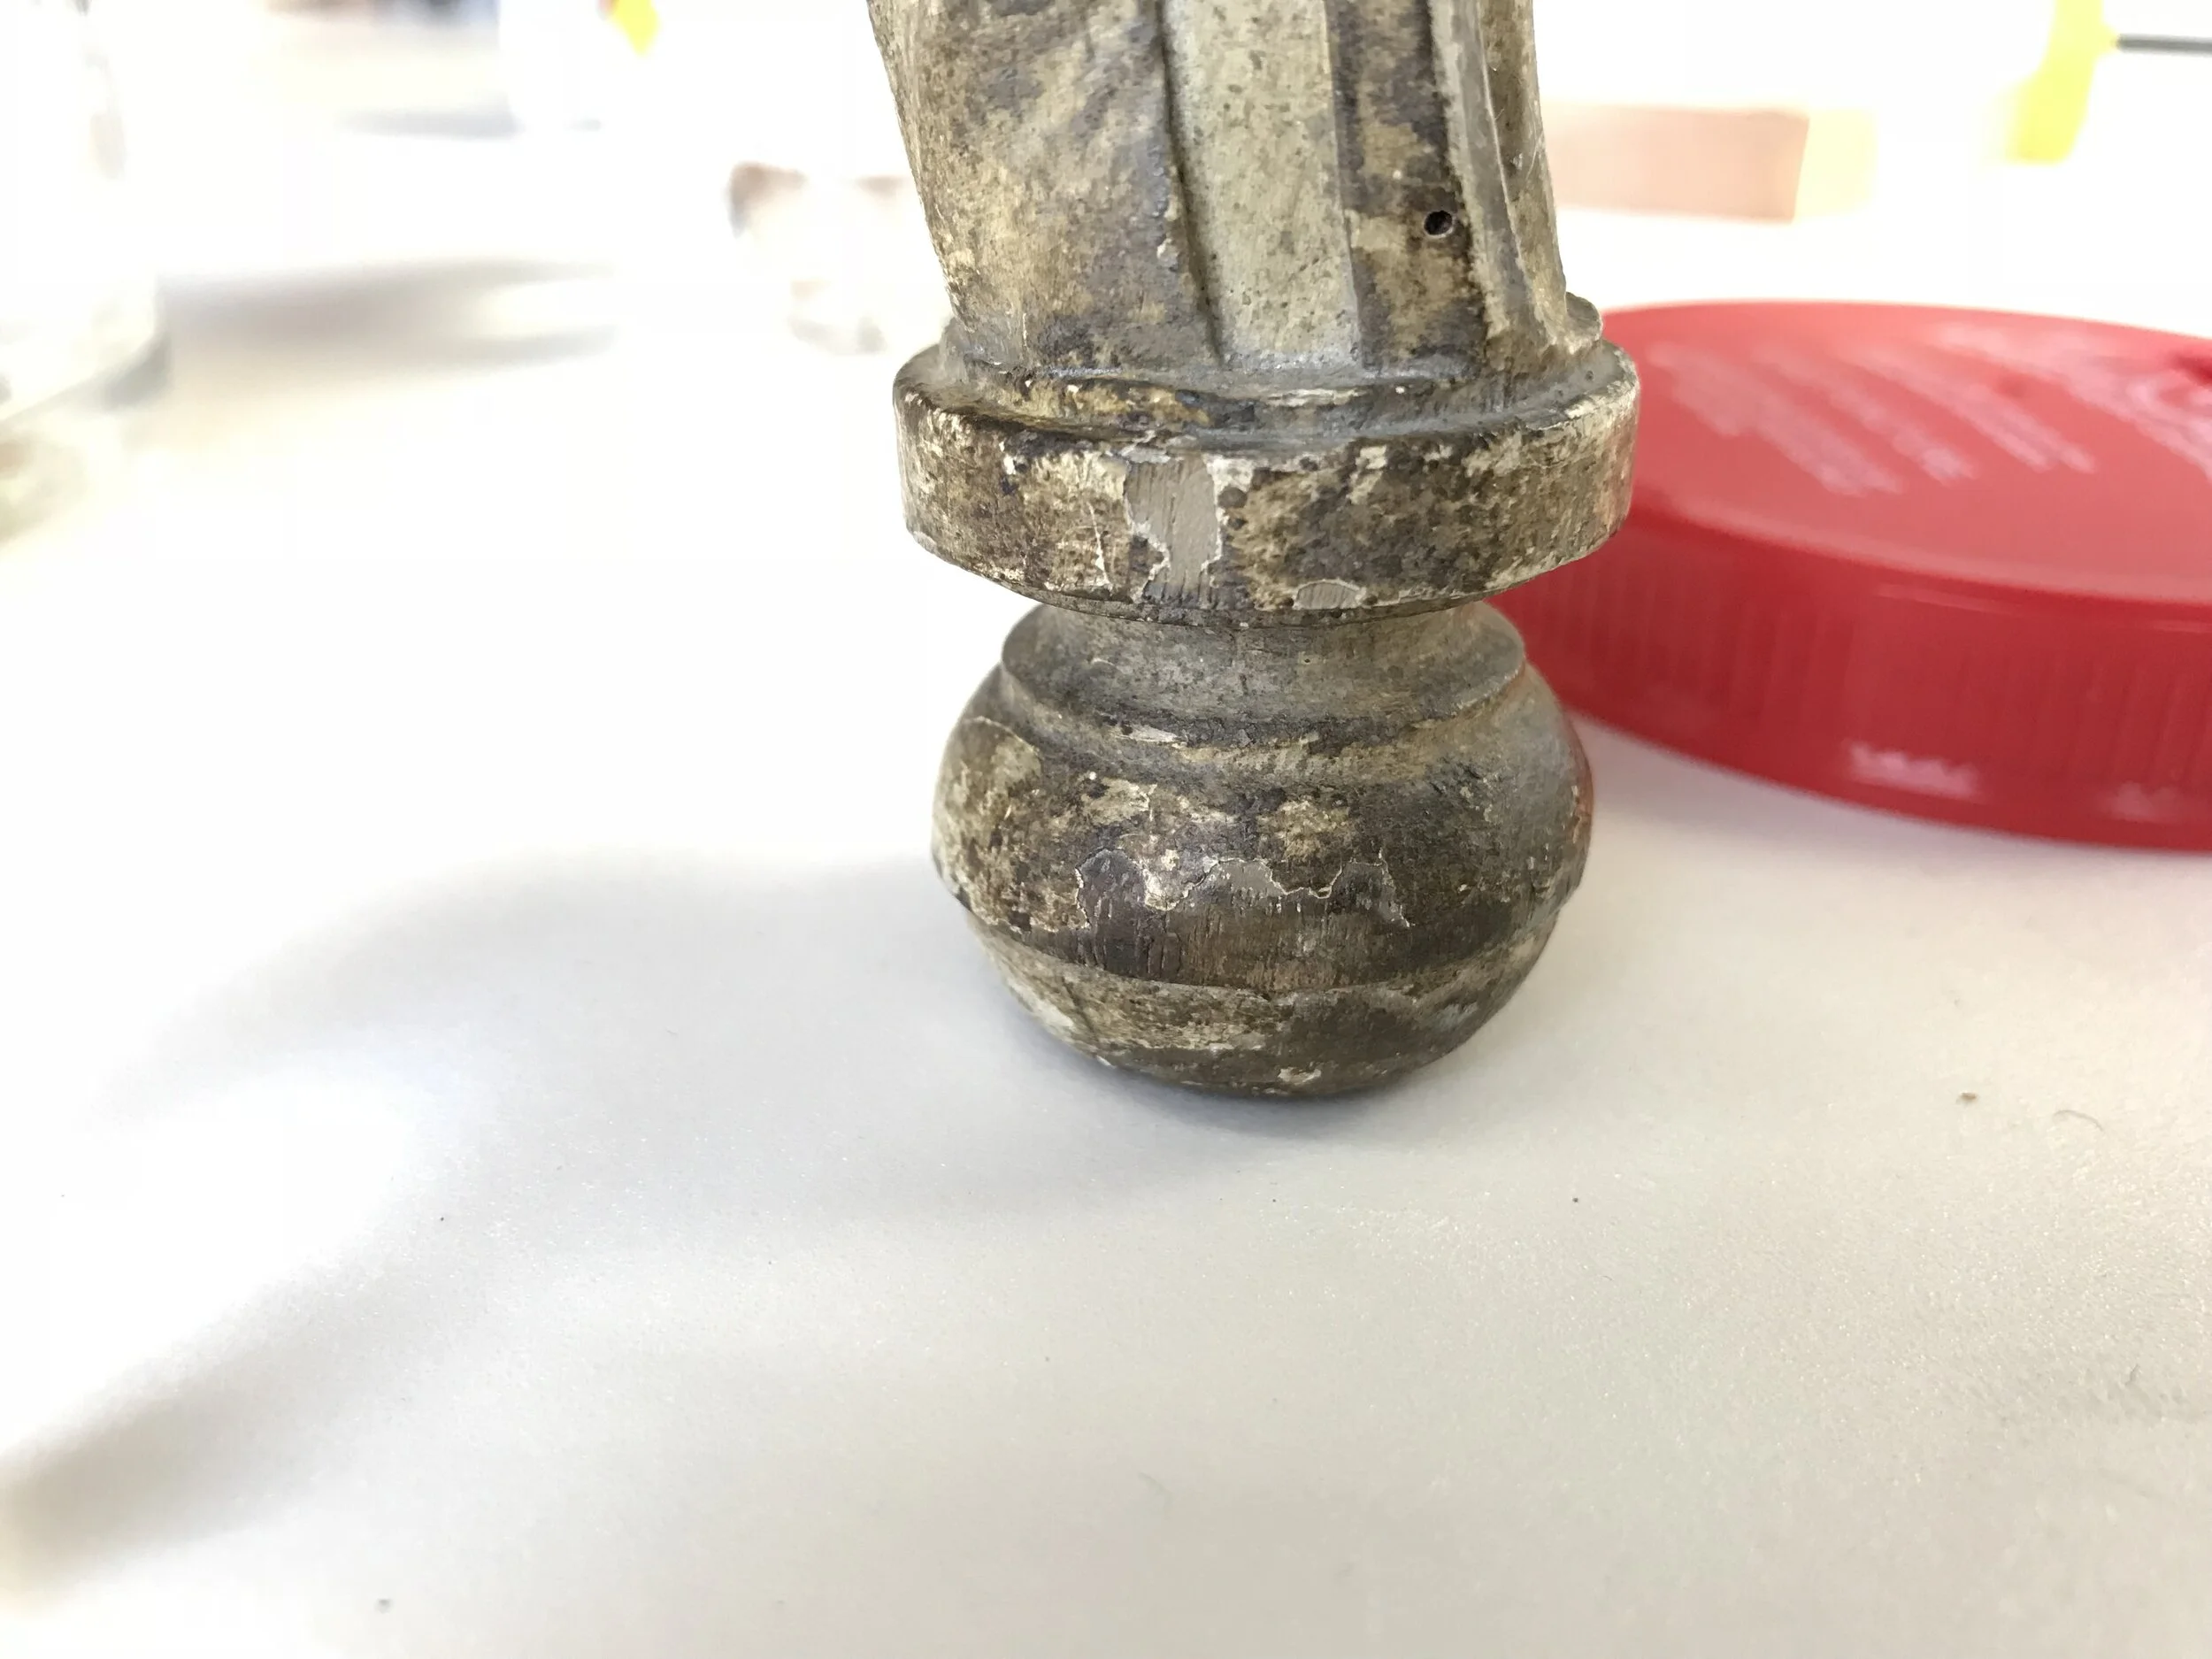
The structure is sound and stable. There are small gaps at the joints due to the movement of wood. The tip of the top center acanthus leaf is missing. It’s unclear when this loss occurred, possibly recently since in some early photos, it is undamaged. The finish is abraded. There is much deposition of dust and grime on the feet, as well as in the carved dents and grooves overall. The varnish is degraded and yellowed. The white paint film generated microcracks. Insects damage appeared on the wood frame overall except walnut heart wood.
Silk upholstery
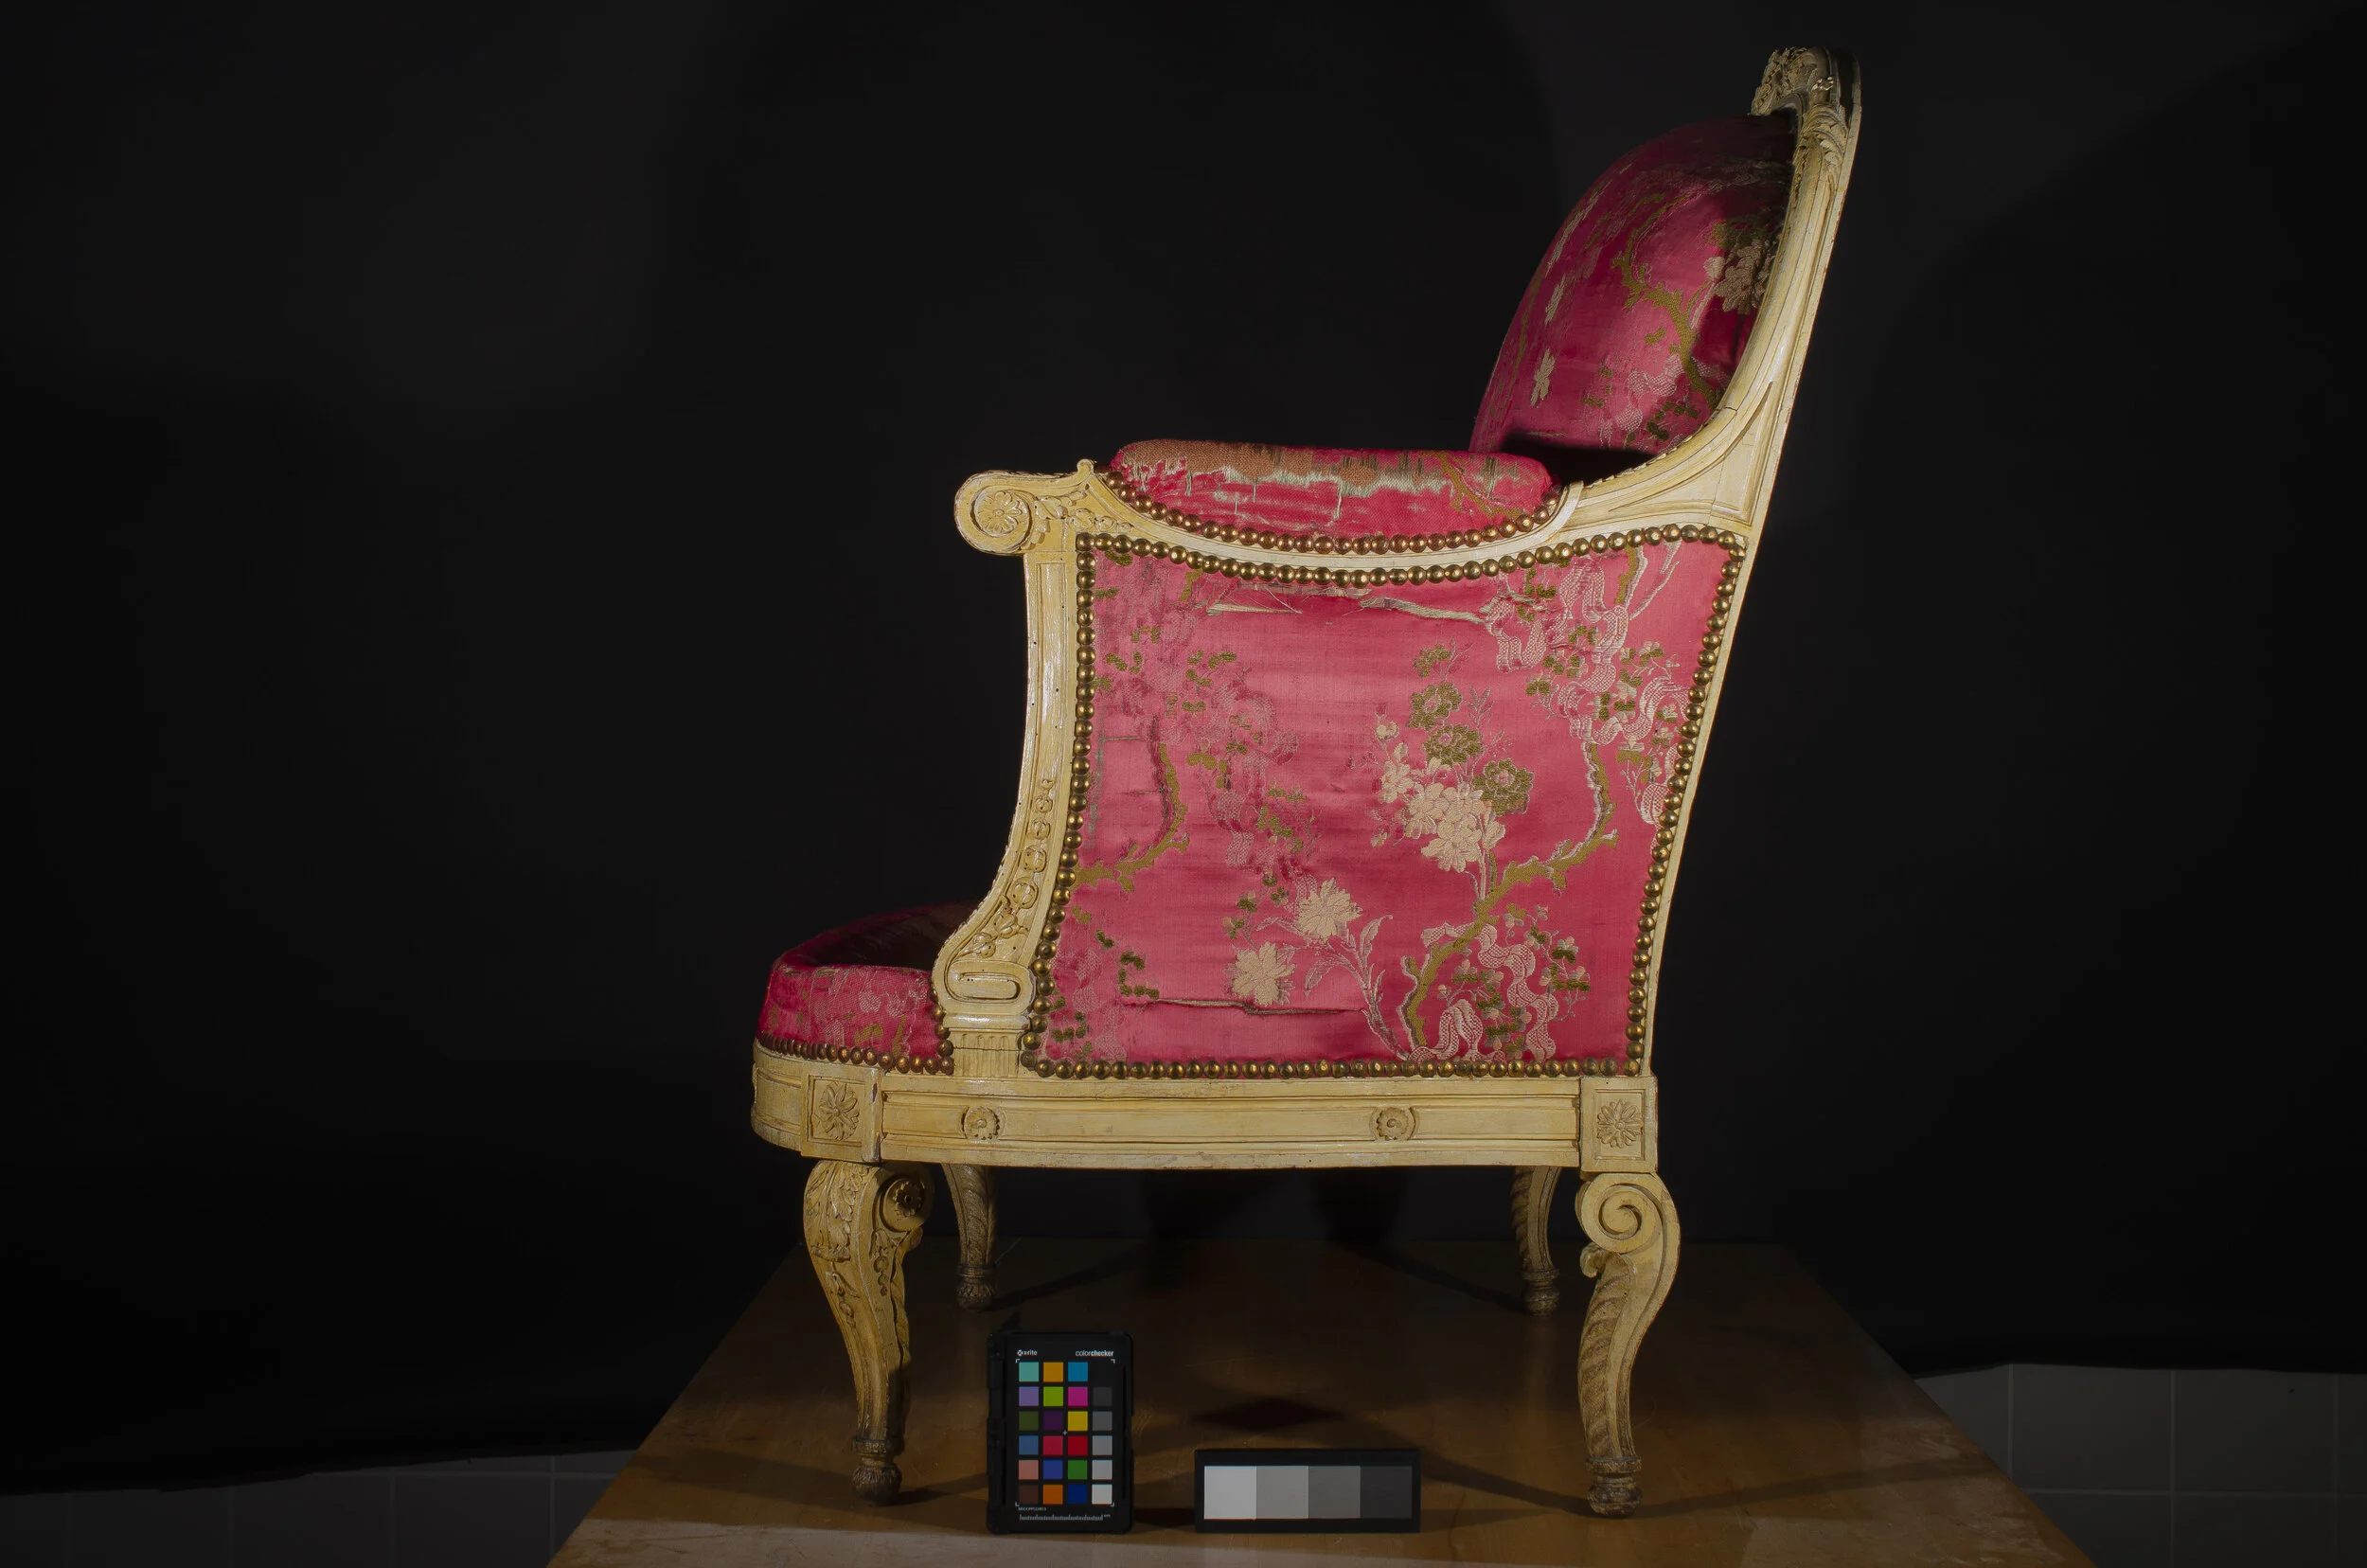
Before 2019 treatment. Front view, proper left lower part. Visible light.
The silk upholstery is frayed and torn, especially on the front and top of the seat cushion. After the conservation work in 2007, done by Sharon Shore, Caring for Textiles, the upholstery now is safe and stable. There is a stroke of white paint on the top of the back cushion. The fabric is degraded and faded overall, while the areas covered and protected by the cushion still retain the original condition. (For details, please see Sharon’s reports).
Rationale
Previous treatment in 2007 on the silk upholstery conducted superficial cleaning, stabilization of the show cover, and passive fill for large losses, securing the upholstery. Based on previous research and technical study, the treatment in 2019 aims to clean and improve the appearance of the armchair for the upcoming focused exhibition in Gallery S111. Further technical study on this object is necessary because of the unusual preservation of the original materials, without contamination from restoration materials. The study will not only make sound basis for treatment, but also contribute to the knowledge of the materials and techniques applied in French furniture in the 18th century.
Technical Study
Wood identification
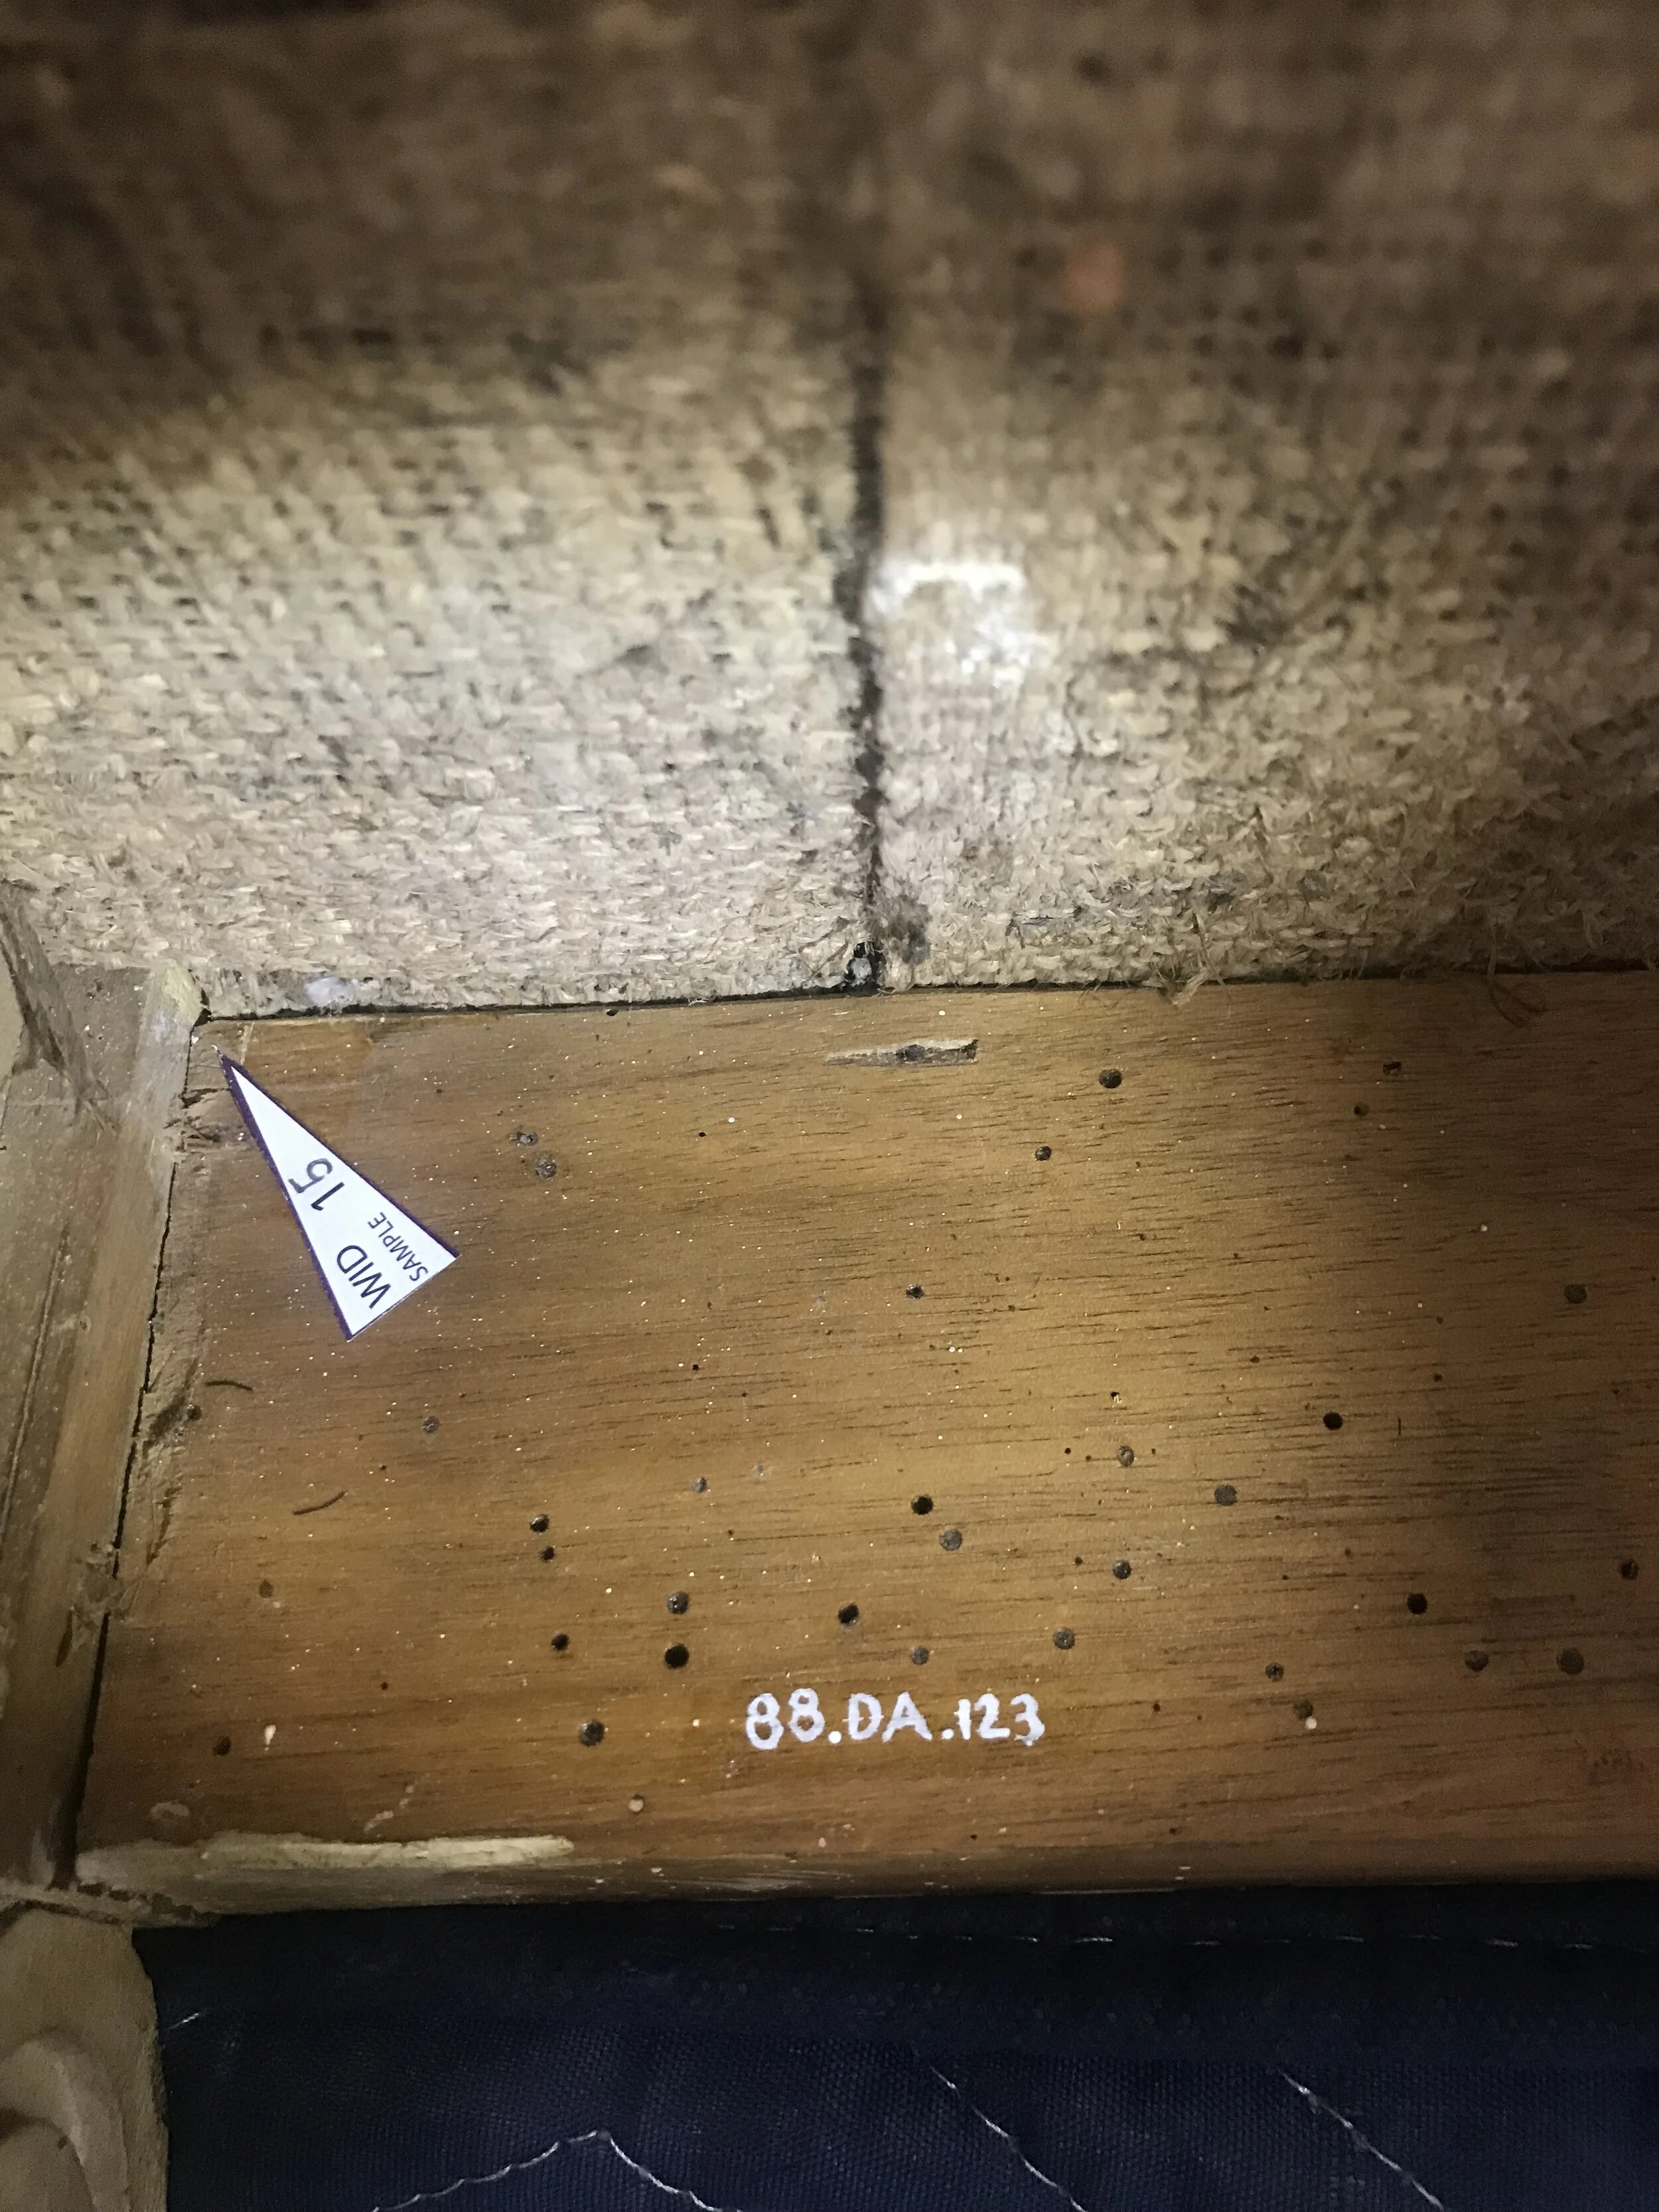
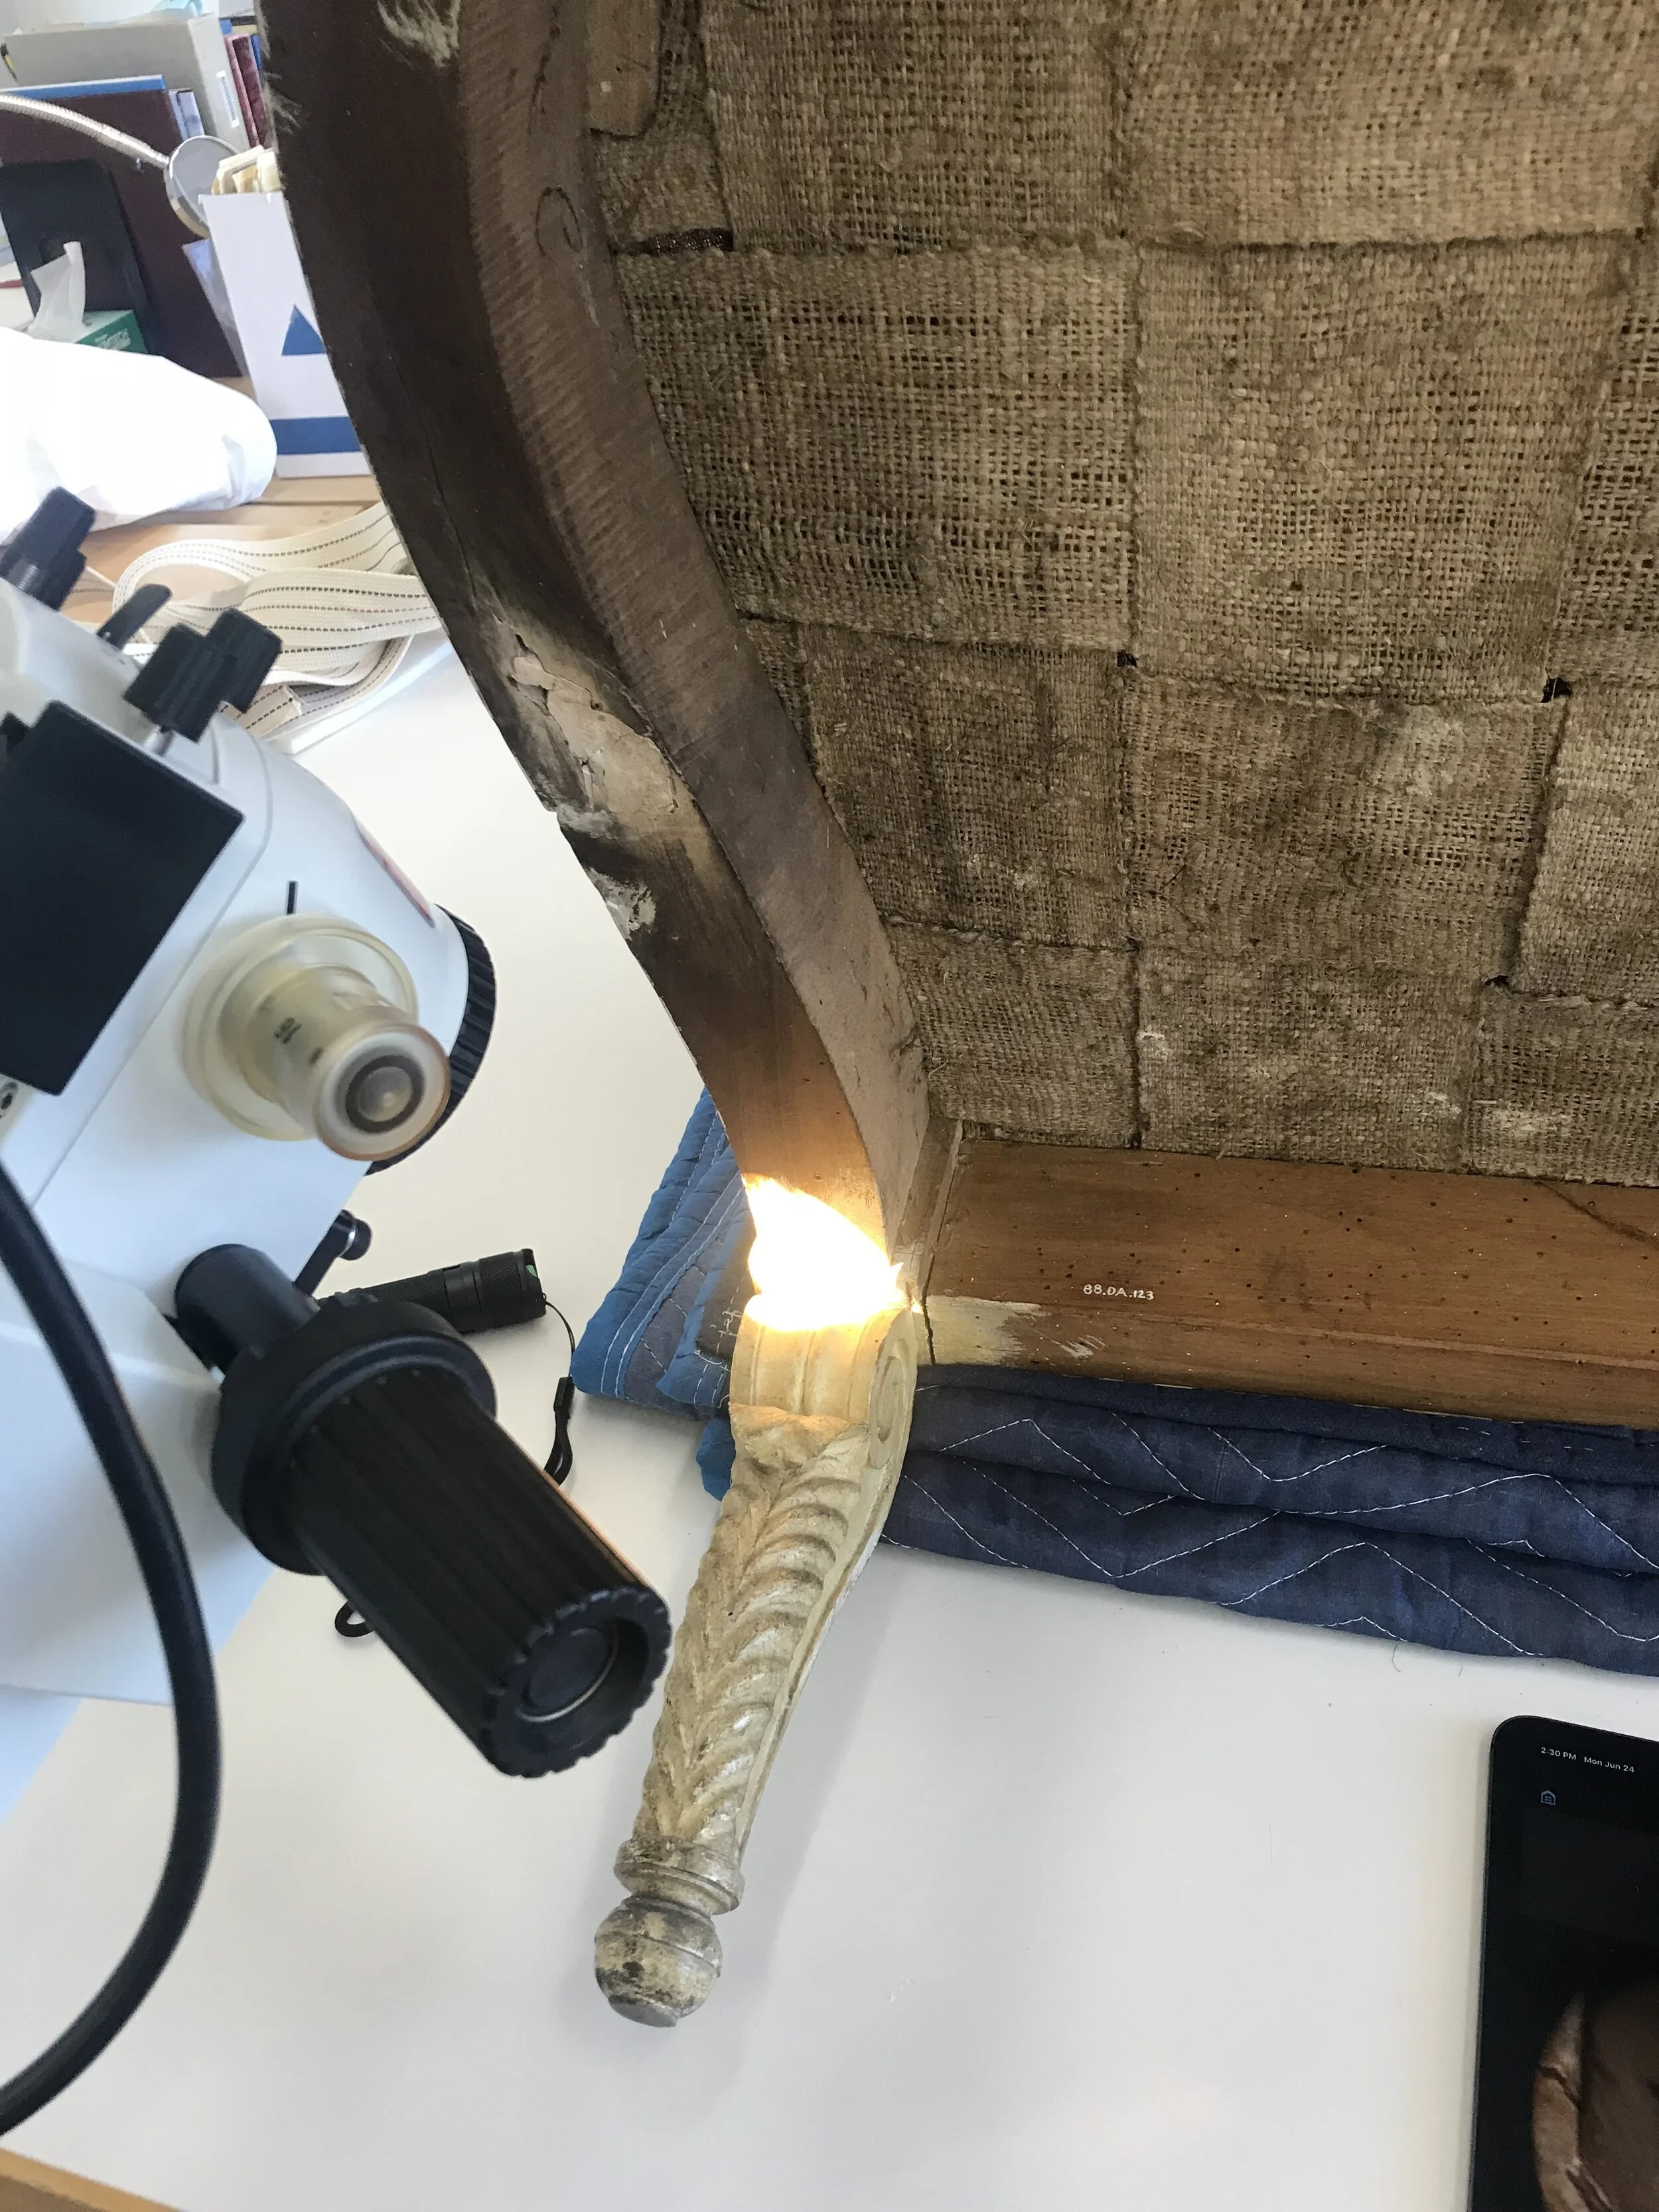
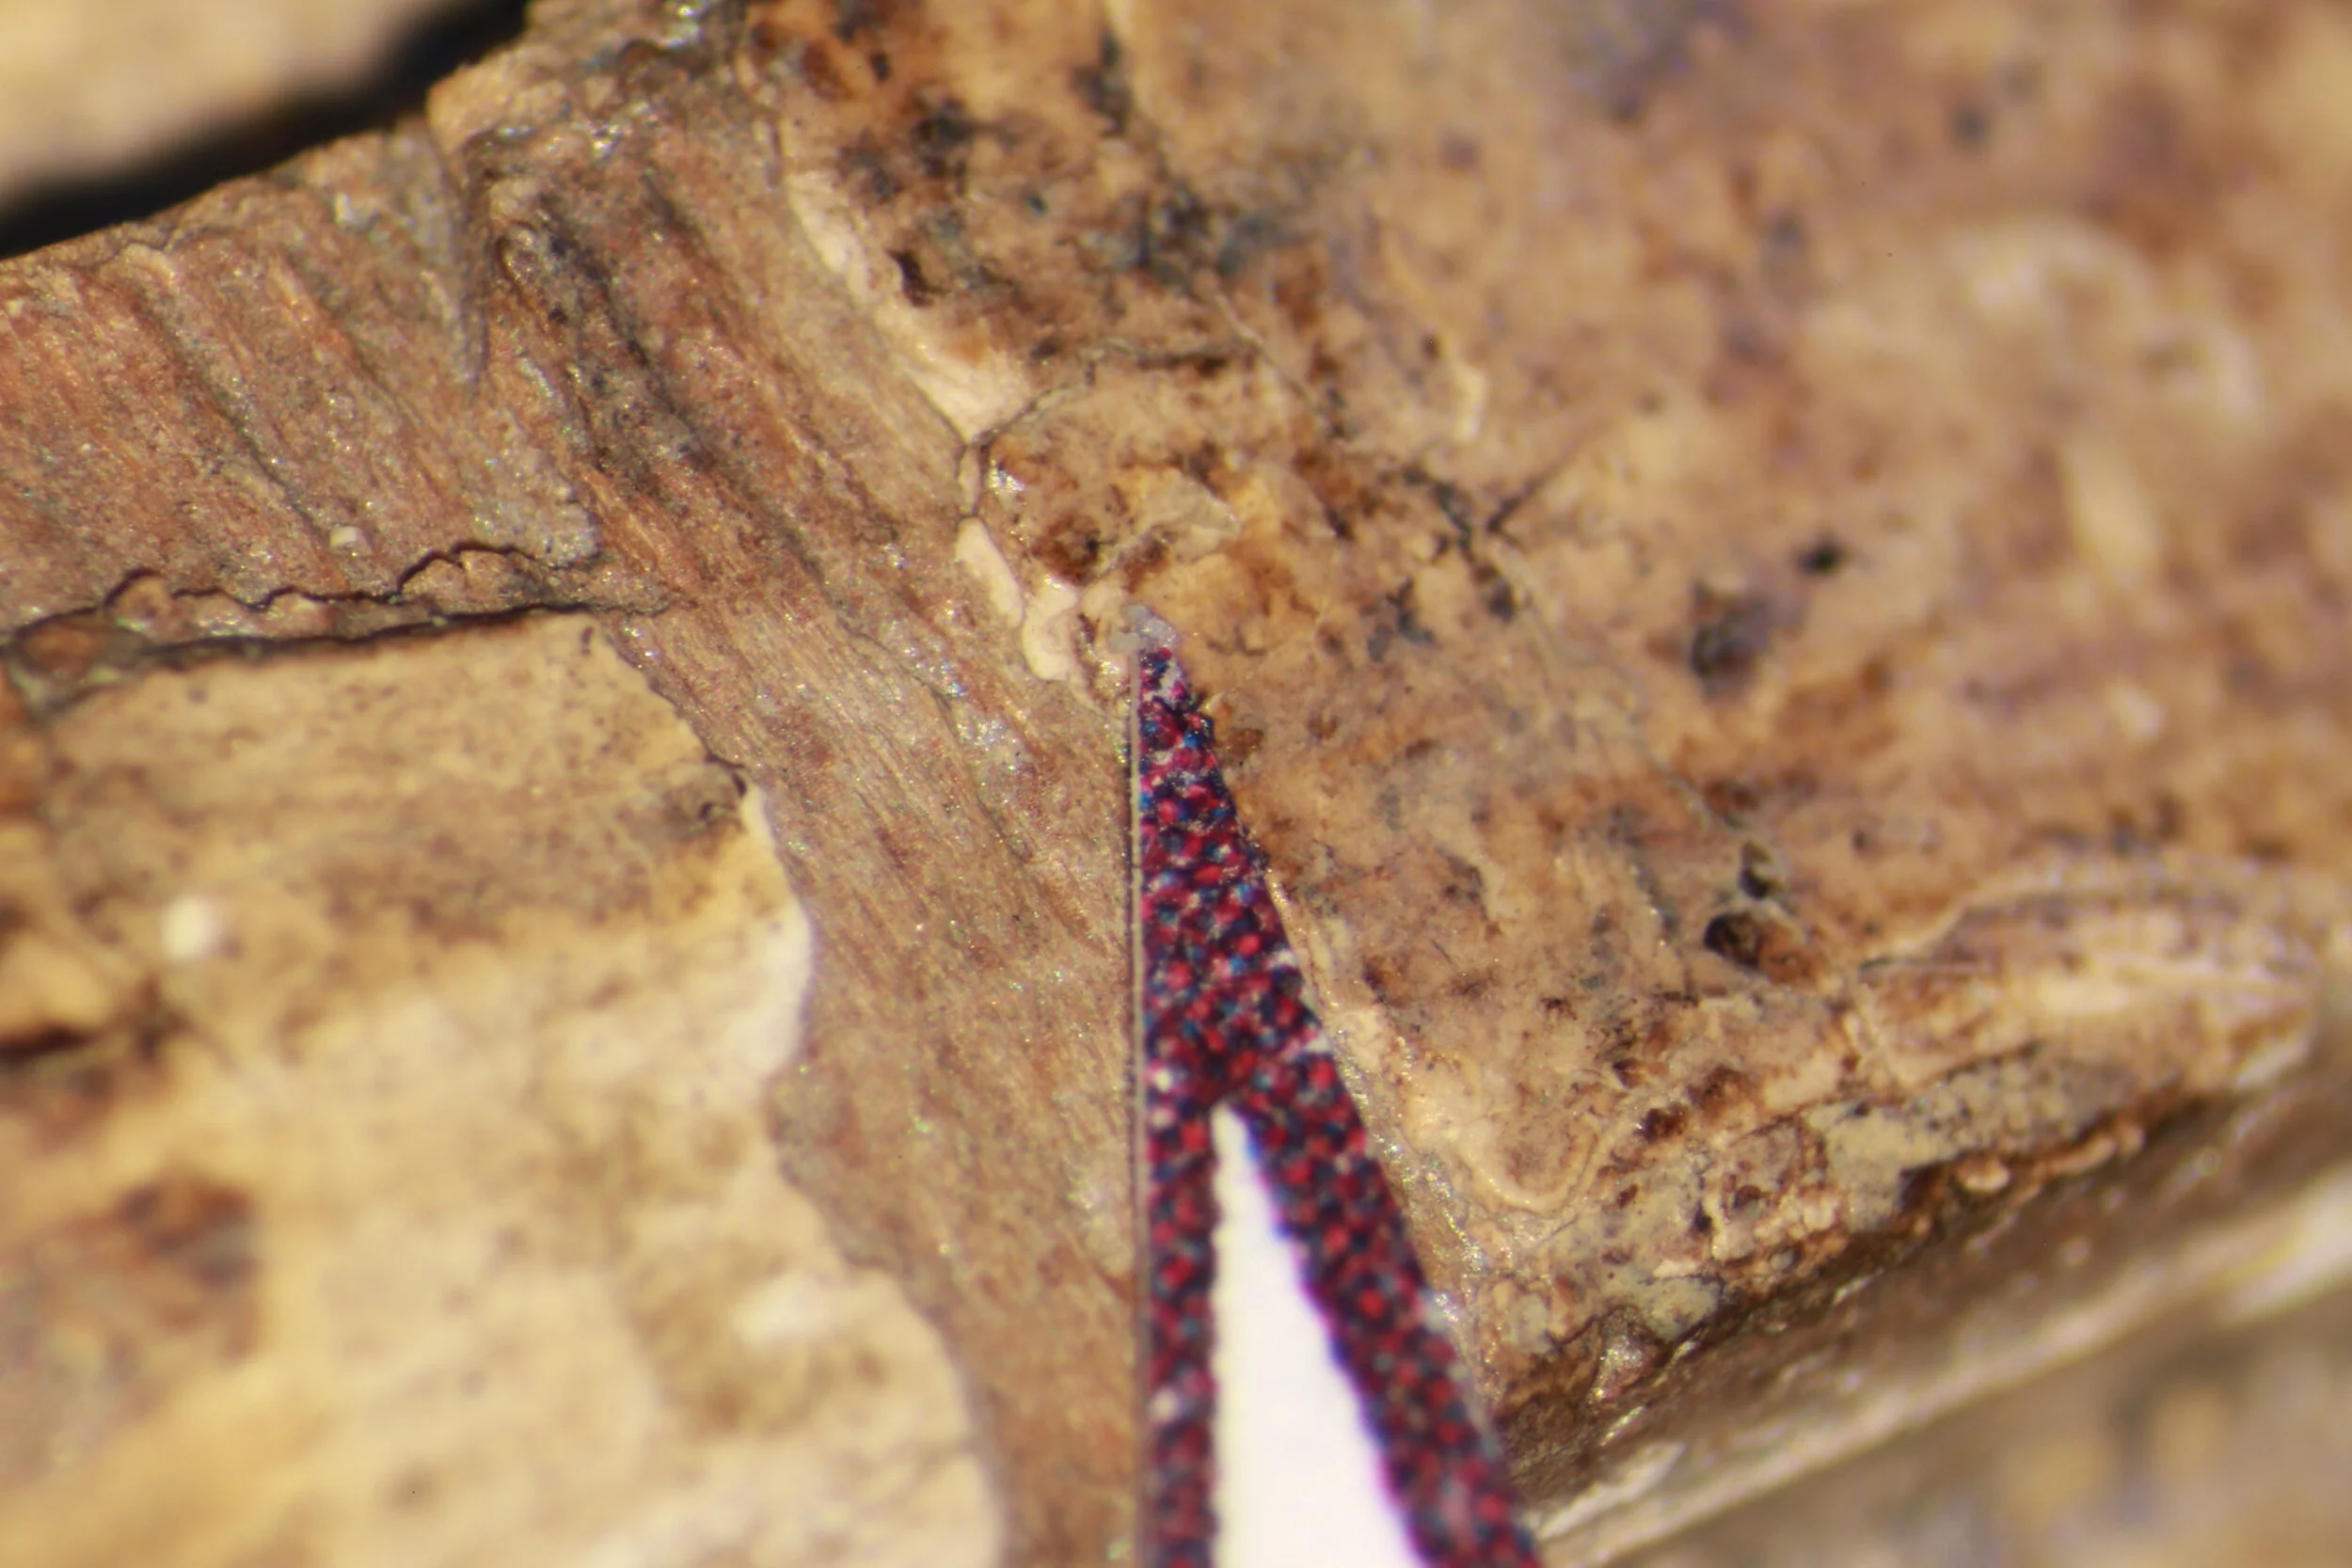
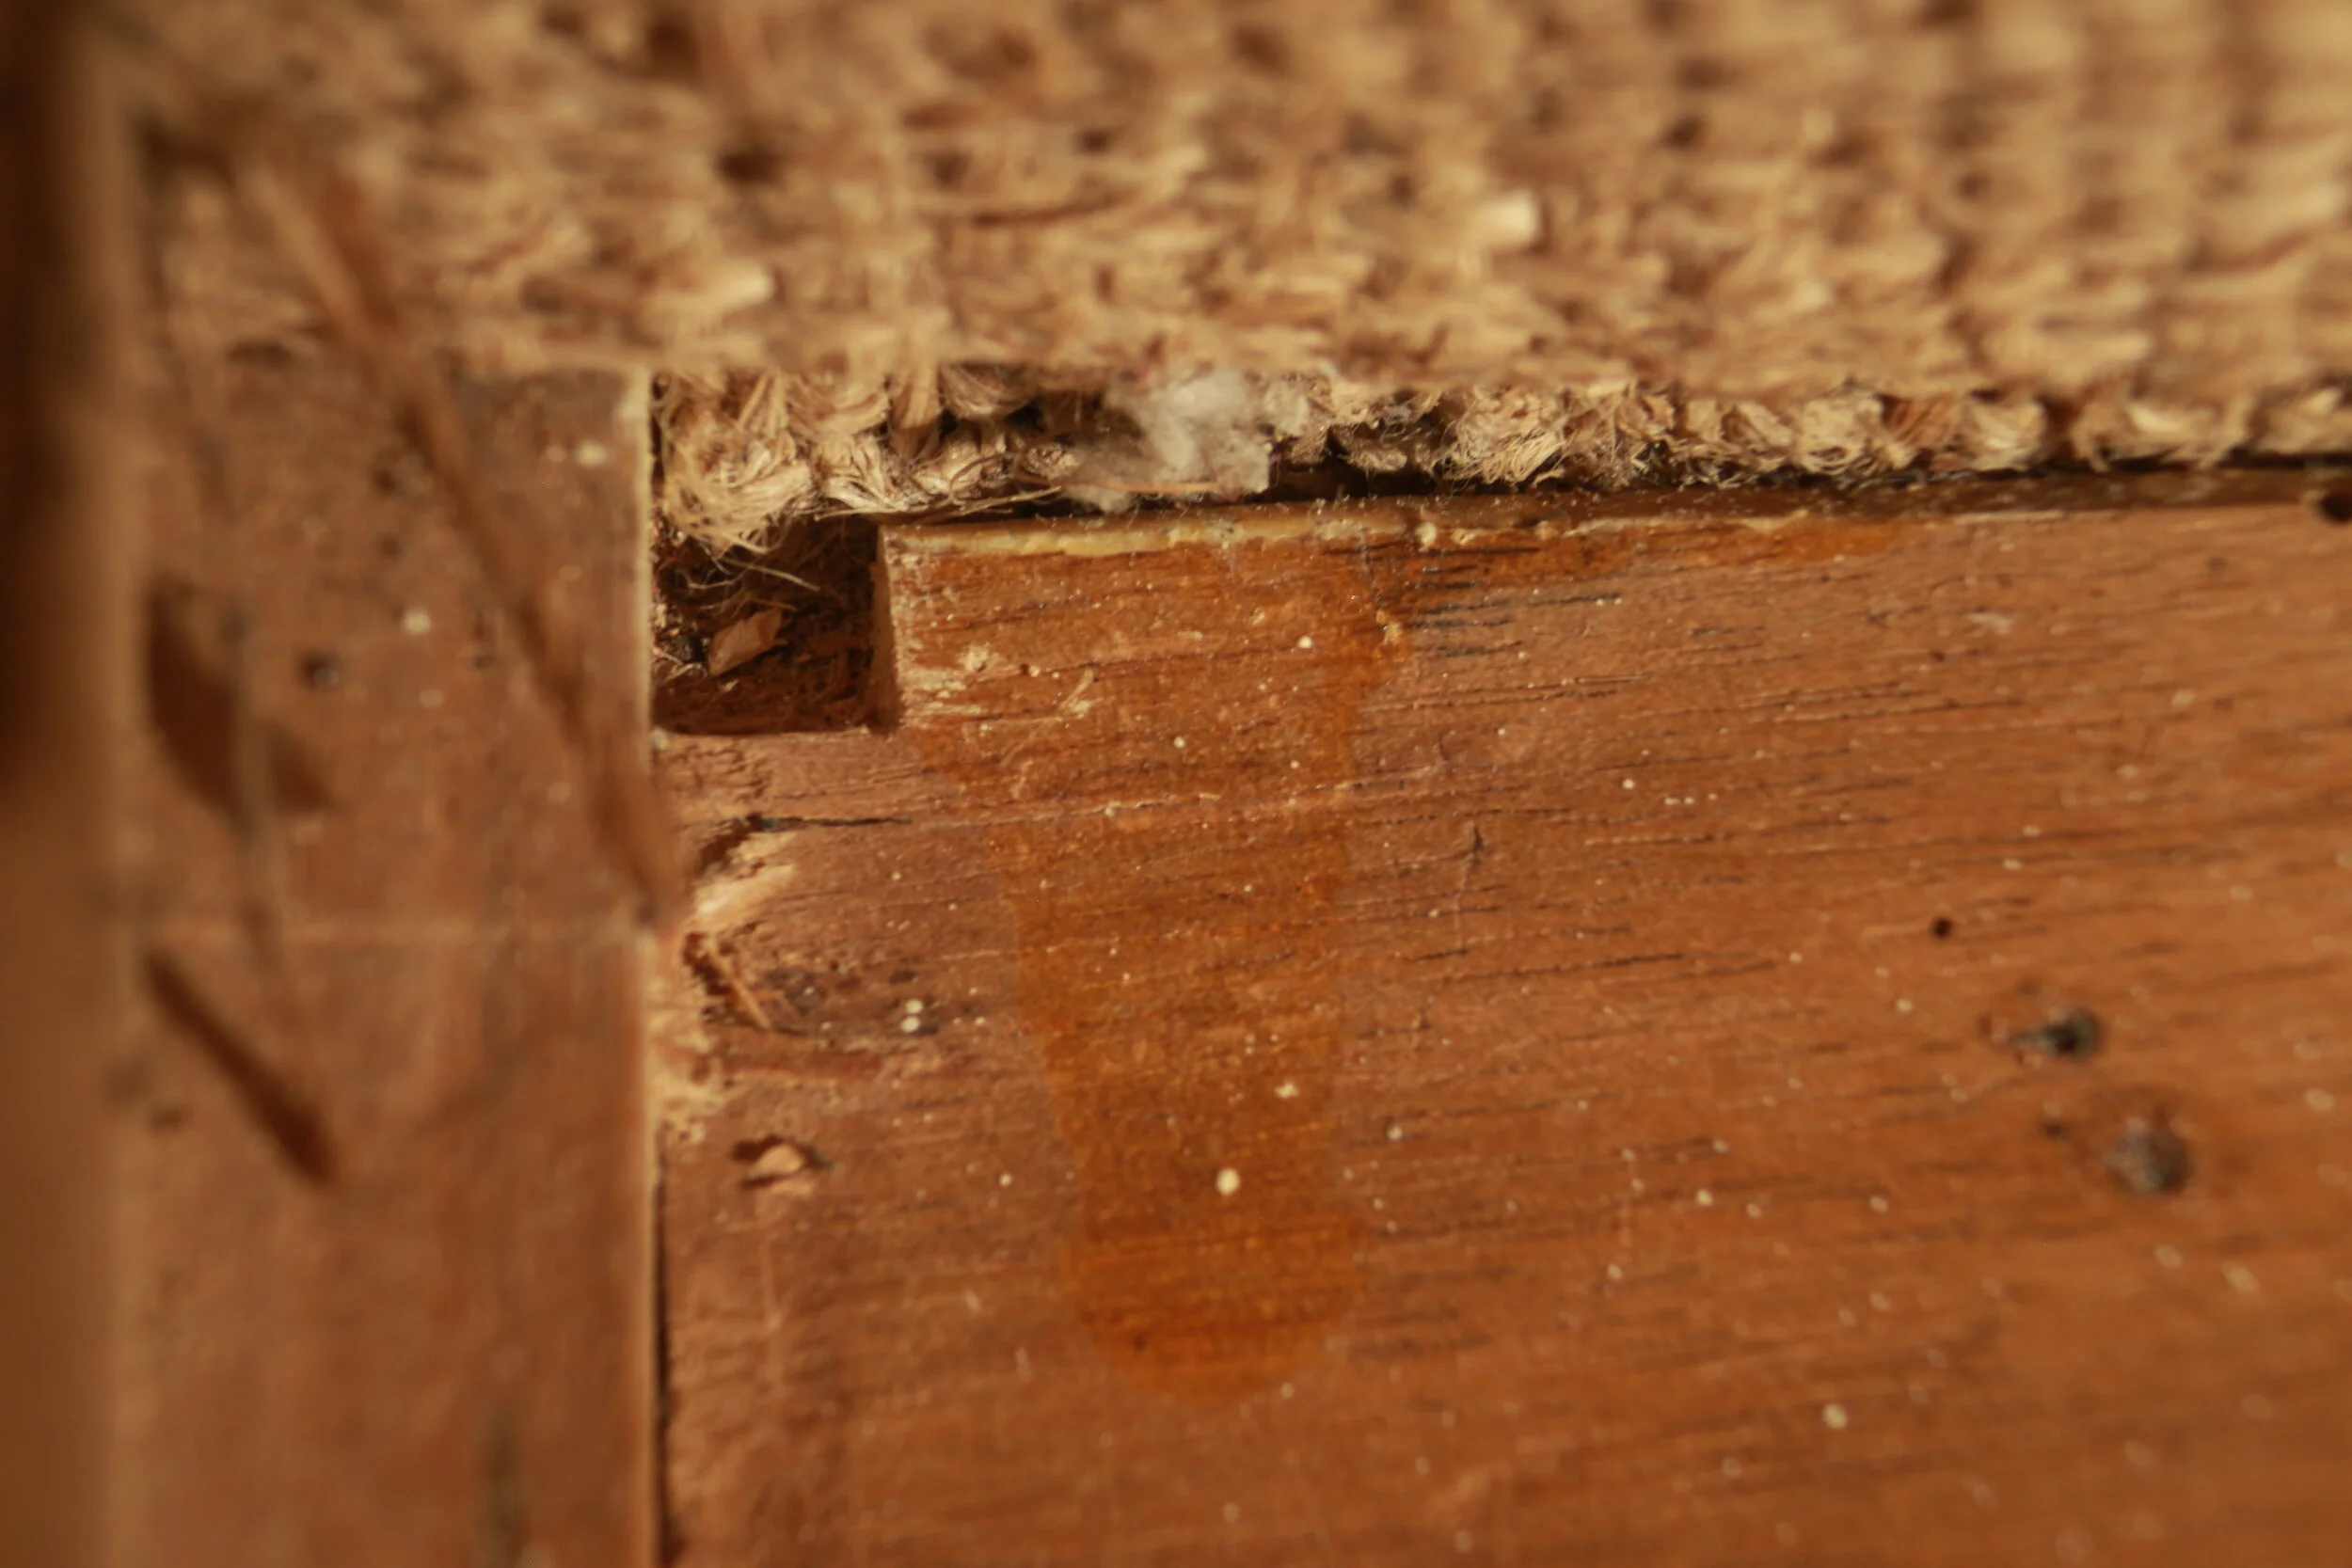
In the most recent examination of the wood structure, it is confirmed that the left and right rails are walnut, and the medial rail is beech. However, the front and back rails are distinctly lighter in color than the walnut side rails. Furthermore, they exhibit considerable insect damage which is not present on the side rails and which would not be expected in walnut heartwood. After a close examination with digital microscope of the front and back rails, certain anatomical features could be observed that are consistent with walnut (rays are unstoried, 4 cells wide and 8-12 cells high). This suggests the possibility that the front and rear rails (and possibly the proper left arm stile which is also heavily insect damaged) might be walnut sapwood. One sample for wood identification was taken to clarify the wood species.
Macroscopic features
Light brownish yellow color
Insect infection overall
Microscopic features
Growth ring boundaries are distinct
Semi ring porous. Vessels are in radial pattern, about a half of the vessels are solitary, remainders are in radial multiples of 2-5. Tangential diameter of vessel lumina averages 107μm ±29 (based on 24 measurements), 5 to 20 vessels per square millimeter.
Possibly simple perforation plates
Intervessel pits are alternate and polygonal, sizes are from medium (7-10μm) to large (≥10μm)
Some of vessel-ray pits are with distinct boarders, similar to intervessel pits in size and shape, some are apparently simple with much reduced boarders.
Ray cells are procumbent. Ray heights are less than 1mm, widths are commonly about 1 to 3 cells, some larger rays are about 4 or 5. 10-15 rays per millimeter.
Axial parenchyma is not observed in transverse section.
Prismatic crystals are not seen in chambered axial parenchyma cells.
Vessel length 400-1000μm, fiber length 600-1500μm[1]
Other features or notes:
English walnut was widely used for furniture making in 18th century France, especially for carved furniture, due to its good physical properties. The wood for the front rail and the side rails of the armchair is identified as English walnut through visual examination and macroscopic features. The overall insect infection and lighter color of the back rail may indicate it is sapwood of walnut possibly.
When the microscopic features above are entered into the ‘Inside Wood’ database (see references), the only result with two or fewer mismatches is: Juglans regia L. (CIRCASSIAN WALNUT, ENGLISH WALNUT). There is one mismatch for this result: the measurement of rays per millimeter. The discrepancy in rays per millimeter may result from the method of measurement since this measurement is difficult to make where rays are not clearly storied. The key microscopic features match the images from the references as well.
For complete report please CLICK HERE
[1] Rough measurements from the tangential and radial section, not conclusive, only for reference
Cross-section analysis
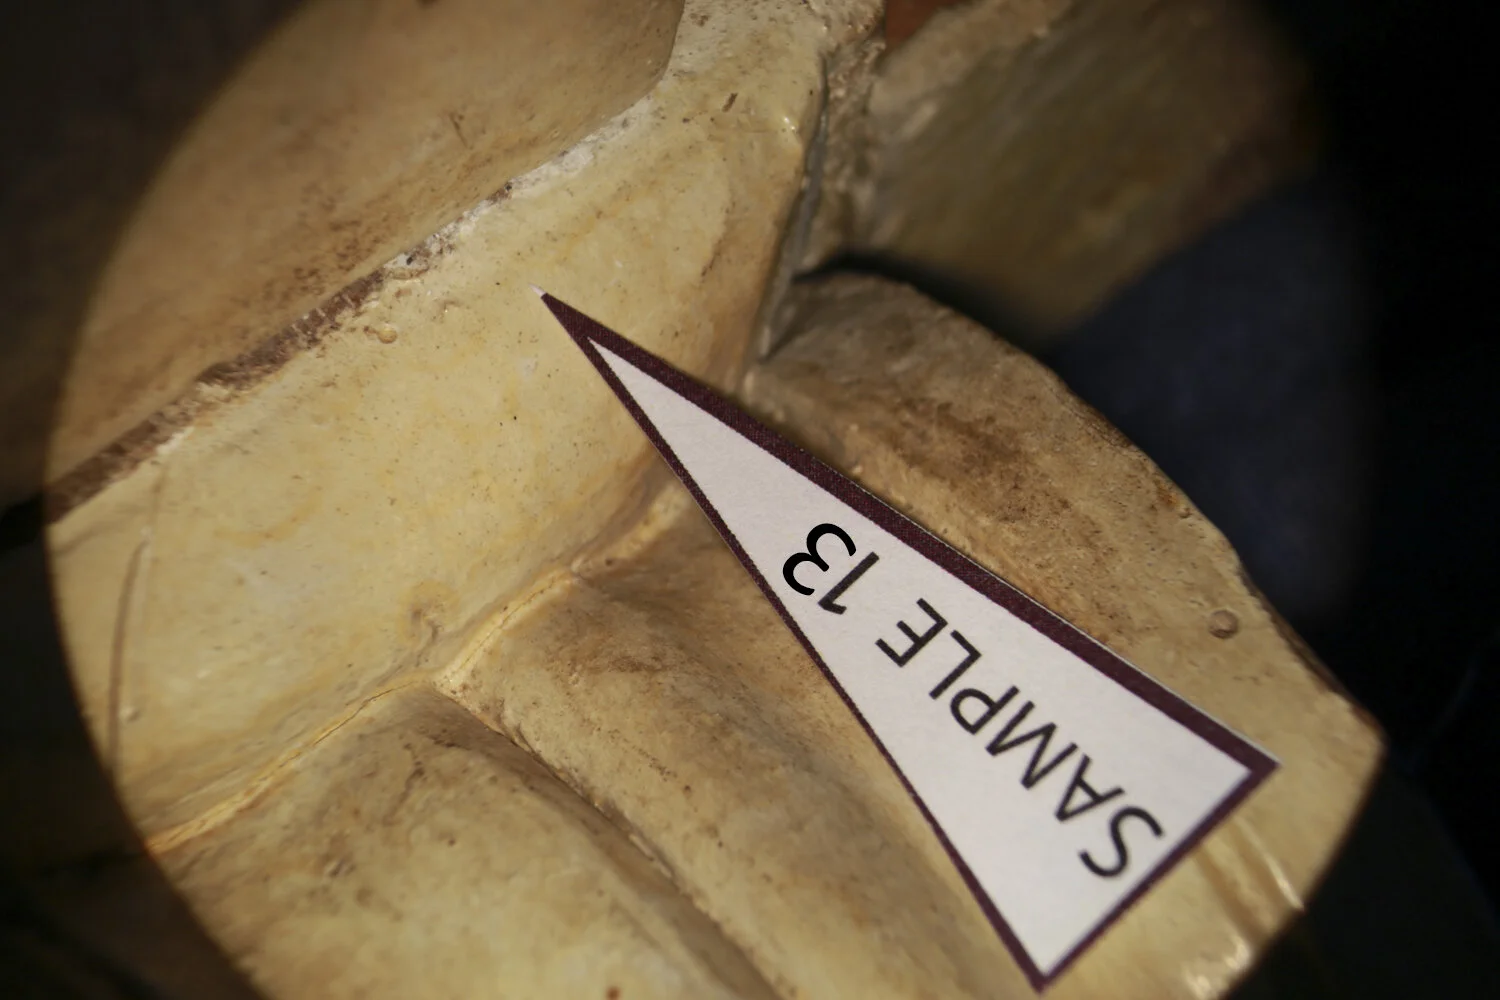
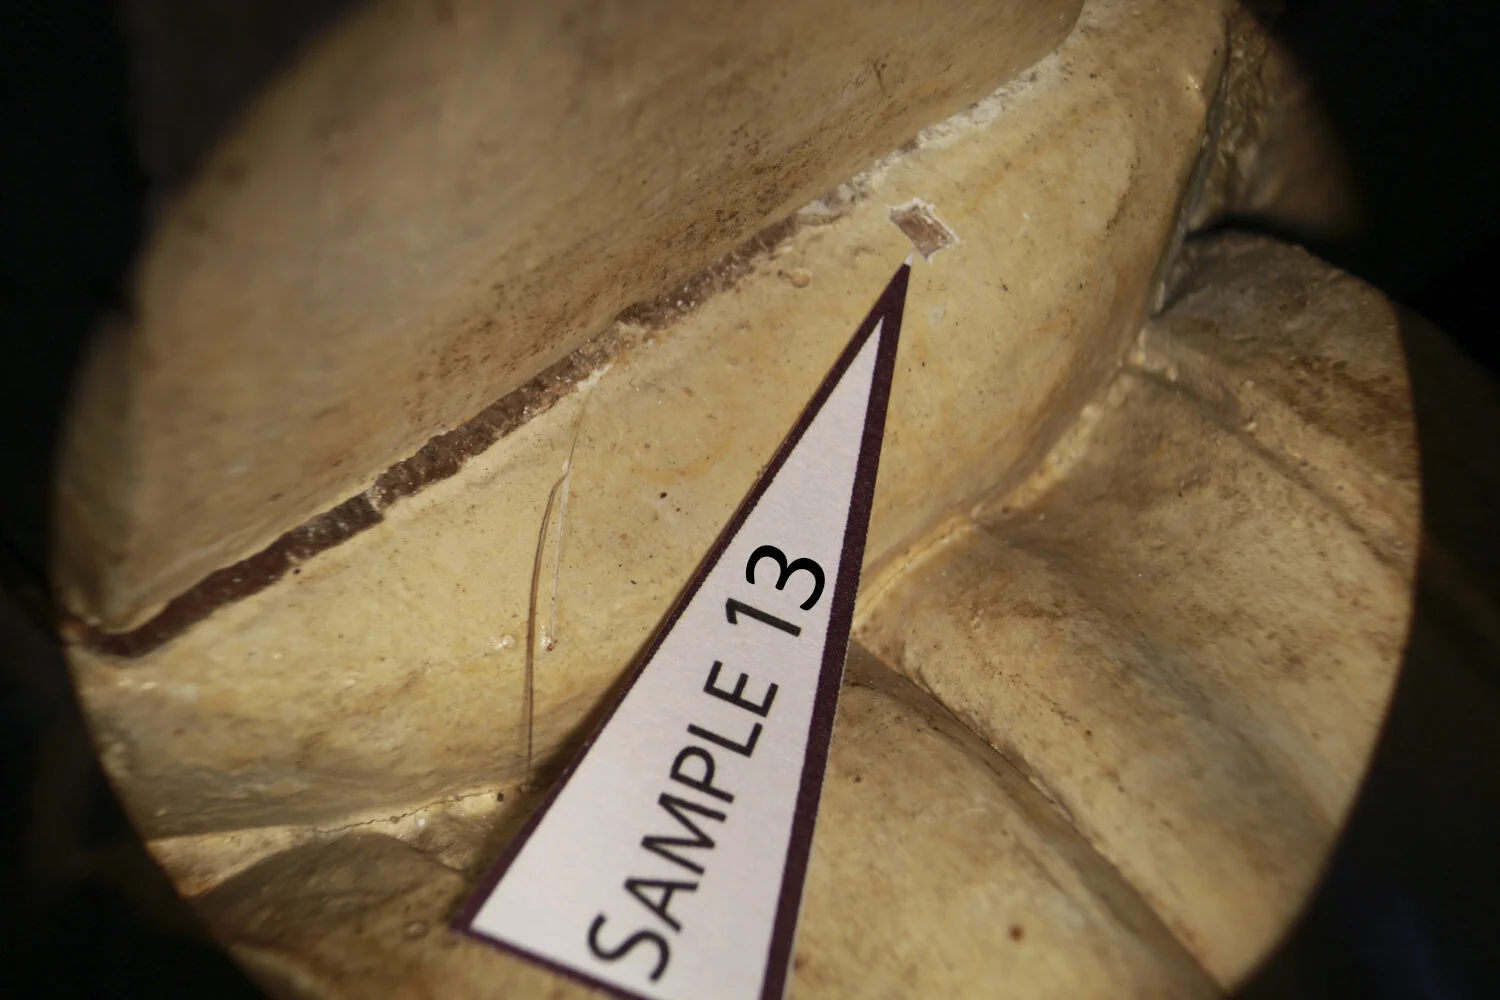
Cross-section sample JX1 taken by Nancie Ravenel in 1993 has been lost and is unable to be re-examined. Due to the limitation of the instruments, the cross-section analysis in 1993 didn’t leave much photographic records. Therefore, two additional samples were taken for cross-section analysis. One sample was taken from the front of the proper right back foot to reveal more information about the surface condition for future cleaning. The other one was taken from the interior of the chair, on the joint area of the back rail and proper right leg and side rail, where preserves thick and intact finish. It’s also a good location for the layer-by-layer GC/MS sampling.
Sample 13
Layer Description Optical Observations
F Dirt/grime Very thin layer
E Varnish Strong fluorescence under UV light
D White paint Slight fluorescence, sparse blue and black pigment particles
C White paint Slight fluorescence, appears to be finer, no pigment particle
B Preparatory/ground layers Slight fluorescence, penetrated wood substrate
A Wood substrate
Sample 14
Layer Description Optical Observations
H Dirt/grime Thicker layer of dirt/grime on the surface,
connecting with layer F at cracks
G Retouching Thin white pigment layer, with sparkling greenish
particles under UV light, possibly zinc white
F Dirt/grime Thin layer of dirt/grime deposited on the varnish layer E.
E Varnish Strong fluorescence, worn heavily
D White paint Slight fluorescence, sparse blue and black pigment particles
C White paint Slight fluorescence, appears to be finer, no pigment particle
B Missing
A Missing
SEM-EDS analysis
Based on the results of previous research, lead white and chalk were determined to be the main ingredients of the white finish/paint. SEM-EDS analysis will obtain images of higher resolution and magnification, the elemental composition and distribution of the materials for further study. Sample 13 and 14 were taken for cross-section analysis and then for SEM-EDS.
SUMMARY OF SEM-EDS RESULTS:
1. The white paint consists of lead white and chalk (calcium carbonate). Lead content of the upper white paint layer D is much higher than lower layer C, where lead white particles can hardly be seen.
2. The Layer D in Sample 14 contains two sublayers differentiated with particle density from BSE images. The lower sublayer contains less lead white.
3. The upper sublayer of Layer D in Sample 14 contains significant amounts of P and Cl associated with lead. However, P and Cl don’t show up in the EDS spectrum of the same layer (or else) in Sample 13.
4. The blue particles in Layer C was not able to be identified since the elemental composition doesn’t indicate any common blue or dark pigment.
5. The retouching layer G contains Zn, possibly Zinc white was used.
DISCUSSION
1. Based on two regional EDS scanning in sample 13 (spectrum 21 and 22), the rough proportion of pure lead white and calcium carbonate is about 1:1 in layer D by weight content, while in layer C, it’s about 1:10 (calculated with elemental weight content).
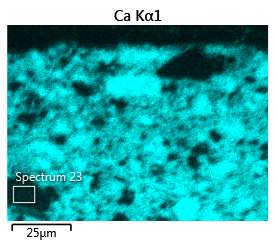
2. The distribution or density of lead white and calcium carbonate was measured in Photoshop cc2017, with regional EDS mapping in layer D, sample 13. A similar method was undertaken as reported in Chao, Heginbotham, et al 2014.
Note: The rough calculation about the content of lead white and calcium carbonate in the finish was based on single scanning or mapping on a small scale of one sample only, may not reflect the real materials used in practice. For further research, more data should be collected through multiple scanning/mapping on the entire sample or representative region, to improve the accuracy of elemental composition.
3. High content of P and Cl only associated with Pb in the upper sublayer of layer D in Sample 14. It may come from the organic material, corrosion or contamination, possibly not original, since it doesn’t present in sample 13. The high content of P and Cl may also lead to the distinct change of fluorescence of the cross-section image under UV light.
4. The blue/purple/black pigment particles may be from organic dyes, like indigo. Since the particles are sparse and hard to be separated, micro-Raman spectrum will help to identify the material.
5. The two sublayers with different proportion of lead white present in layer D, but they are not so distinct in Sample 13. There is no clear evidence shows the three sublayers in layer C of Sample 14, as the cross-section image under the UV light shows. These sublayers don’t present in Sample 13, and the thickness of Layer C in Sample 13 is only about a half of that in Sample 14.
For complete report please CLICK HERE
Location of Raman Spot Analysis
Raman analysis for the pigment particles in the white paint, upper layer D, conducted by Lynn Lee, Scientist at the GCI.
Experimental
All Raman spectra were collected using the Renishaw InVia Raman microscope using the 785 nm excitation wavelength with L-50X, 50x, or 100x objectives; laser power and other collection parameters are varied for each area examined to optimize the signal while avoiding sample degradation. Spectra were calibrated using the 520.5 cm-1 line of silicon. Particles examined are circle, and spot # is indicated (the particles were analyzed multiple times, with the exception of #9 and #10.
Raman spectra of #6 and #8, showing the different components of the dark particle and matrix
Results and discussion
All spots showed similar Raman spectra: broad double peaks at around 1308 and 1594 cm-1 are indicative of carbon black; a sharp peak at 1088 cm-1 is calcite; and a less intense peak at 1050 cm-1 is lead white. The calcite and lead white are most likely from the white matrix, which confirm the results of SEM-EDS analysis. The dark pigment particles are carbon black. These sparse carbon black particles are probably for adjustment to the white tone of the finish.
Py-GC/MS analysis on the organic binding media, conducted by Michael Schilling and Jessica Chasen, GCI.
Layer-by-layer sampling
Based on the stratification of the finish from the cross-section, samples were taken next to Sample 13, layer by layer, for Py-GC/MS analysis.
Sampling layer Description/Observation
Sample 16_1 Layer E Varnish, fluorescence
Sample 16_2 Layer E Varnish, fluorescence
Sample 17 Layer D_1 White paint, blue particles, weak/no fluorescence
Sample 18 Layer D_2 White paint, blue particles, weak/no fluorescence, close to C
Sample 19 Layer C_1 White paint, no blue particle, weaker/no fluorescence
Sample 20 Layer C_2 White paint, no blue particle, weaker/no fluorescence, close to B and A
Sample 21 Layer B+A, (C?) Preparatory layer with wood substrate, sticky feeling
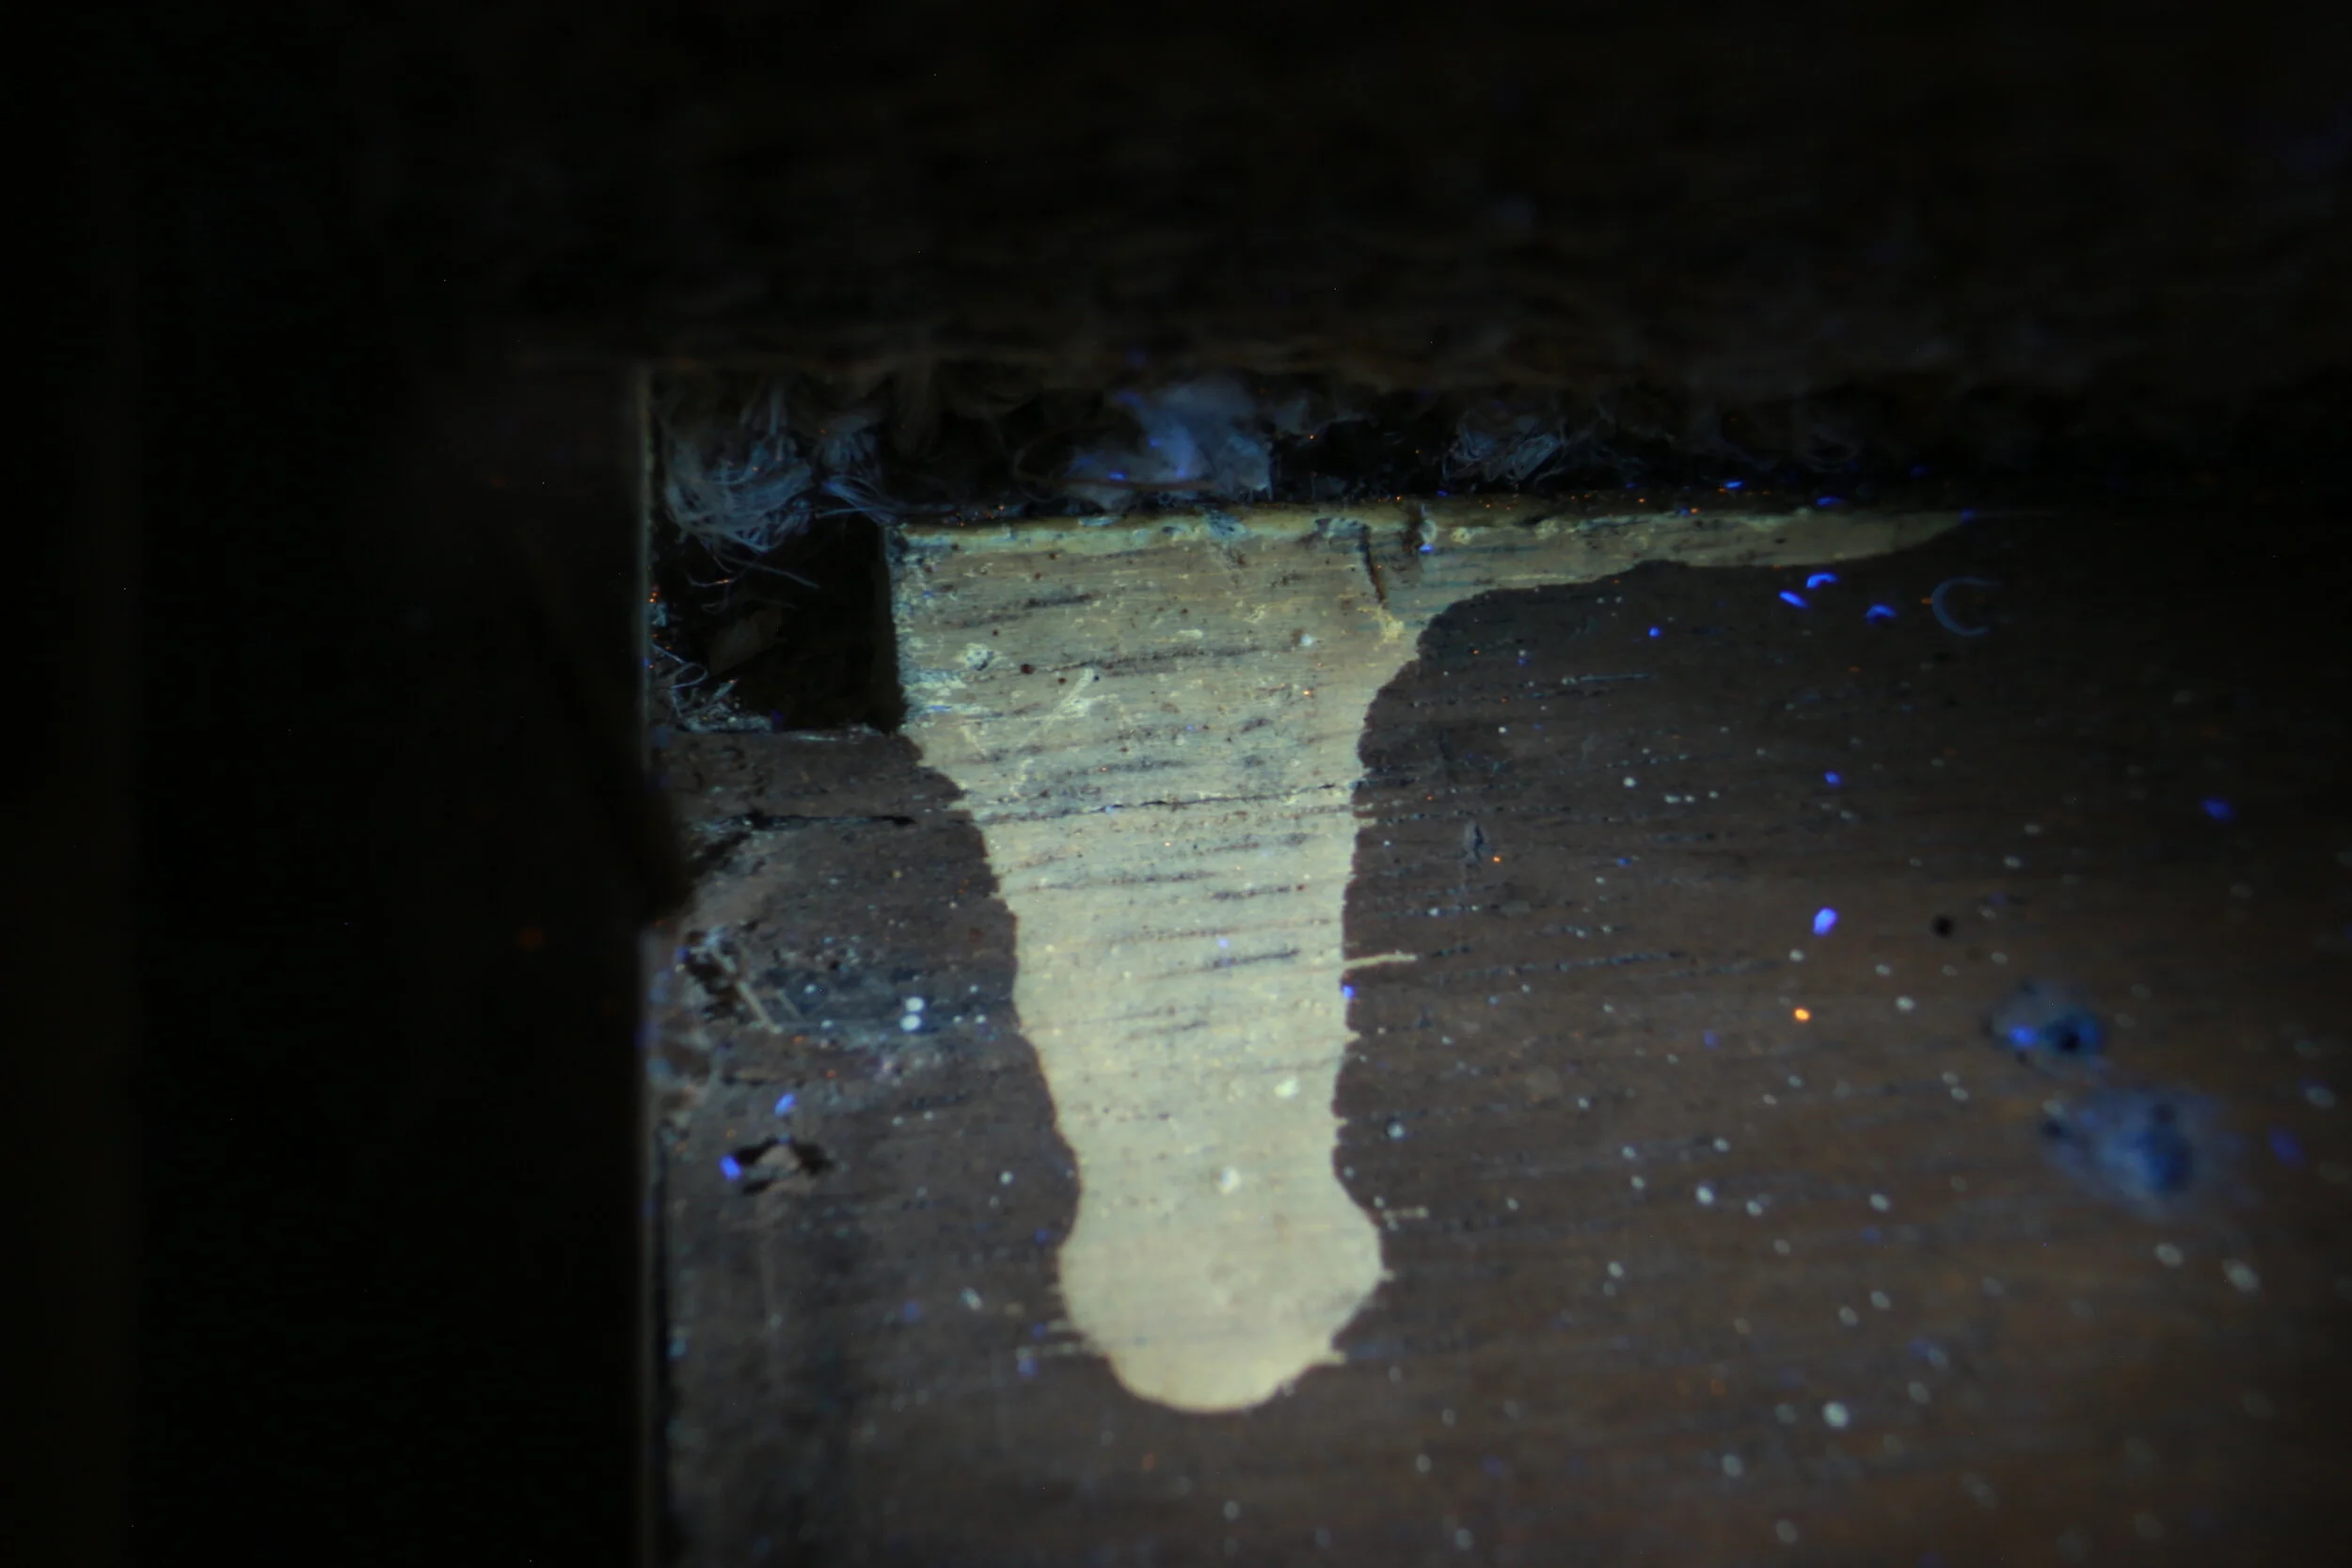
Sample 22 Extra varnish Thick varnish dripping on the back rail, strong fluorescence
Results and discussion
Sample 16_1 is a spirit resin varnish with no oil content. It includes several diterpenoid resins including those from Pinacease (unspecifed and larch) and polycommunic acid-containing resins, likely soft copal and possibly sandarac. A small fraction is attributed to camphor. Sample 17 is primarily glue based on several diagnostic glue markers. Early eluting pyrrole markers are missing, likely due to the solvent peak. No oil content. Sample 20 is primarily glue based on several diagnostic glue markers. Early eluting pyrrole markers are missing. No oils present in the paint layer. Sample 21 is primarily glue based on several diagnostic glue markers. Early eluting pyrrole markers are missing. No oil content. There are several carbohydrate and tannin markers likely related to the wood substrate sampled along with the preparatory layer. Sample 22 is a spirit resin varnish with no oil content. It includes several diterpenoids including those from Pinacease (unspecifed and larch), a polycommunic acid-containing resin, likely soft copal and possibly sandarac. There is also a small portion attributed to camphor.
In summary, a preparatory layer of proteinaceous glue was applied and penetrate into the wood substrate. The white paint layers contain proteinaceous glue as binding media, no oil content was found. The varnish on the top is is a spirit resin varnish, containing several diterpenoid resins including those from Pinacease (unspecifed and larch), probably pine resin, and polycommunic acid-containing resins, likely soft copal and possibly sandarac.
For complete report please CLICK HERE
Cleaning Test and Multi-spectral Imaging
Based on the material information acquired from technical analysis, a cleaning system was developed and tested.
Mineral spirits
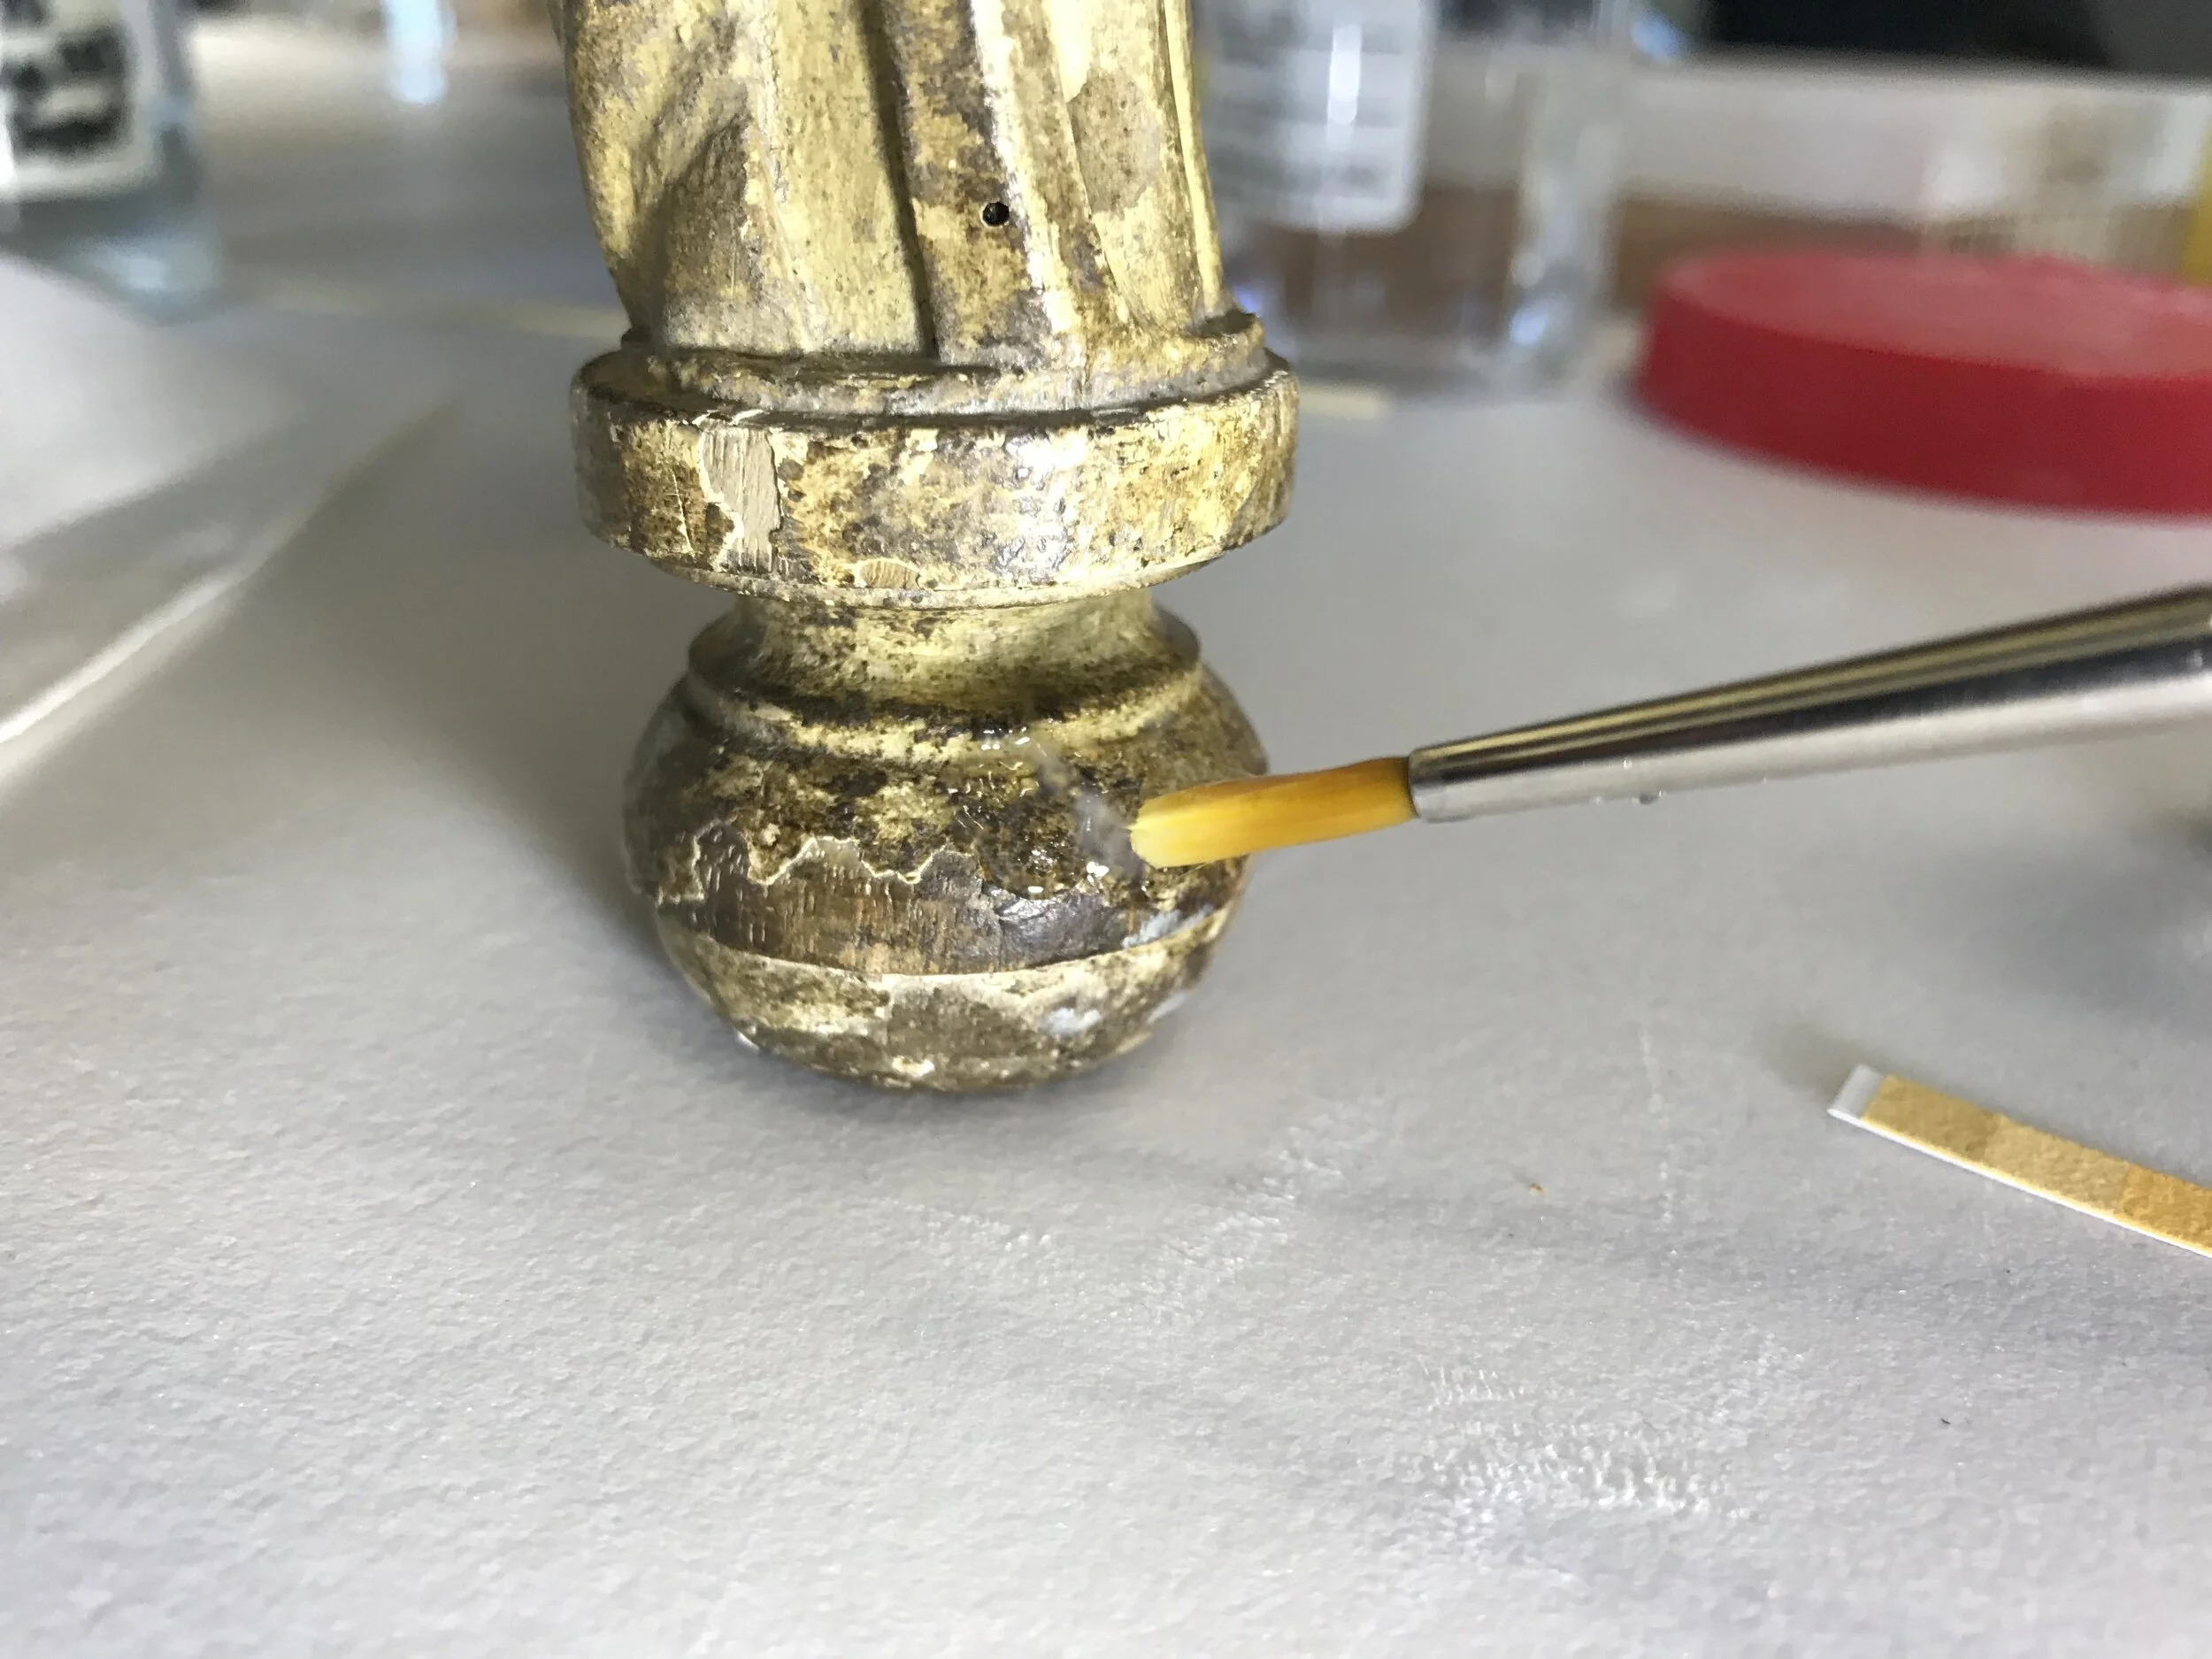
VMP Naphtha, Shell Sol D38 and OMS were used to remove the surface wax and dirt, due to the possible contamination of floor wax mainly on the legs and feet. The swab with VMP Naphtha turned brown after cleaning, the other two didn’t change obviously. However, after cleaning with mineral spirits, the effect can hardly be seen.
Aqueous solution
In order to reduce the surface dirt and grime, aqueous solution with chelator of triammonia citrate was suggested. The proteinaceous glue binding and spirit resin varnish determined the sensitivity to water content and higher pH, so the swab was controlled to be less wet/damp and gelling agent was also considered.
1% Citrate acid was used for cleaning test, with ammonia adjusting pH to 6.5, 6.0 and 5.5. (Tri-ammonium citrate)
1% tri-ammonium citrate (TAC) solution at pH=6.5 works effectively to remove the surface dirt. It’s more effective in the areas where were cleaned with VMP Naphtha (mineral spirit) firstly. But in some areas, the cleaning sequence with mineral spirit and then TAC solution didn’t work well.
After cleaning with straight solution, the original distemper paint was not affected by aqueous content.
Gel cleaning with aqueous solutionConsulted with Stephanie Auffret, in order to protect the water sensitive distemper paint, KSG 350 silicone gel was used to convey the aqueous cleaning solution. Decamethylcyclopentasiloxane (D5) silicone solvent was applied first, to protect the surface from water. Then applied KSG 350 gel with 20% TAC solution (1%-2%, pH=6.5), agitated on the surface, then swabbed with D5 was used for clearance. The gel with cleaning solution works slower than straight solution. The higher content of TAC, the more effective result. However, in those areas both cleaning sequences didn’t work effectively. Stronger chelators such as EDTA and DTPA were also suggested to increase the cleaning effect. After discussion, the current aqueous cleaning solution (1% TAC at pH=6.5) is sufficient for the task.
In those areas where both cleaning sequences didn’t work, xylene was tested. A very thin layer of dirt/paint was removed, which turned out to be scumble overpaint, probably acrylic paint with zinc white as indicated in previous analysis. Then the cleaning solution worked well on the surface, revealing the original finish.
Consulted with Charissa Bremer-David, Stephanie Auffret and Arlen Heginbotham, the decision was made to remove the thin layer of overpaint with xylene (if applicable), and then clean the surface with aqueous cleaning solution sequence to reveal the original surface.
Before cleaning
The left leaf and the edge of the lower corner was cleaned with xylene and then TAC (2%, pH=6.5), the lower corner only with xylene
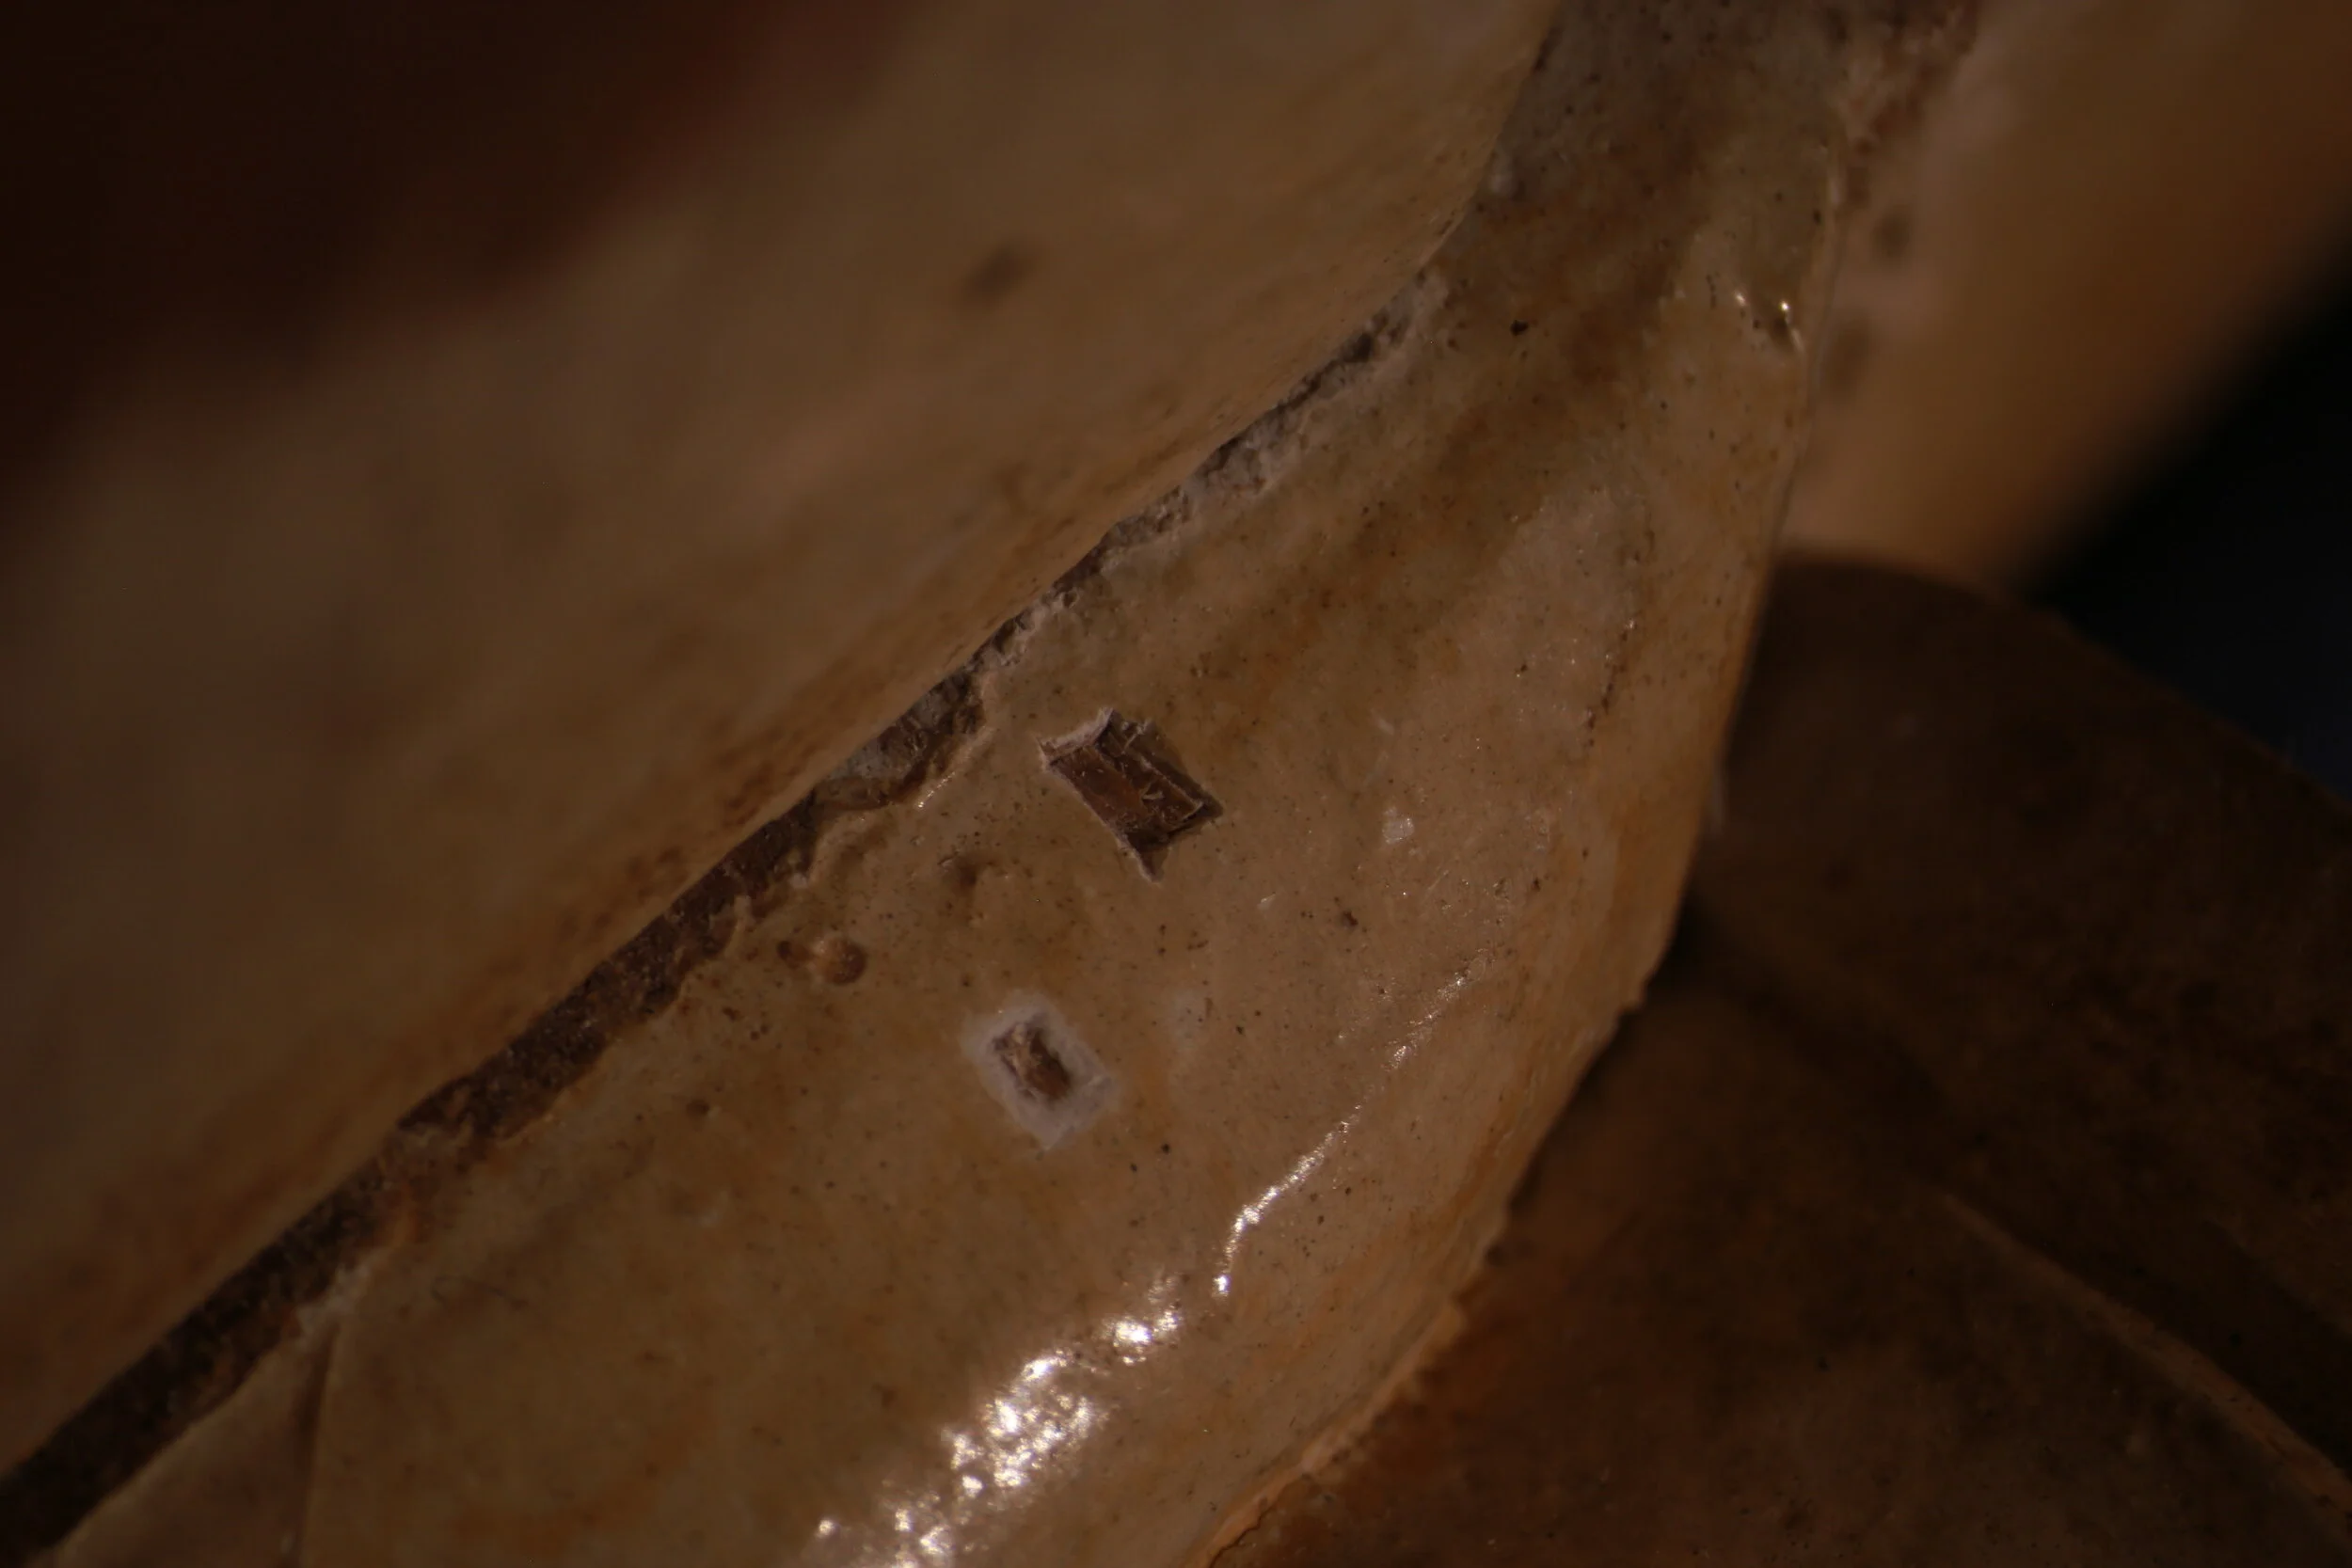
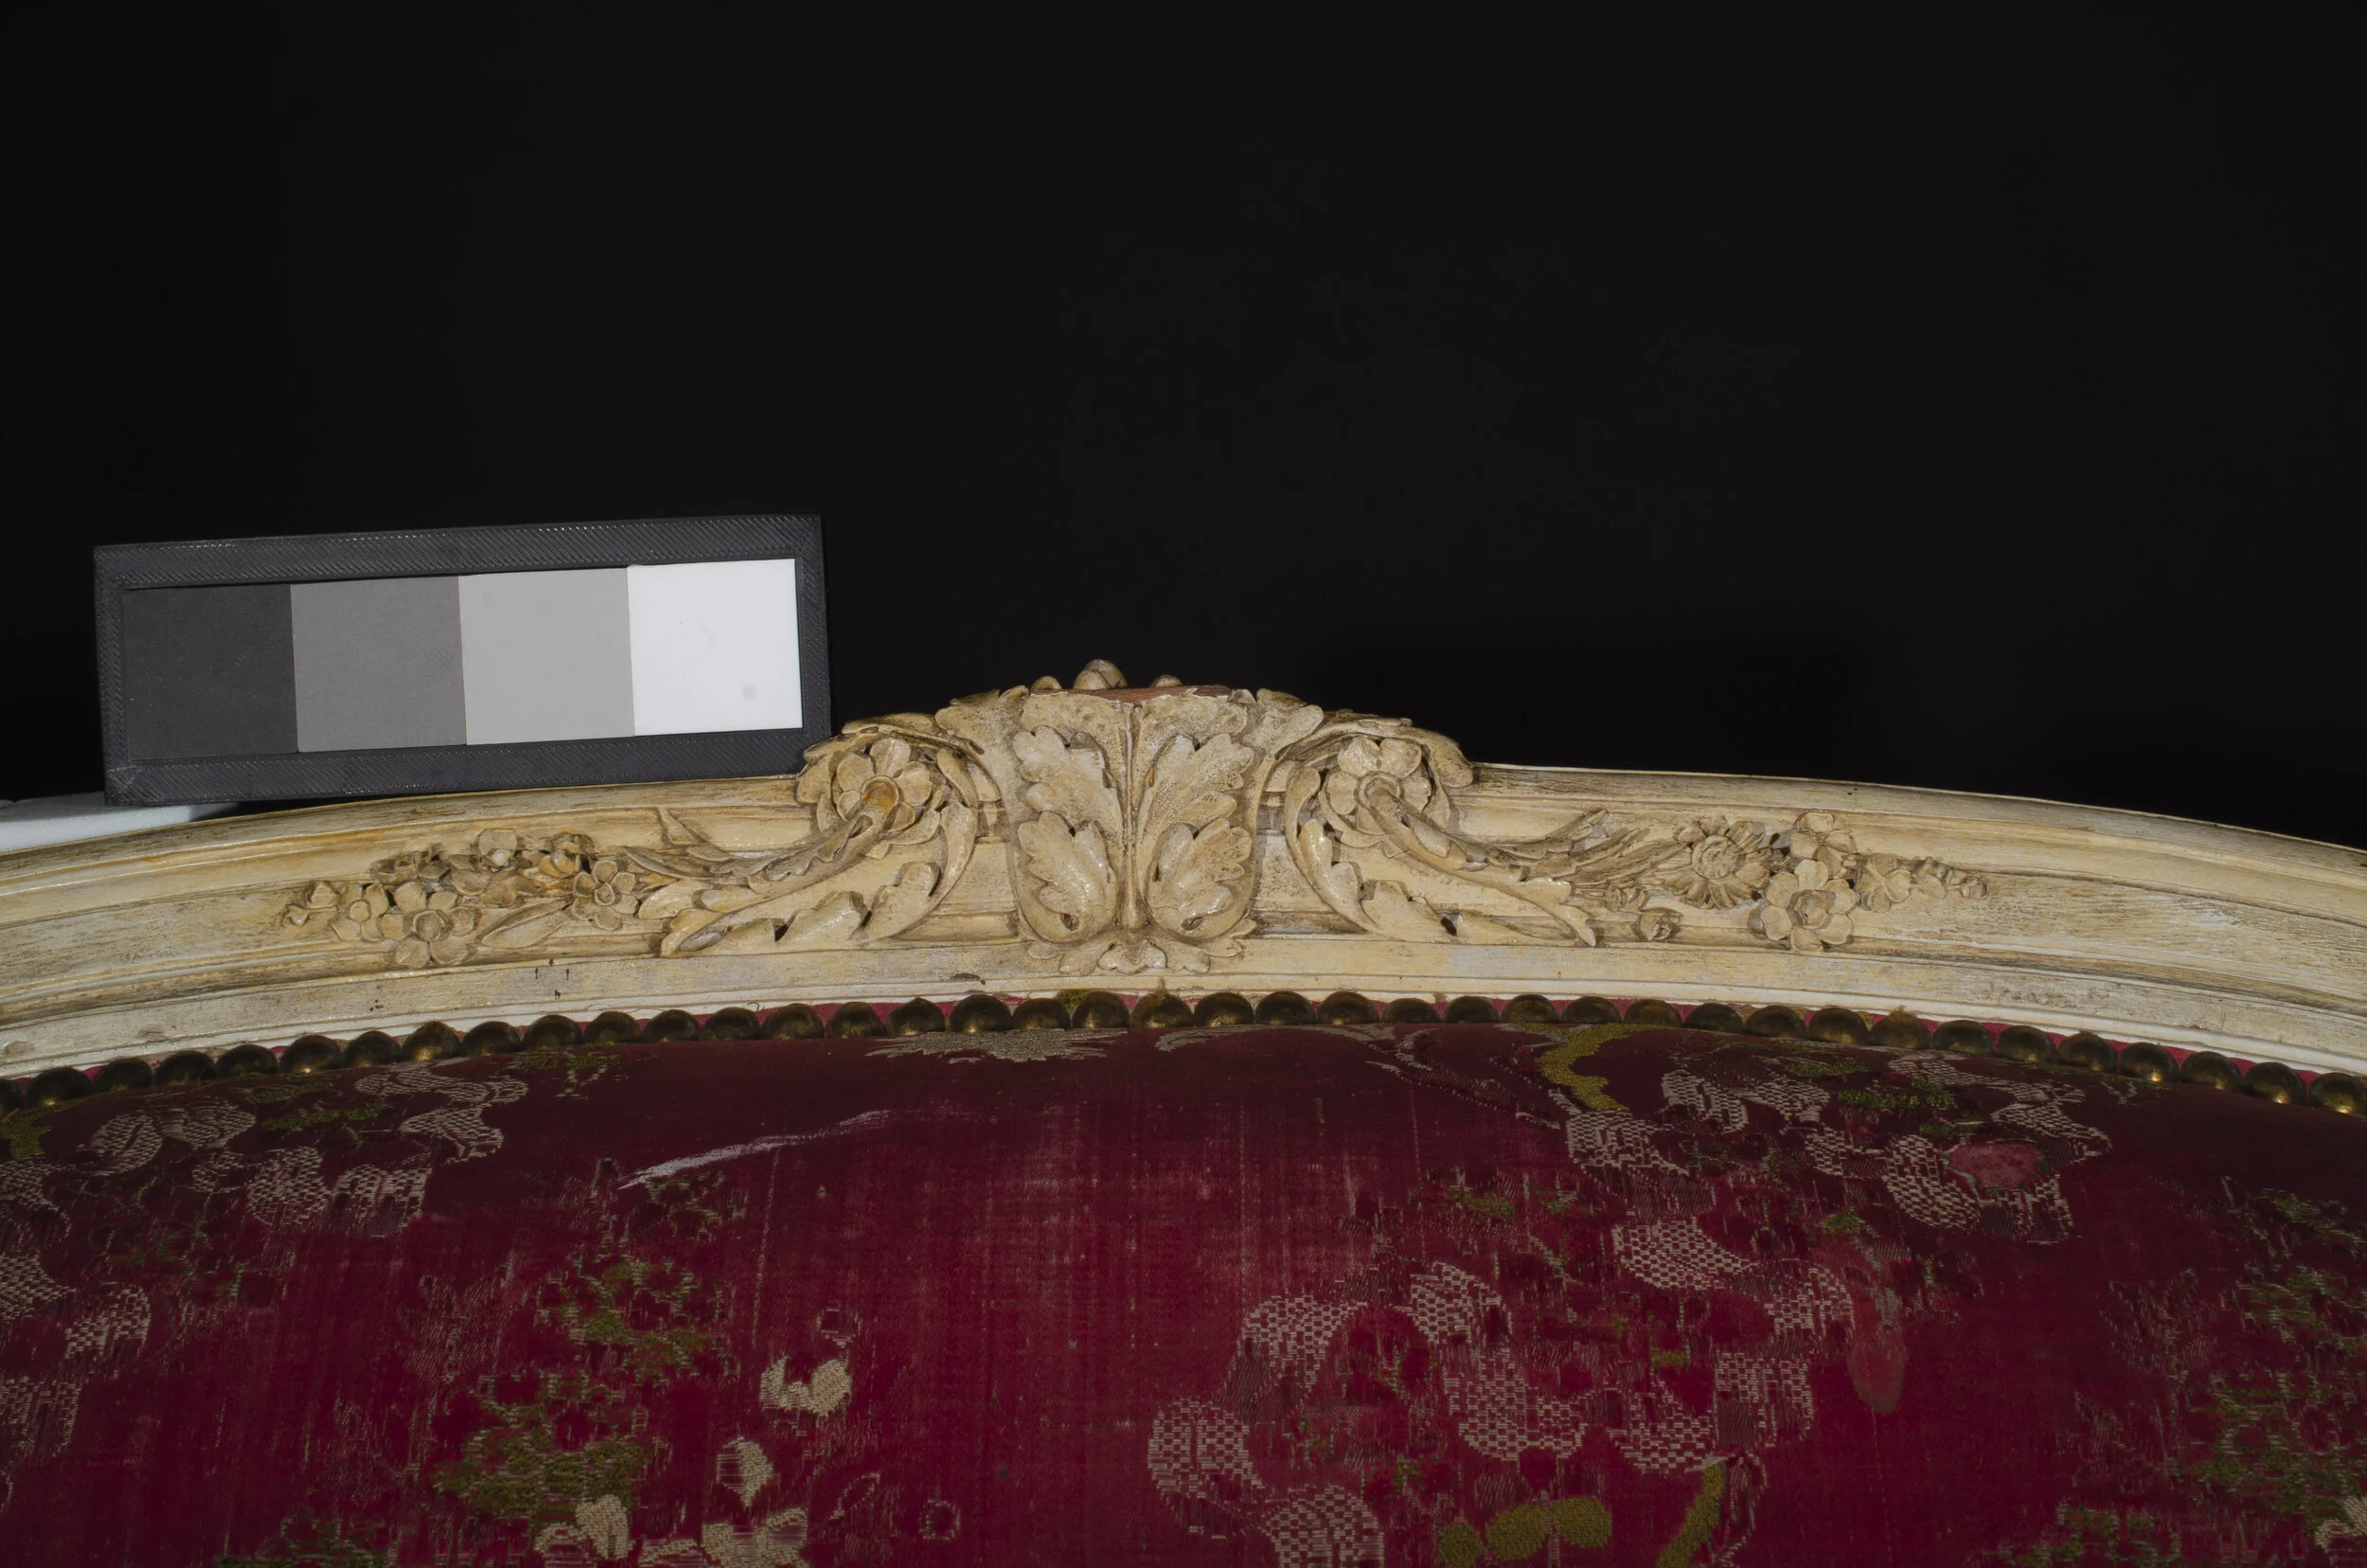
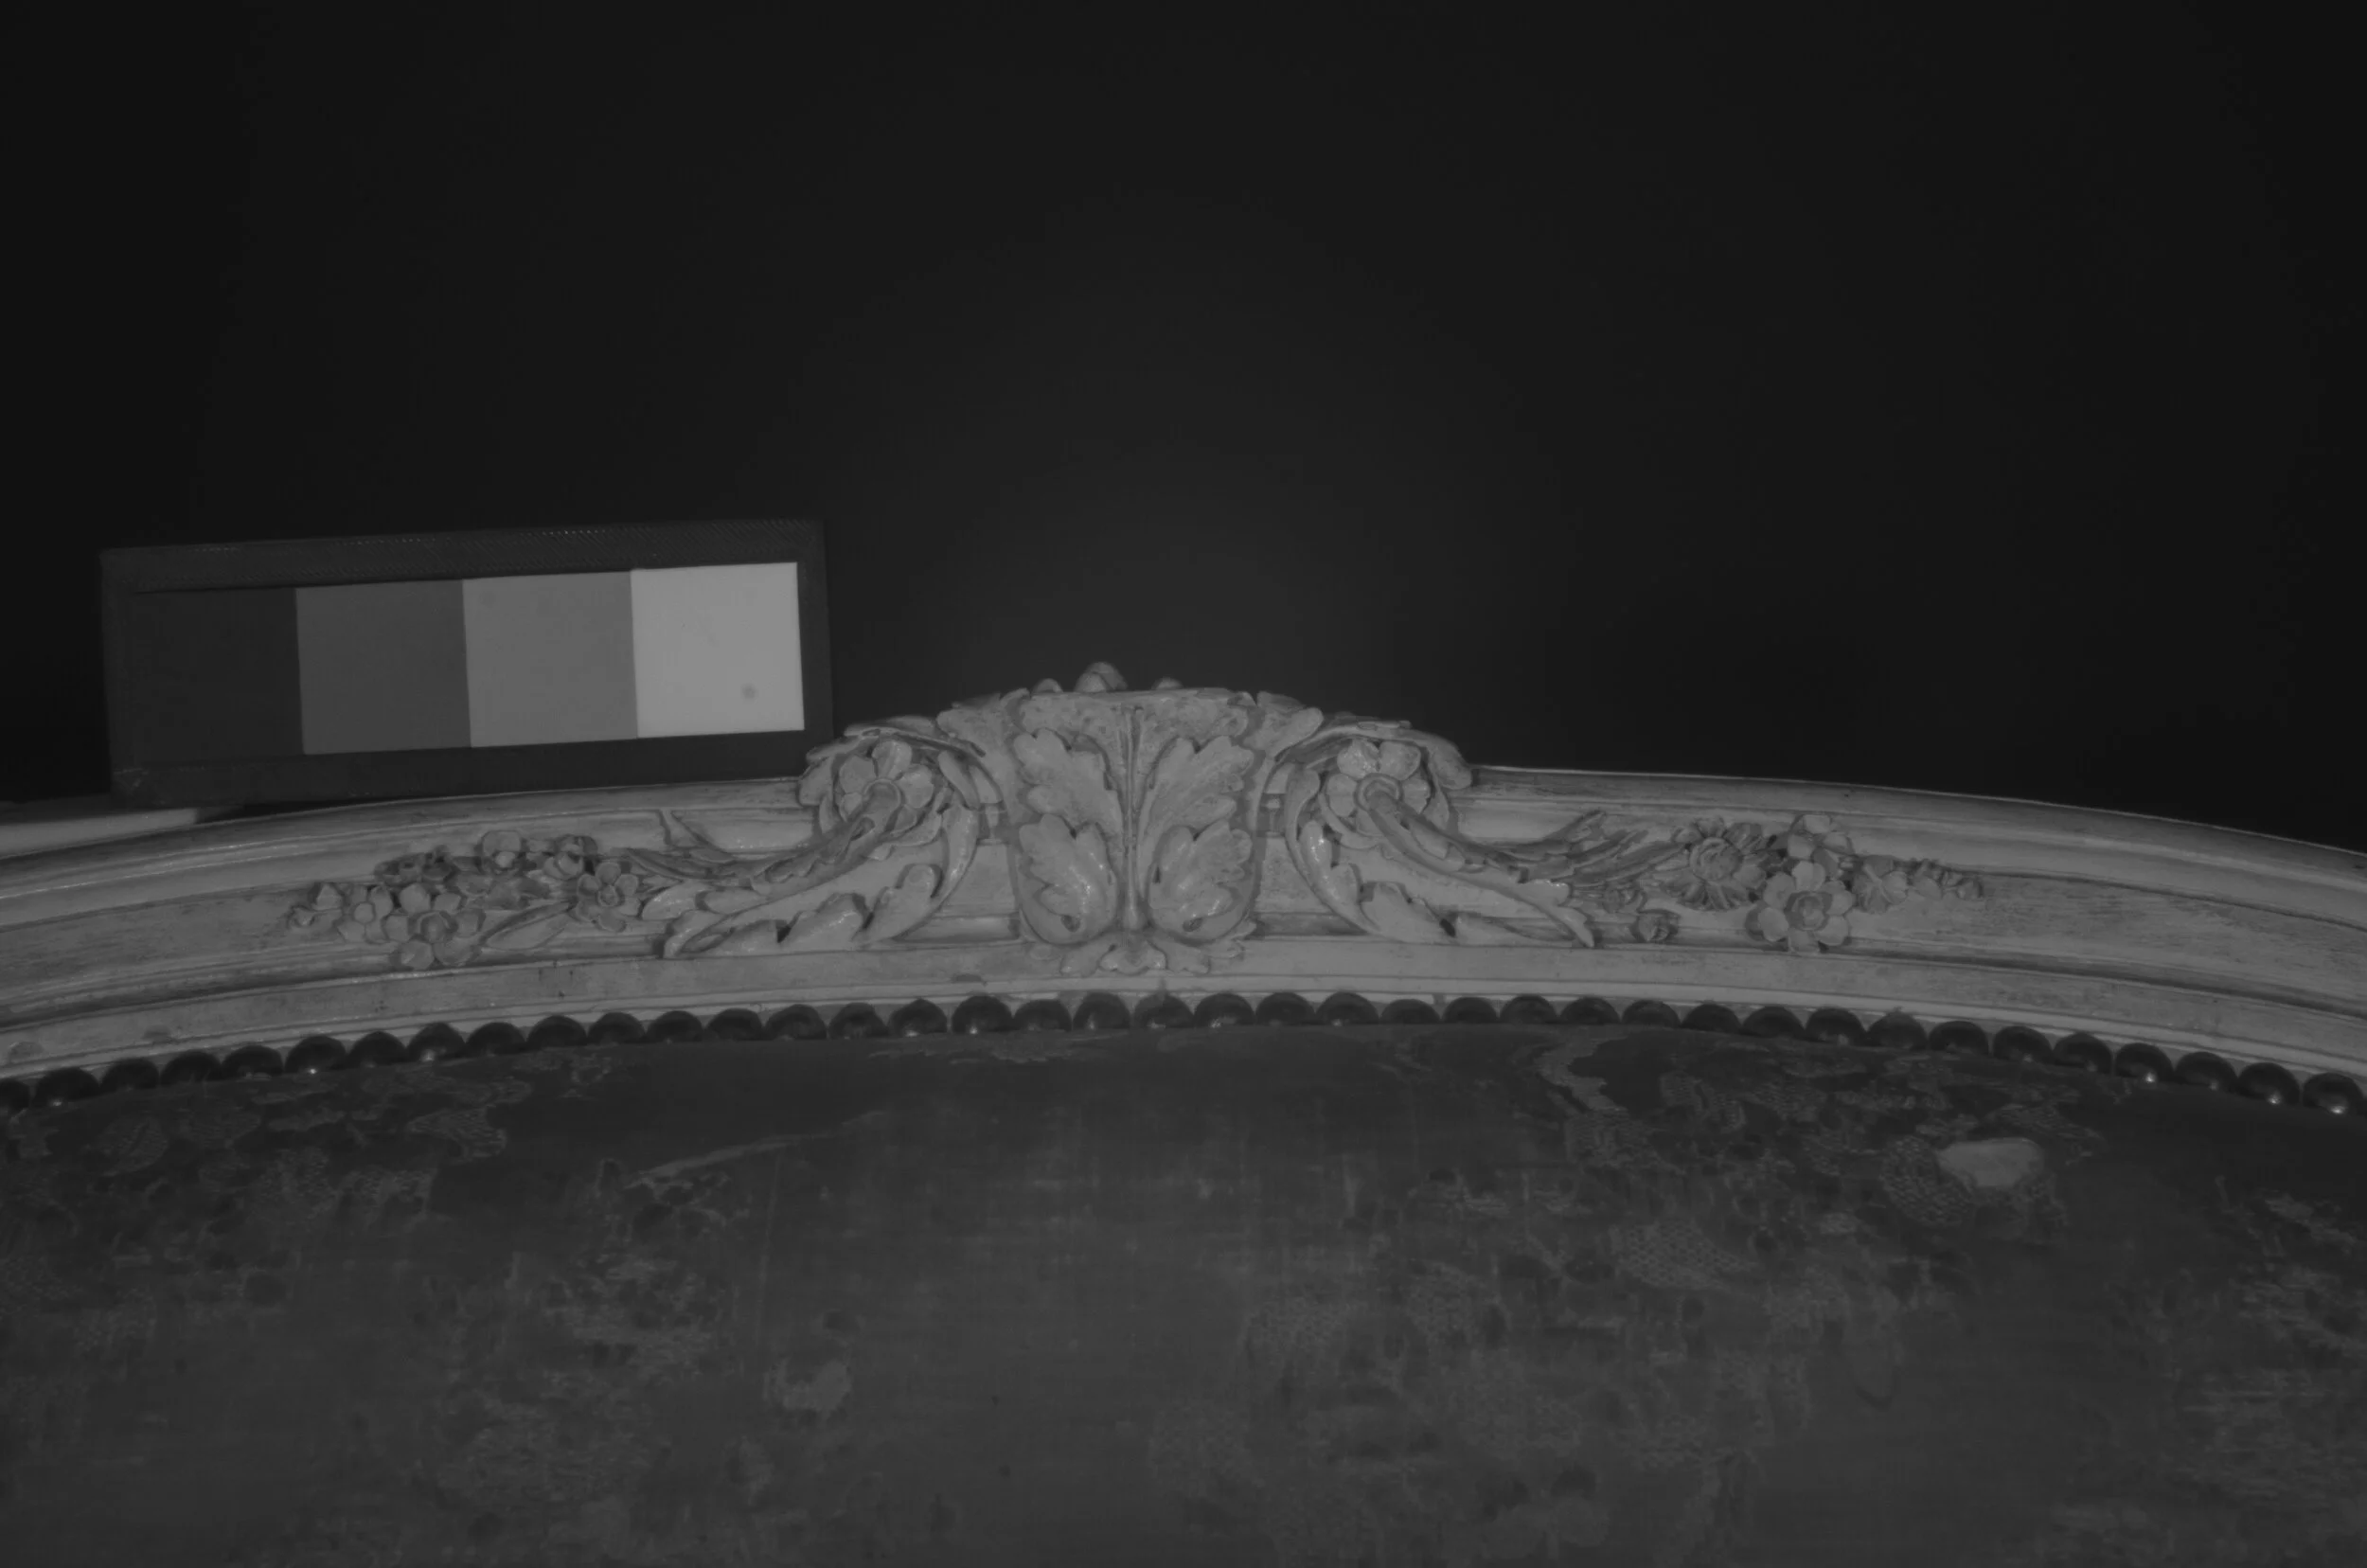
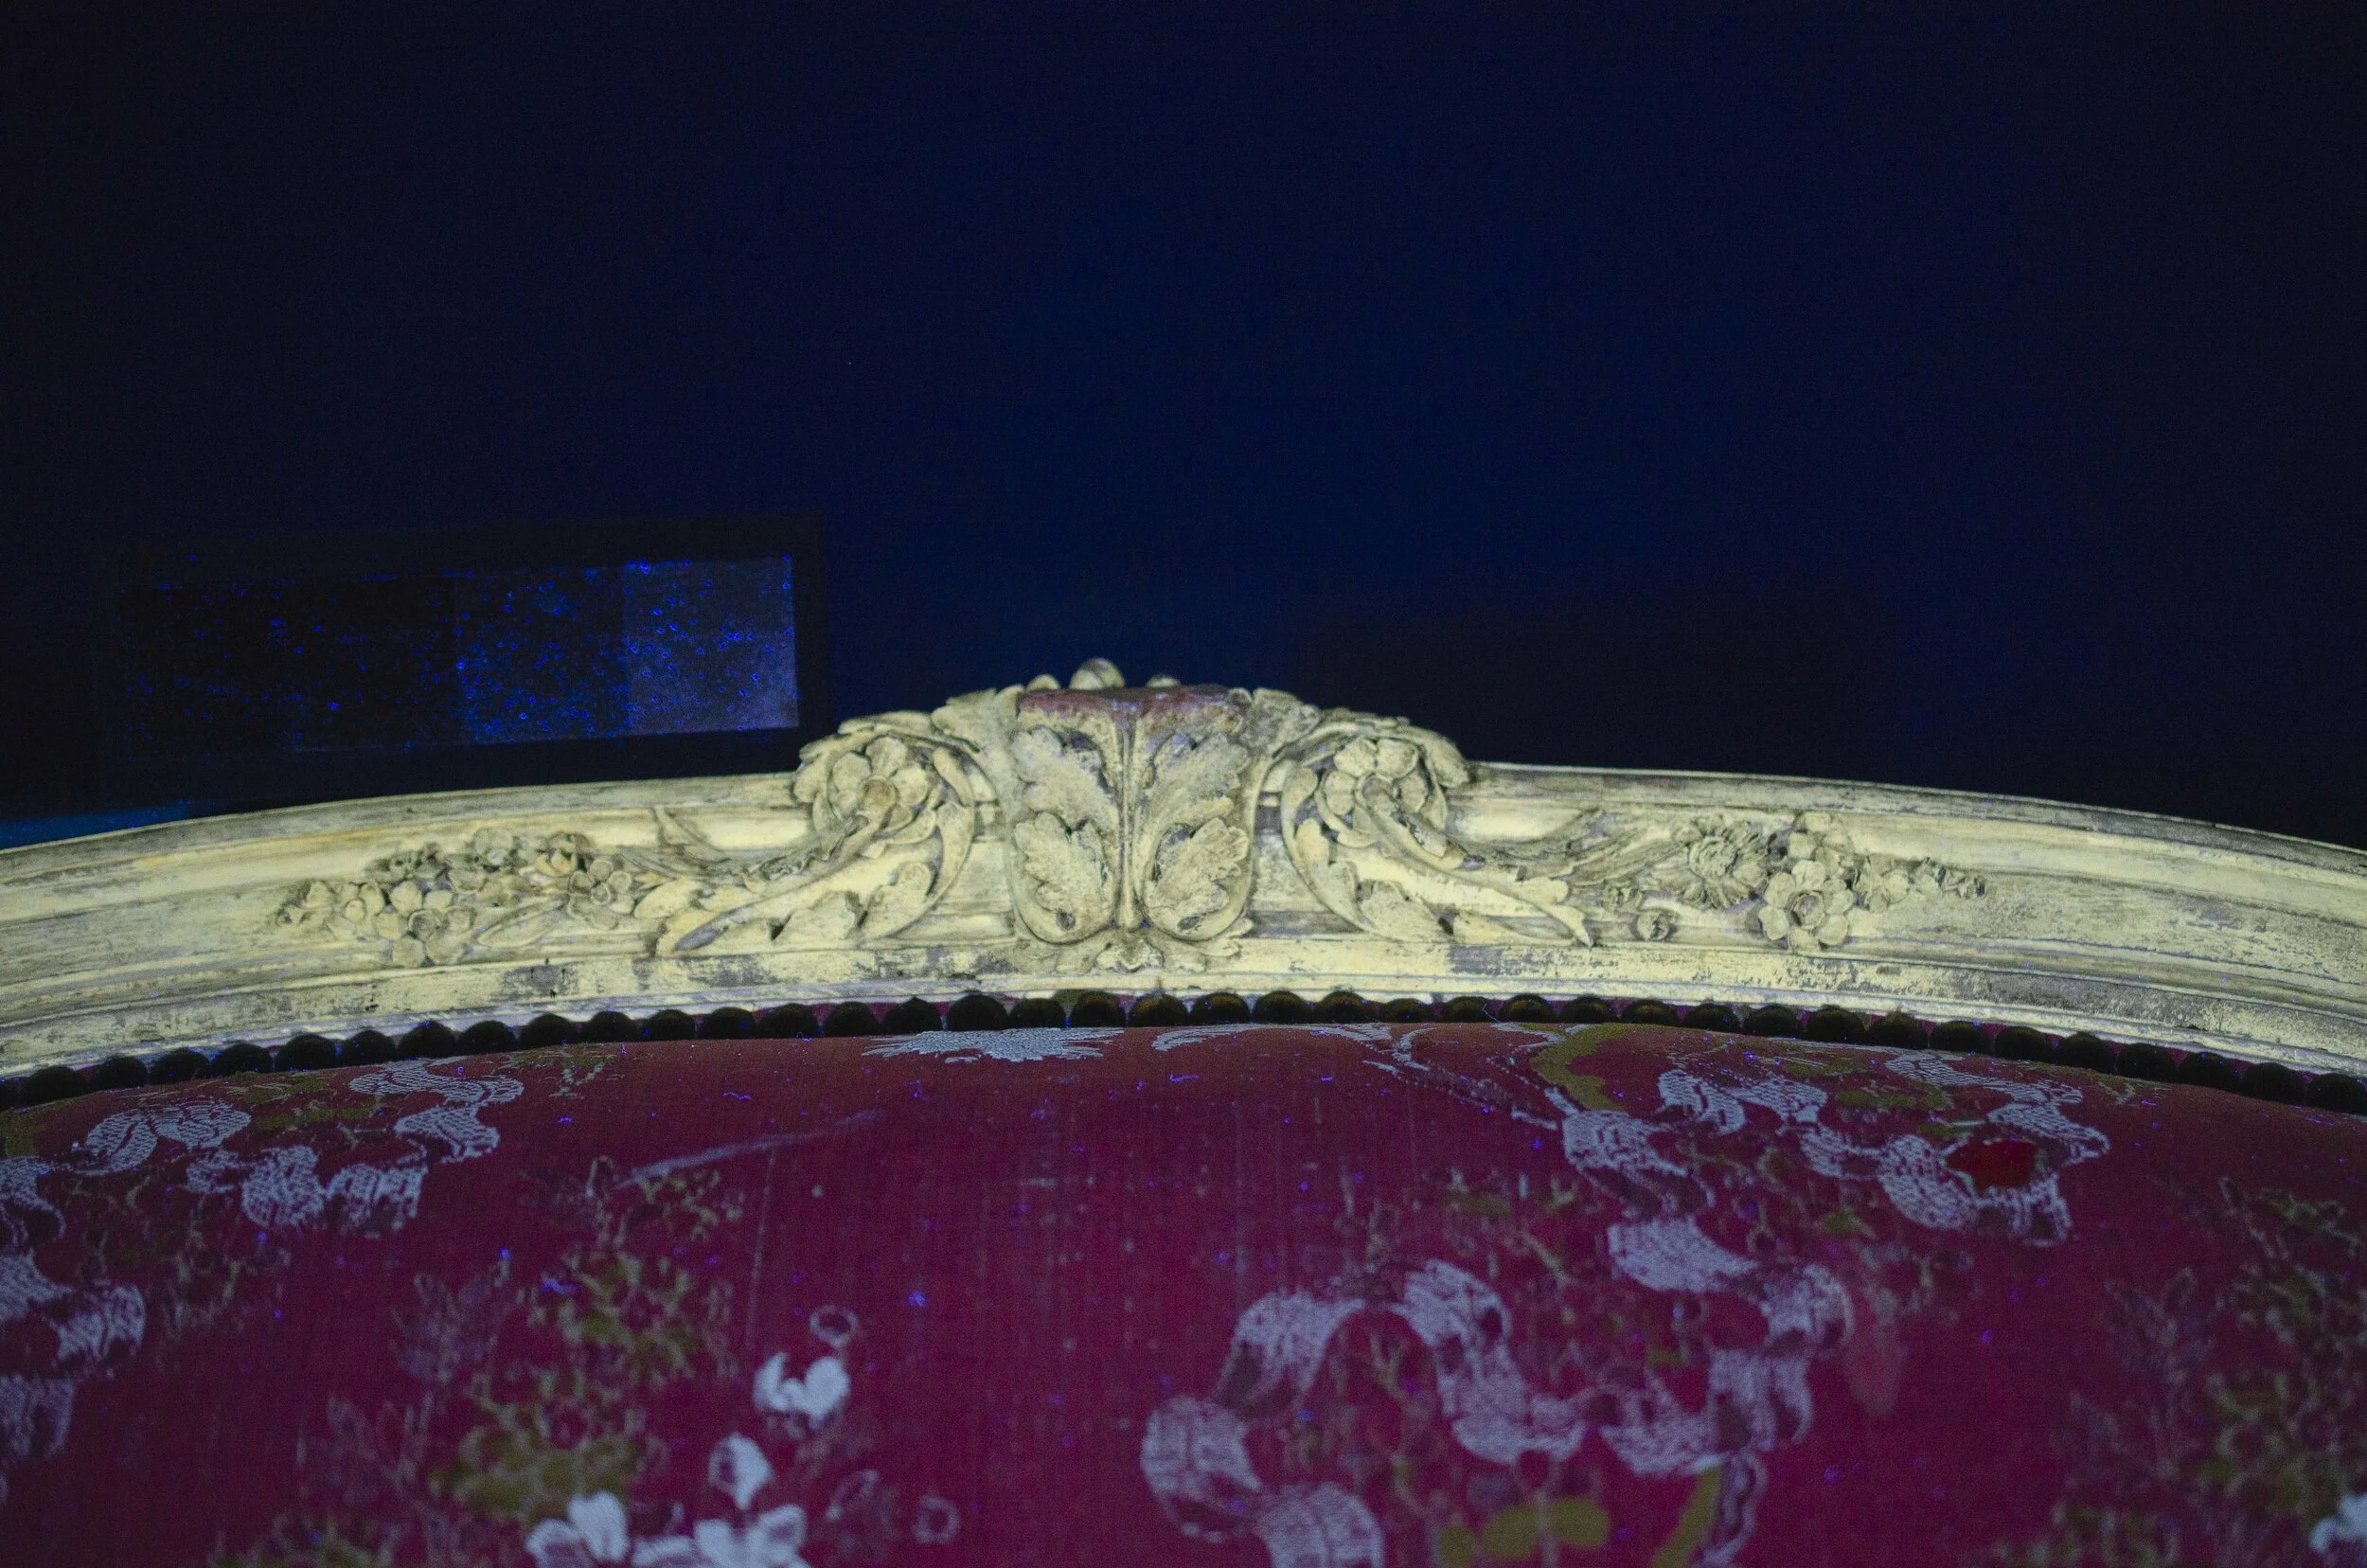
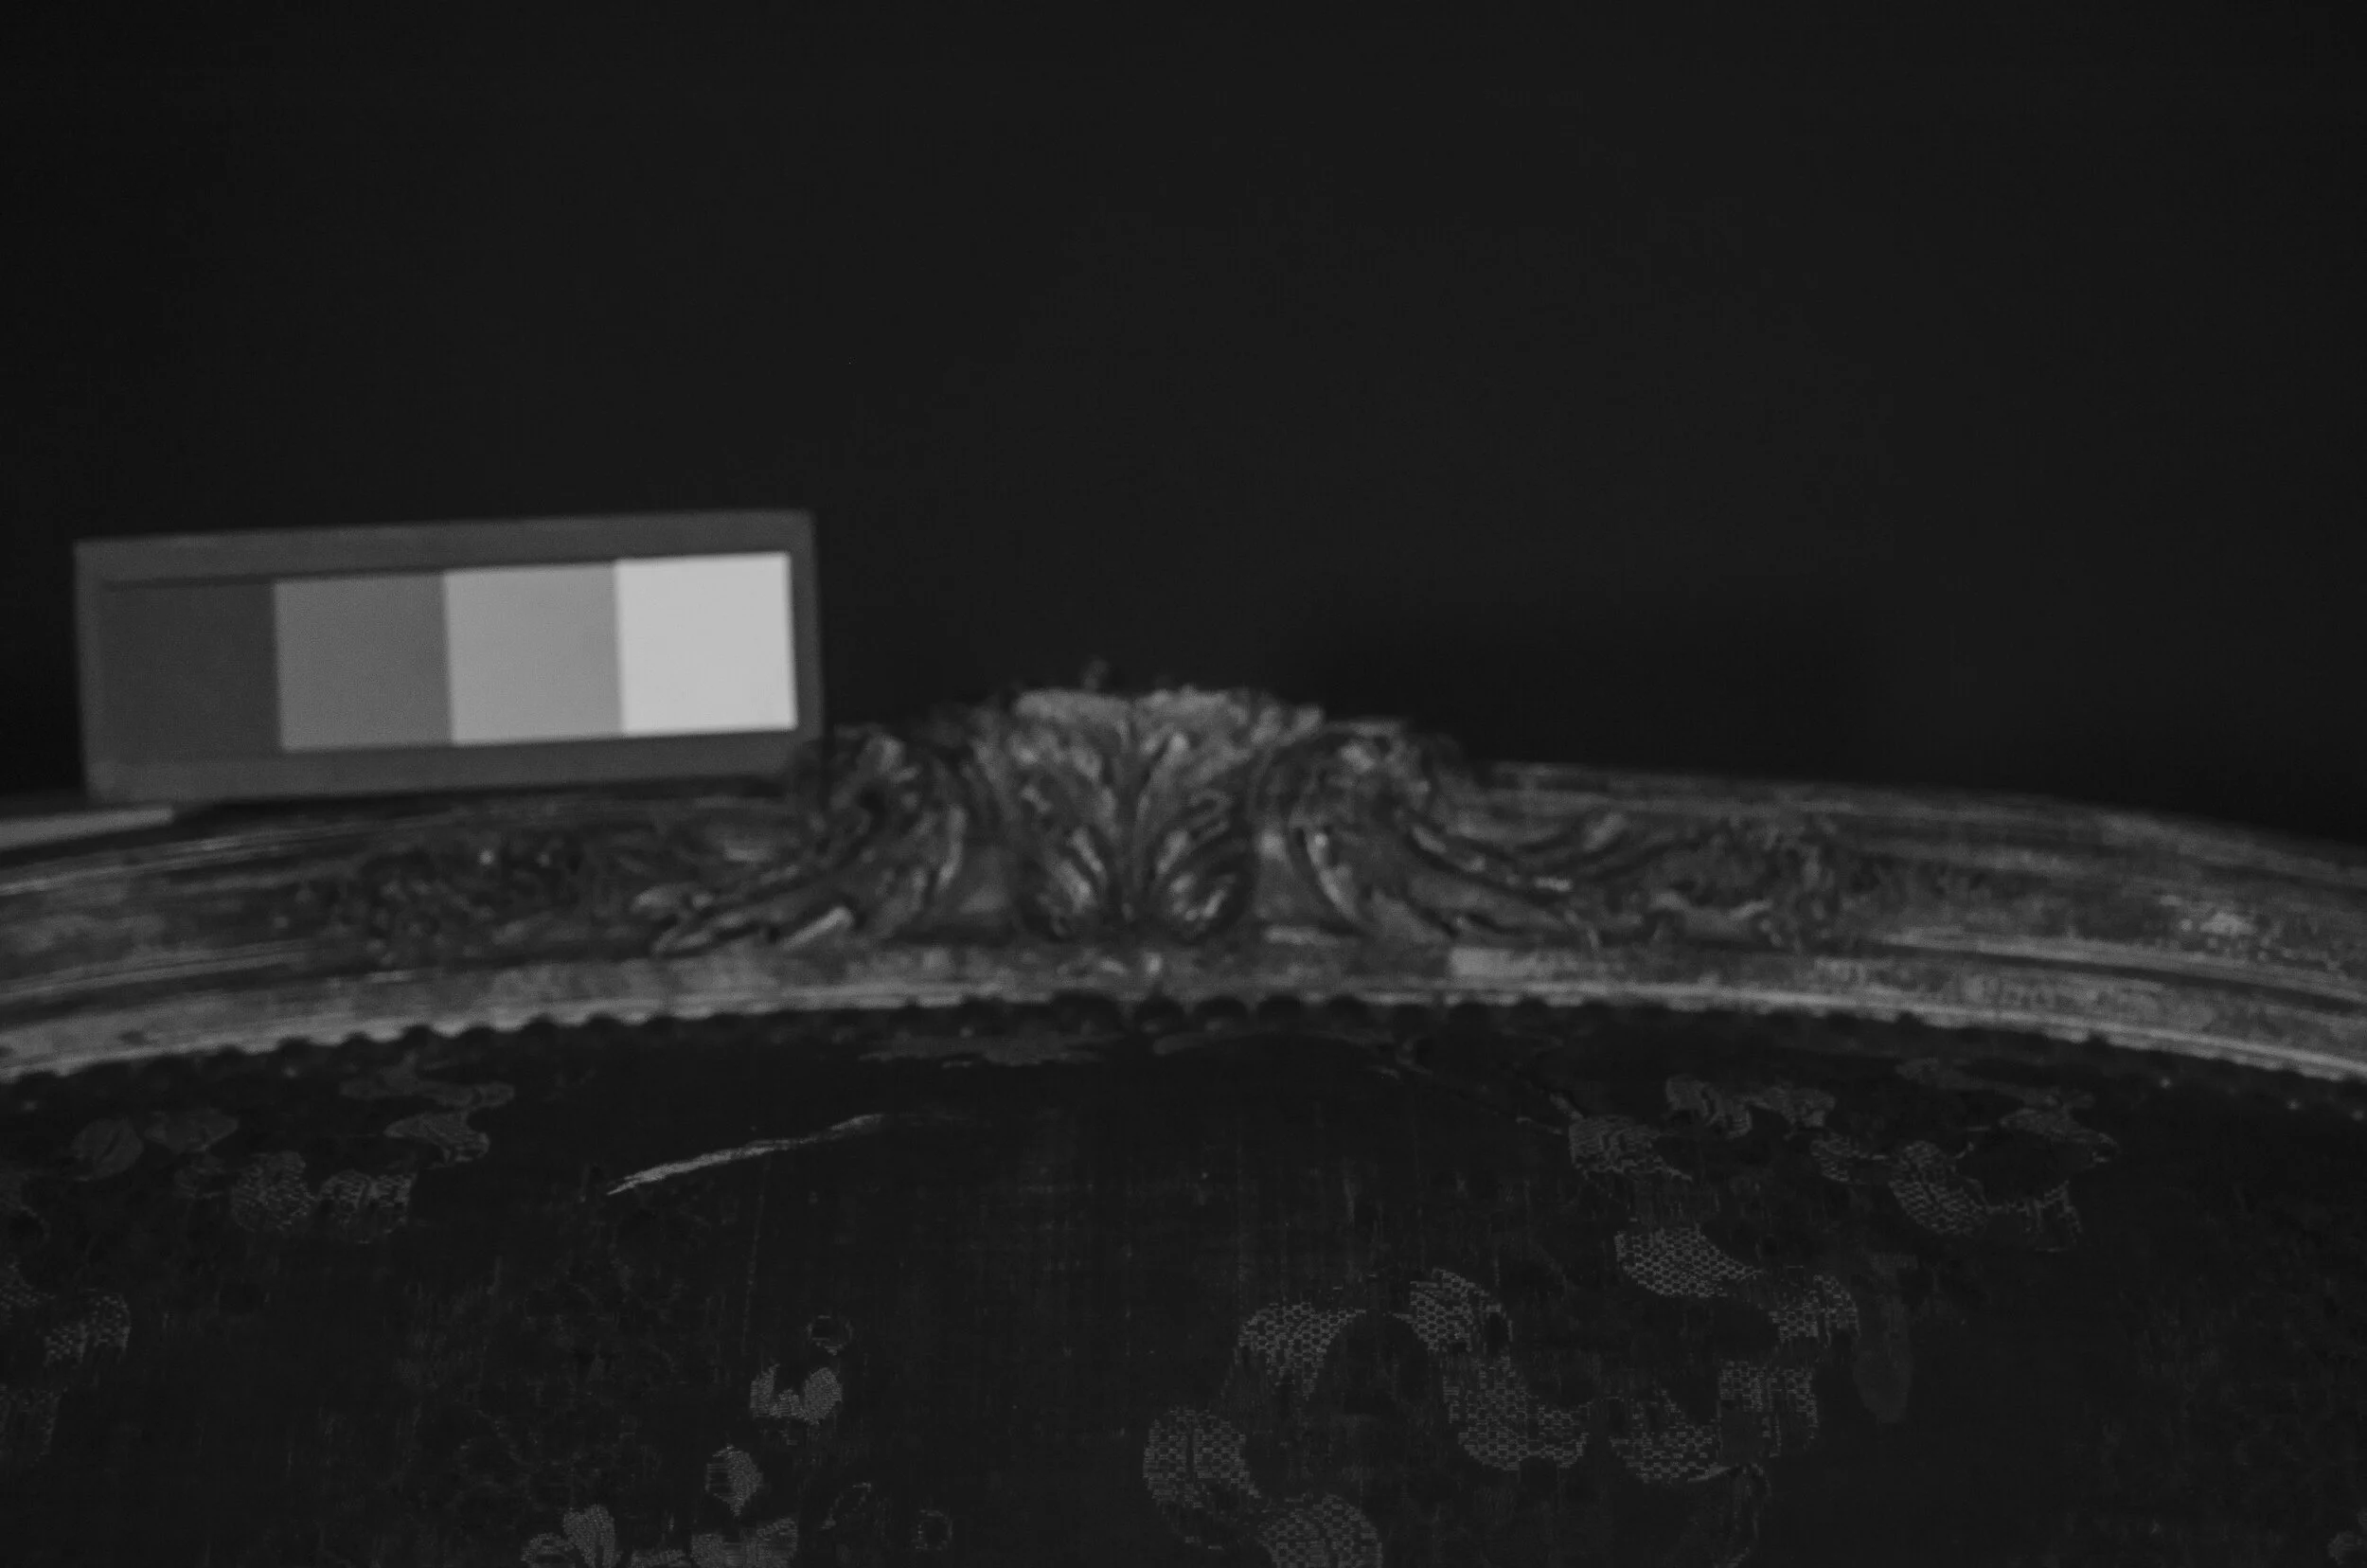
In order to conduct complete photo documentation and differentiate the scumble overpaint and surface dirt/grime before cleaning, multi-spectral imaging was performed.
Visible-reflected image (VIS)
Infrared-reflected image (IRR)
The IRR image captures reflected infrared light. This image presents consistent reflectance of the infrared from the overpaint and the original finish, while the dirt/grime aborbs infrared light. Combined with UVL image, the scumble overpaint and surface dirt/grime deposit can be differentiated and identified.
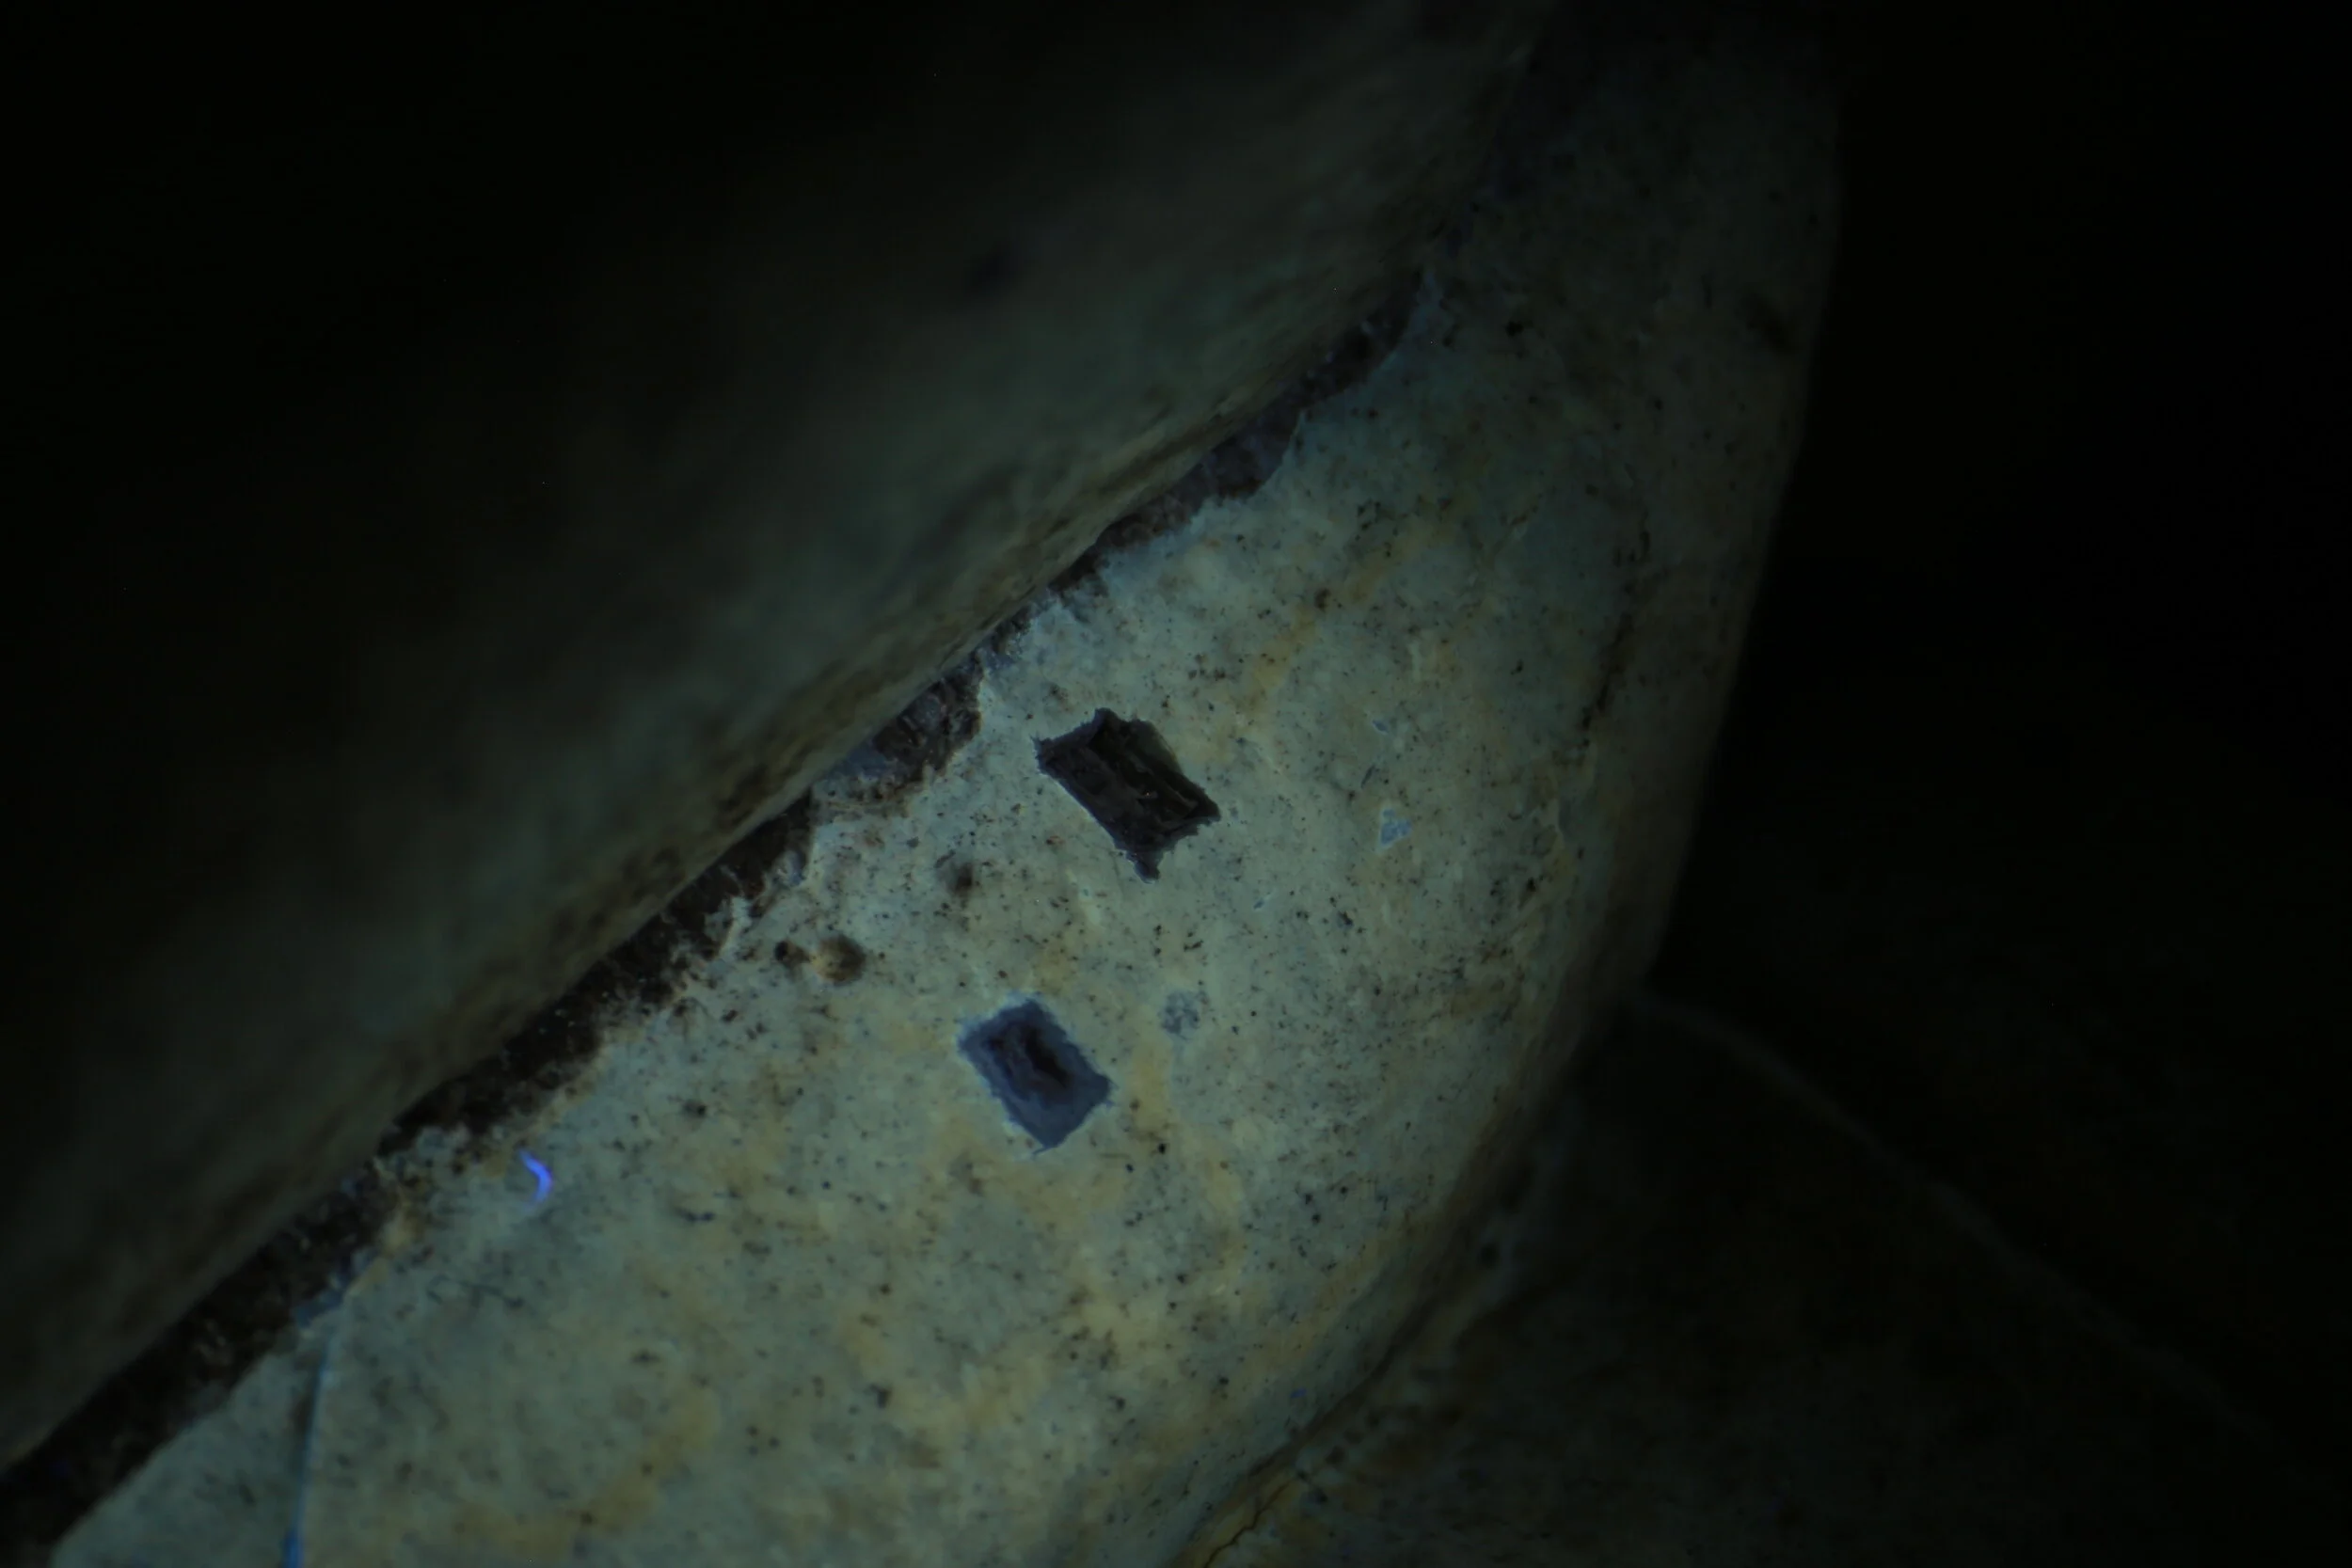
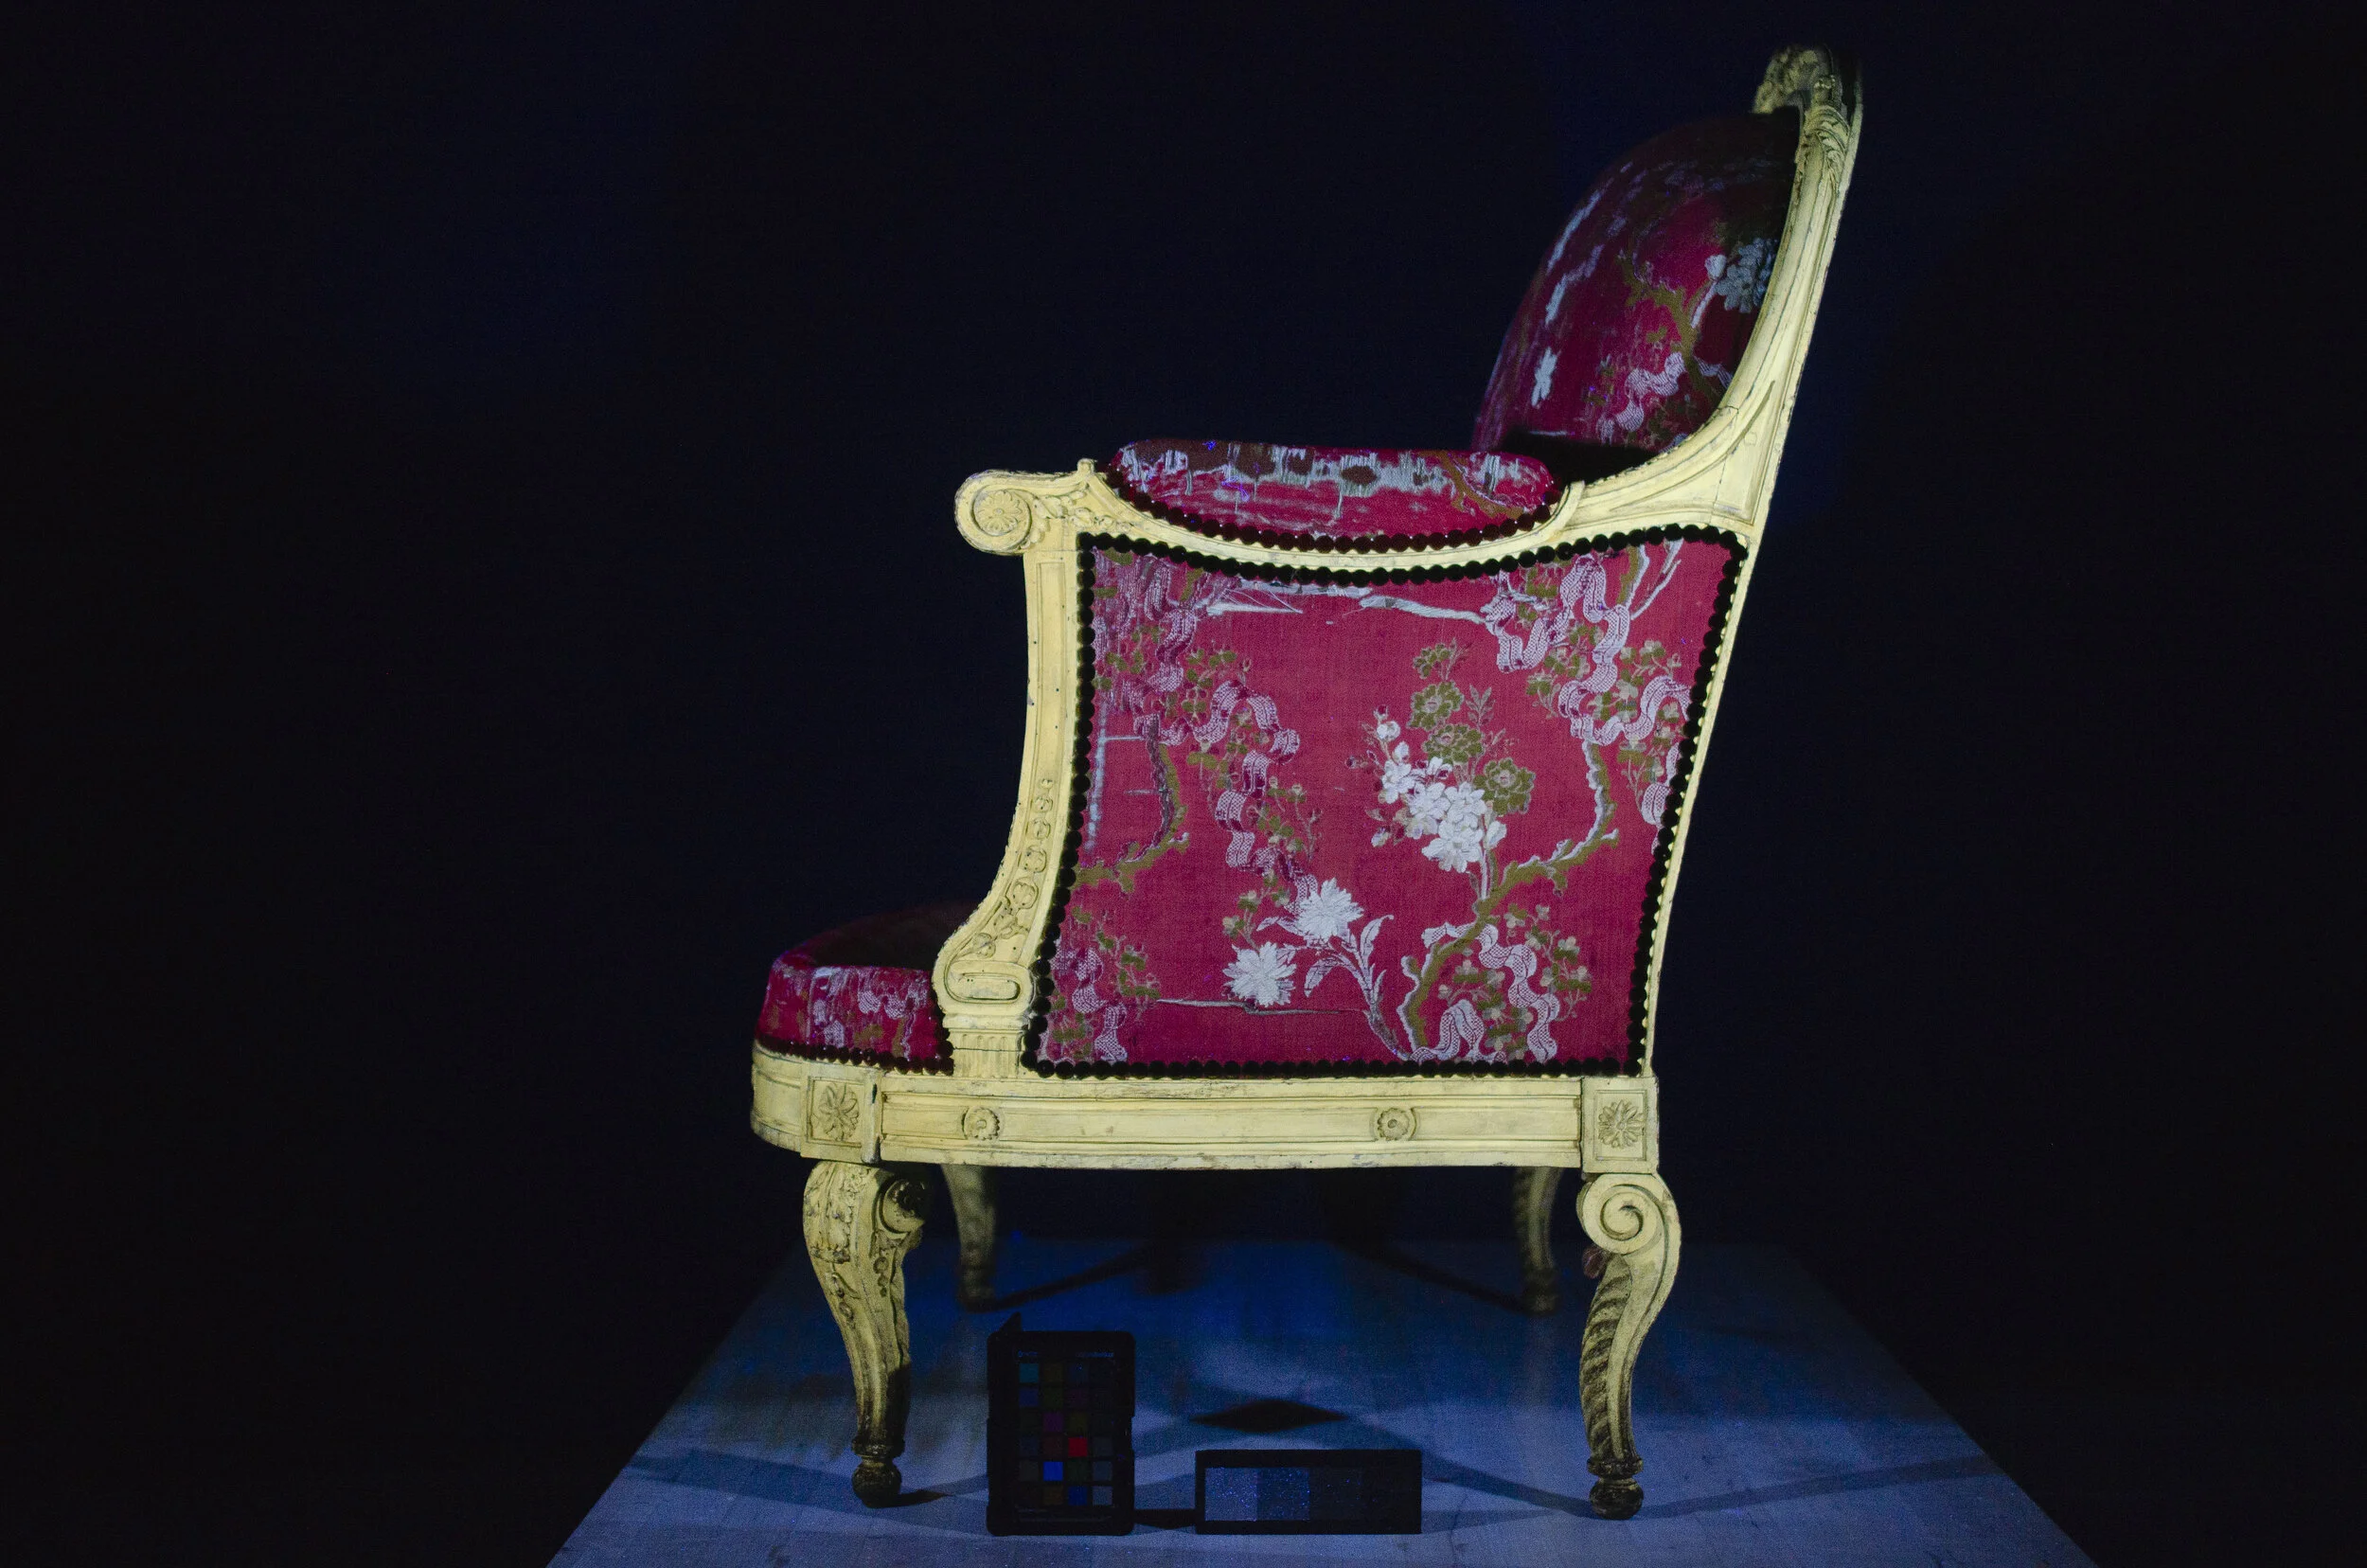
Ultraviolet-induced luminescence image (UVL).
The UV light reveals the non-fluorescent overpaint and dirt/grime deposit on the surface, which can’t be captured in UVL image. The original natural resin varnish is shown in the image as its yellowish fluorescence, which is dim since it’s partially quenched by the overpaint and surface dirt/grime. The cleaning test reveals the original varnish by successful remval of the overpaint and surface contamination.
Ultraviolet-reflected image (UVR)
UVR image serves as complentary image of the UVL image, which help to capture the reflected UV light. In this case, the UV light is likely to be quenched by the surface dirt/grime deposit since the overpaint reflects some of the UV light.
Treatment
1. Dust the surface with soft brushes and light vacuum.
2. Document before treatment condition with digital photography in DASC. (After treatment documentation photos in 2007 can be used here).
3. Make temporary support for the armchair on the work station.
4. Develop cleaning system to clean the wood frame, especially the feet.
Based on the results of technical study and cleaning test (see cleaning test above), the cleaning protocol is:
i. Use Shell Sol VMP Napatha to remove wax and dirt on the surface first
ii. Use xylene to remove the thin wash of overpaint where it is applicable
iii. Use 1% tri-ammonium citrate at pH=6-6.5 to clean the surface.
iiii. pH adjusted water for clearance
In consultation with Charissa Bremer-Davis and Stephanie Auffret, the cleaning protocol was developed to remove the scumble overpaint and dirt, revealing the original but degrade finish. Before cleaning multi-spectral imaging was taken for documentation.
5. Use water color to retouch the white paint mark on the back cushion.
6. Slightly straighten the loose silk threads of the brocade of the show cover in the front of the seat cushion.
7. Conduct research on the style of carving and make loss compensation for the tip of the top center acanthus leaf with 3D scanning and printing.
8. Document after treatment condition with digital photography.
The overall cleaning and Step 5 - 8 were conducted by colleagues in DASC after my internship ended in mid-August, 2019.
For complete report please CLICK HERE
After treatment.
Photo source: Arlen Heginbotham


