Consolidation of the “seaweed” marquetry
Source: https://www.metmuseum.org/art/collection/search/204655
“Seaweed” Cabinet on Stand
Maker: Unknown, in the style of Gerrit Jensen
Date: ca. 1700
Culture: British
Period: William and Mary
From the Marion E. and Leonard A. Cohn Collection, Bequest of Marion E. Cohn, 1966
Accession Number: 66.64.15
Medium: Pine veneered with marquetry of walnut, burl walnut, and holly; oak drawers; walnut legs; gilt metal hardware, some of it replaced
Dimensions (overall): Cabinet and Base: 62-3/4 H × 45-3/4 W × 21 D in. (159.4 × 116.2 × 53.3 cm)
Conservation Intern: Yang Xu, assisted with X-radiograph examination of the PL door and consolidation of the “seaweed” marquetry on the cabinet, supervised by Lisa Ackerman, Associate Conservator
Merged X-radiograph. 45kV, 5mA, 30s
X-radiograph Examination of the PL Door Panel
X-ray of the PL door panel suggests it was structurally restored in previous restoration. The exterior door panels were constructed with top and bottom oak rails interlocked with two center panels by tongue and groove joints. A strip of walnut was added across the top of the rail to disguise the oak. The shrinkage gap did not appear to be treated with a solid wood fill, but rather a channel was drilled through the gap, extending slightly into both rails. Then the channel appears to have been filled with bulked glue or resin (light materials), covered with appropriate wood veneers and inpainted with the seaweed pattern.
Rationale for Treatment
The “Seaweed” Cabinet on Stand will be exhibited in the new British Galleries with the doors and drawers closed and locked, therefore treatment will only focus on the exterior. It is necessary to consolidate and secure the pest damage on the top structure to confidently and safely support the objects displayed on the top of the cabinet. The delaminated exterior marquetry/veneer and small losses on the edges have potential risk of being caught by handling and dusting. Consolidation of the marquetry/veneer and loss compensation will be conducted to secure the applied structure. The old repairs are generally stable and blend in well, won’t cause visual distraction, so they won’t be reversed.
Consolidation of the “Seaweed” Marquetry on the Cabinet
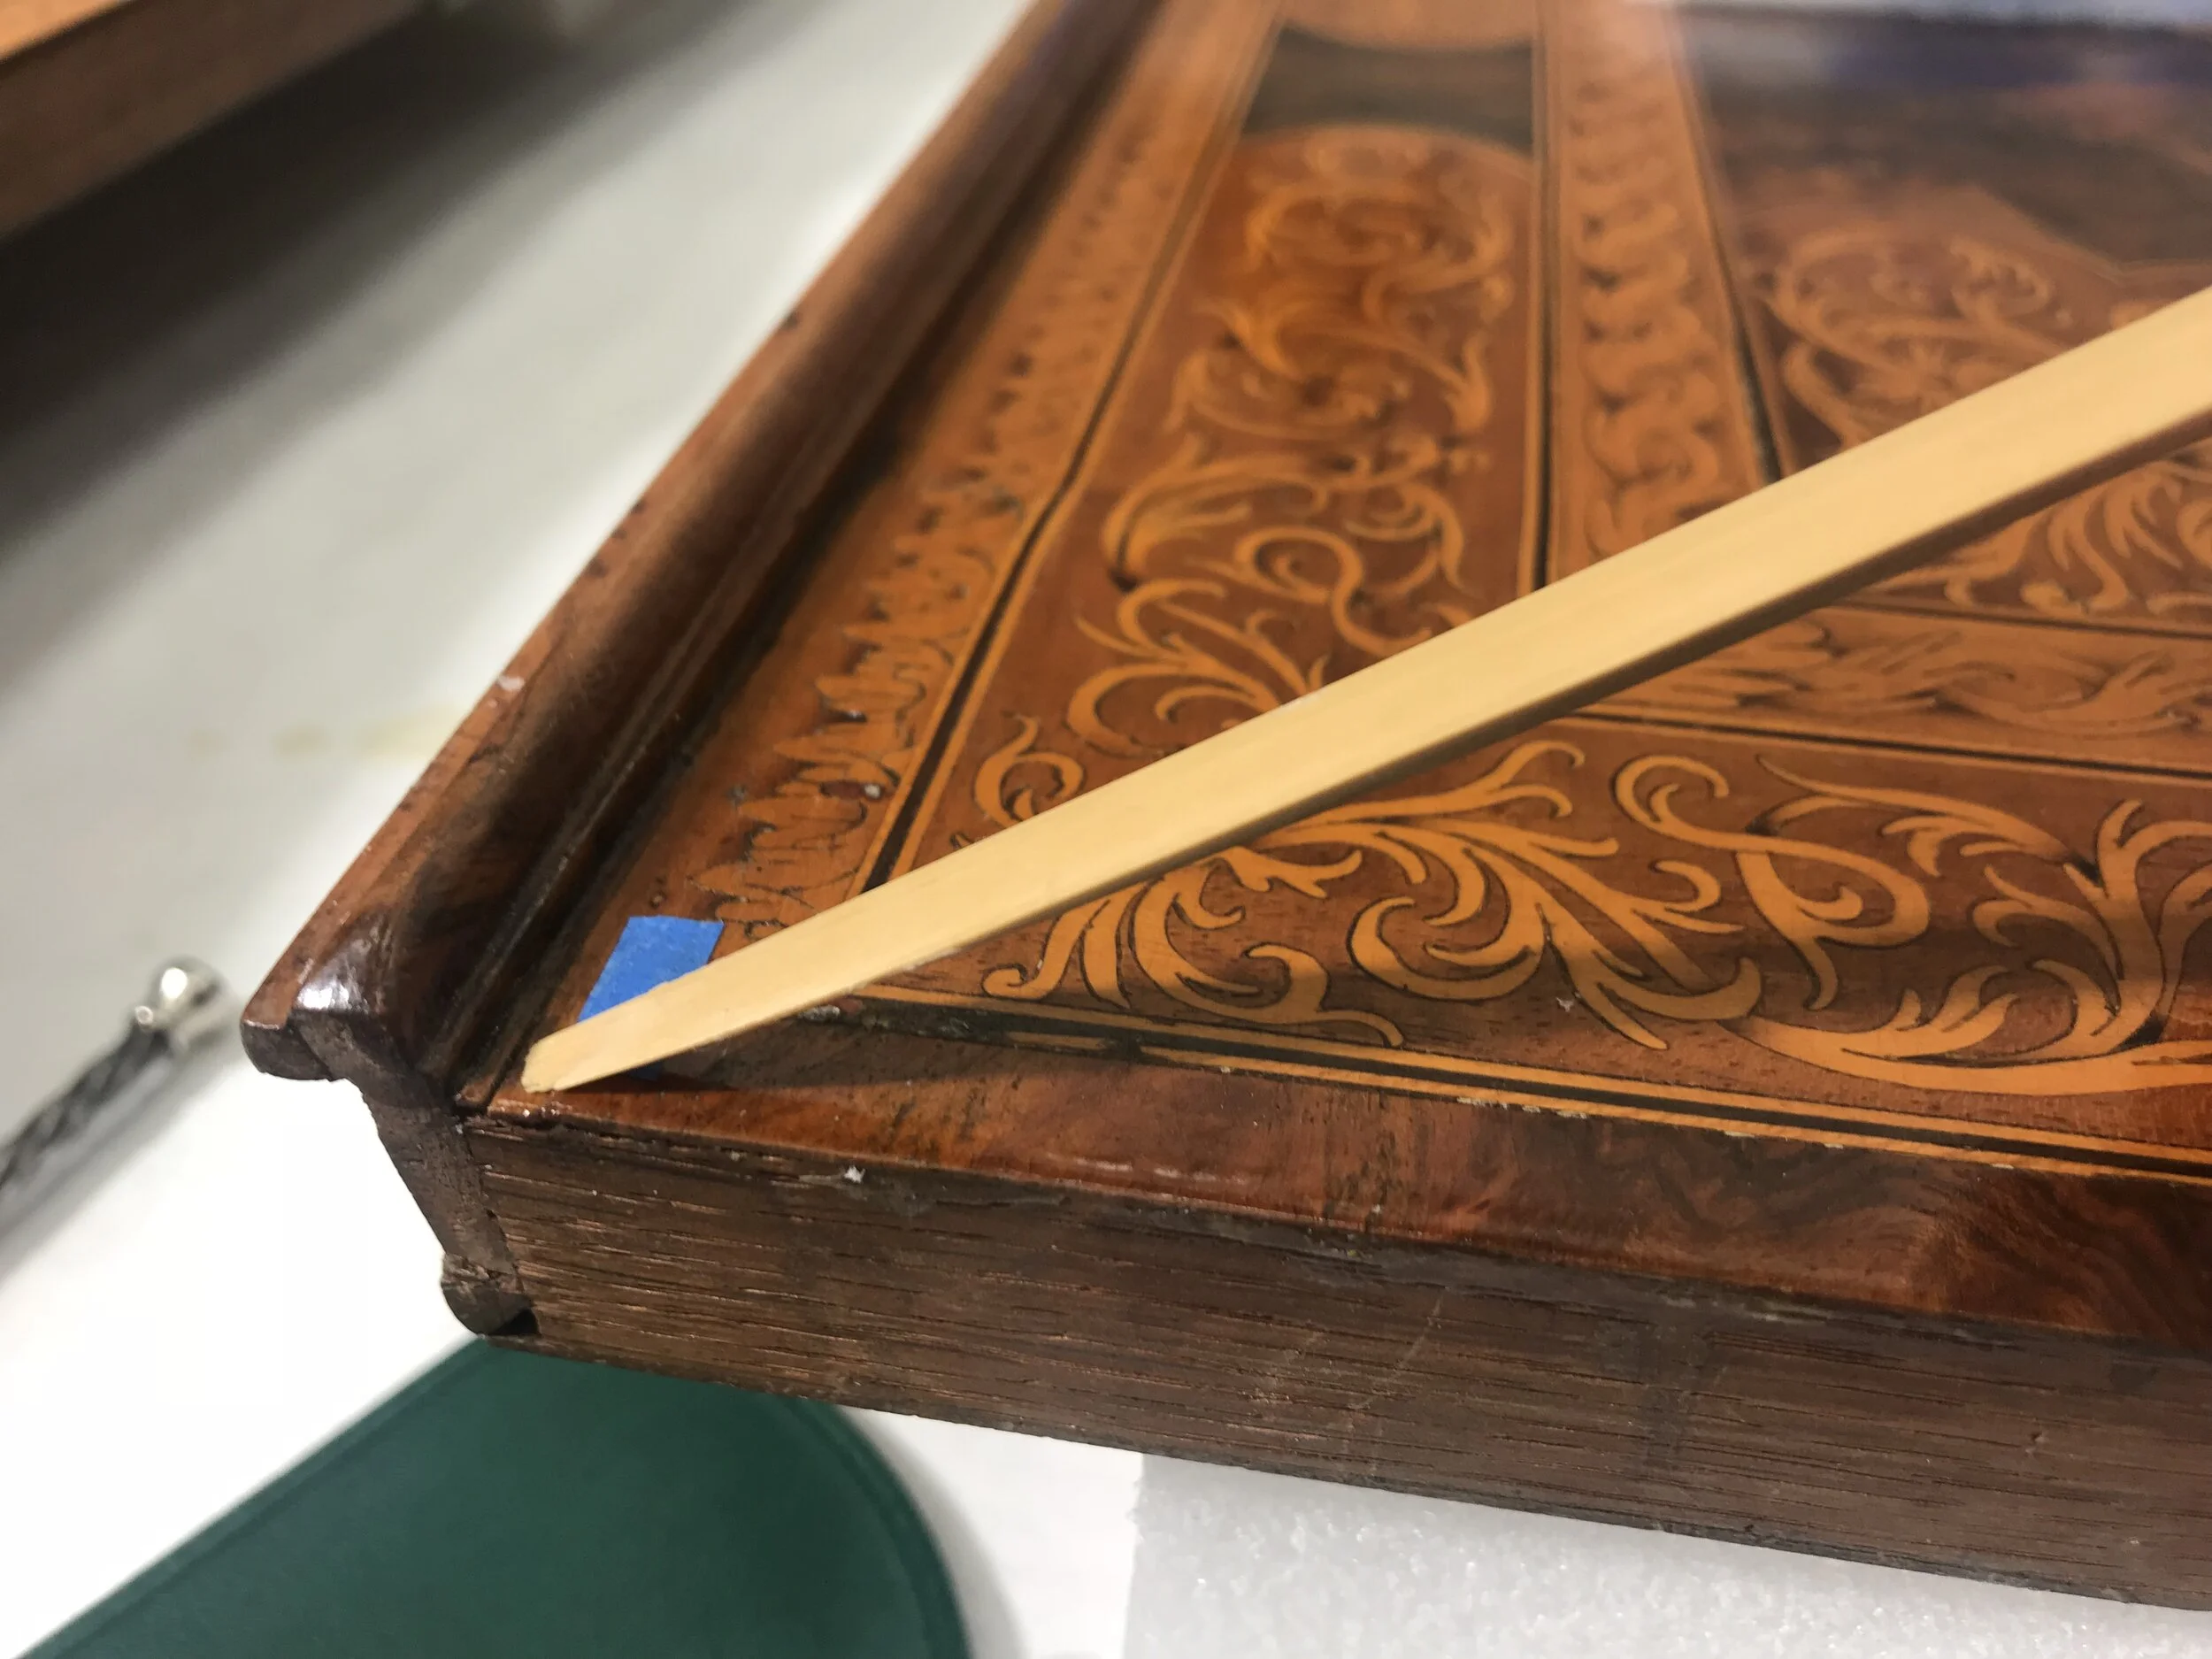
1. Examined the marquetry/veneer on the exterior using the tap test for hallow sounds and by pressing with a bamboo spatula for movement indicating delamination and marked the areas to be treated.
2. Injected consolidant underneath the marquetry/veneer with syringe and 26.5G needle (needle tip was filed to avoid scratch and puncture). Artcolle refined fish glue was used as consolidant. Depending on different fluidity required, the glue was diluted with deionized water (1:1).
For those intact areas without access for syringe needle, a jewelers drill, aka Archimedes drill, with the same size unfiled needle was used to drill apertures on the seams, kerfs, or crack lines. If necessary the 26.5G holes were filled and inpainted .
Clamping:
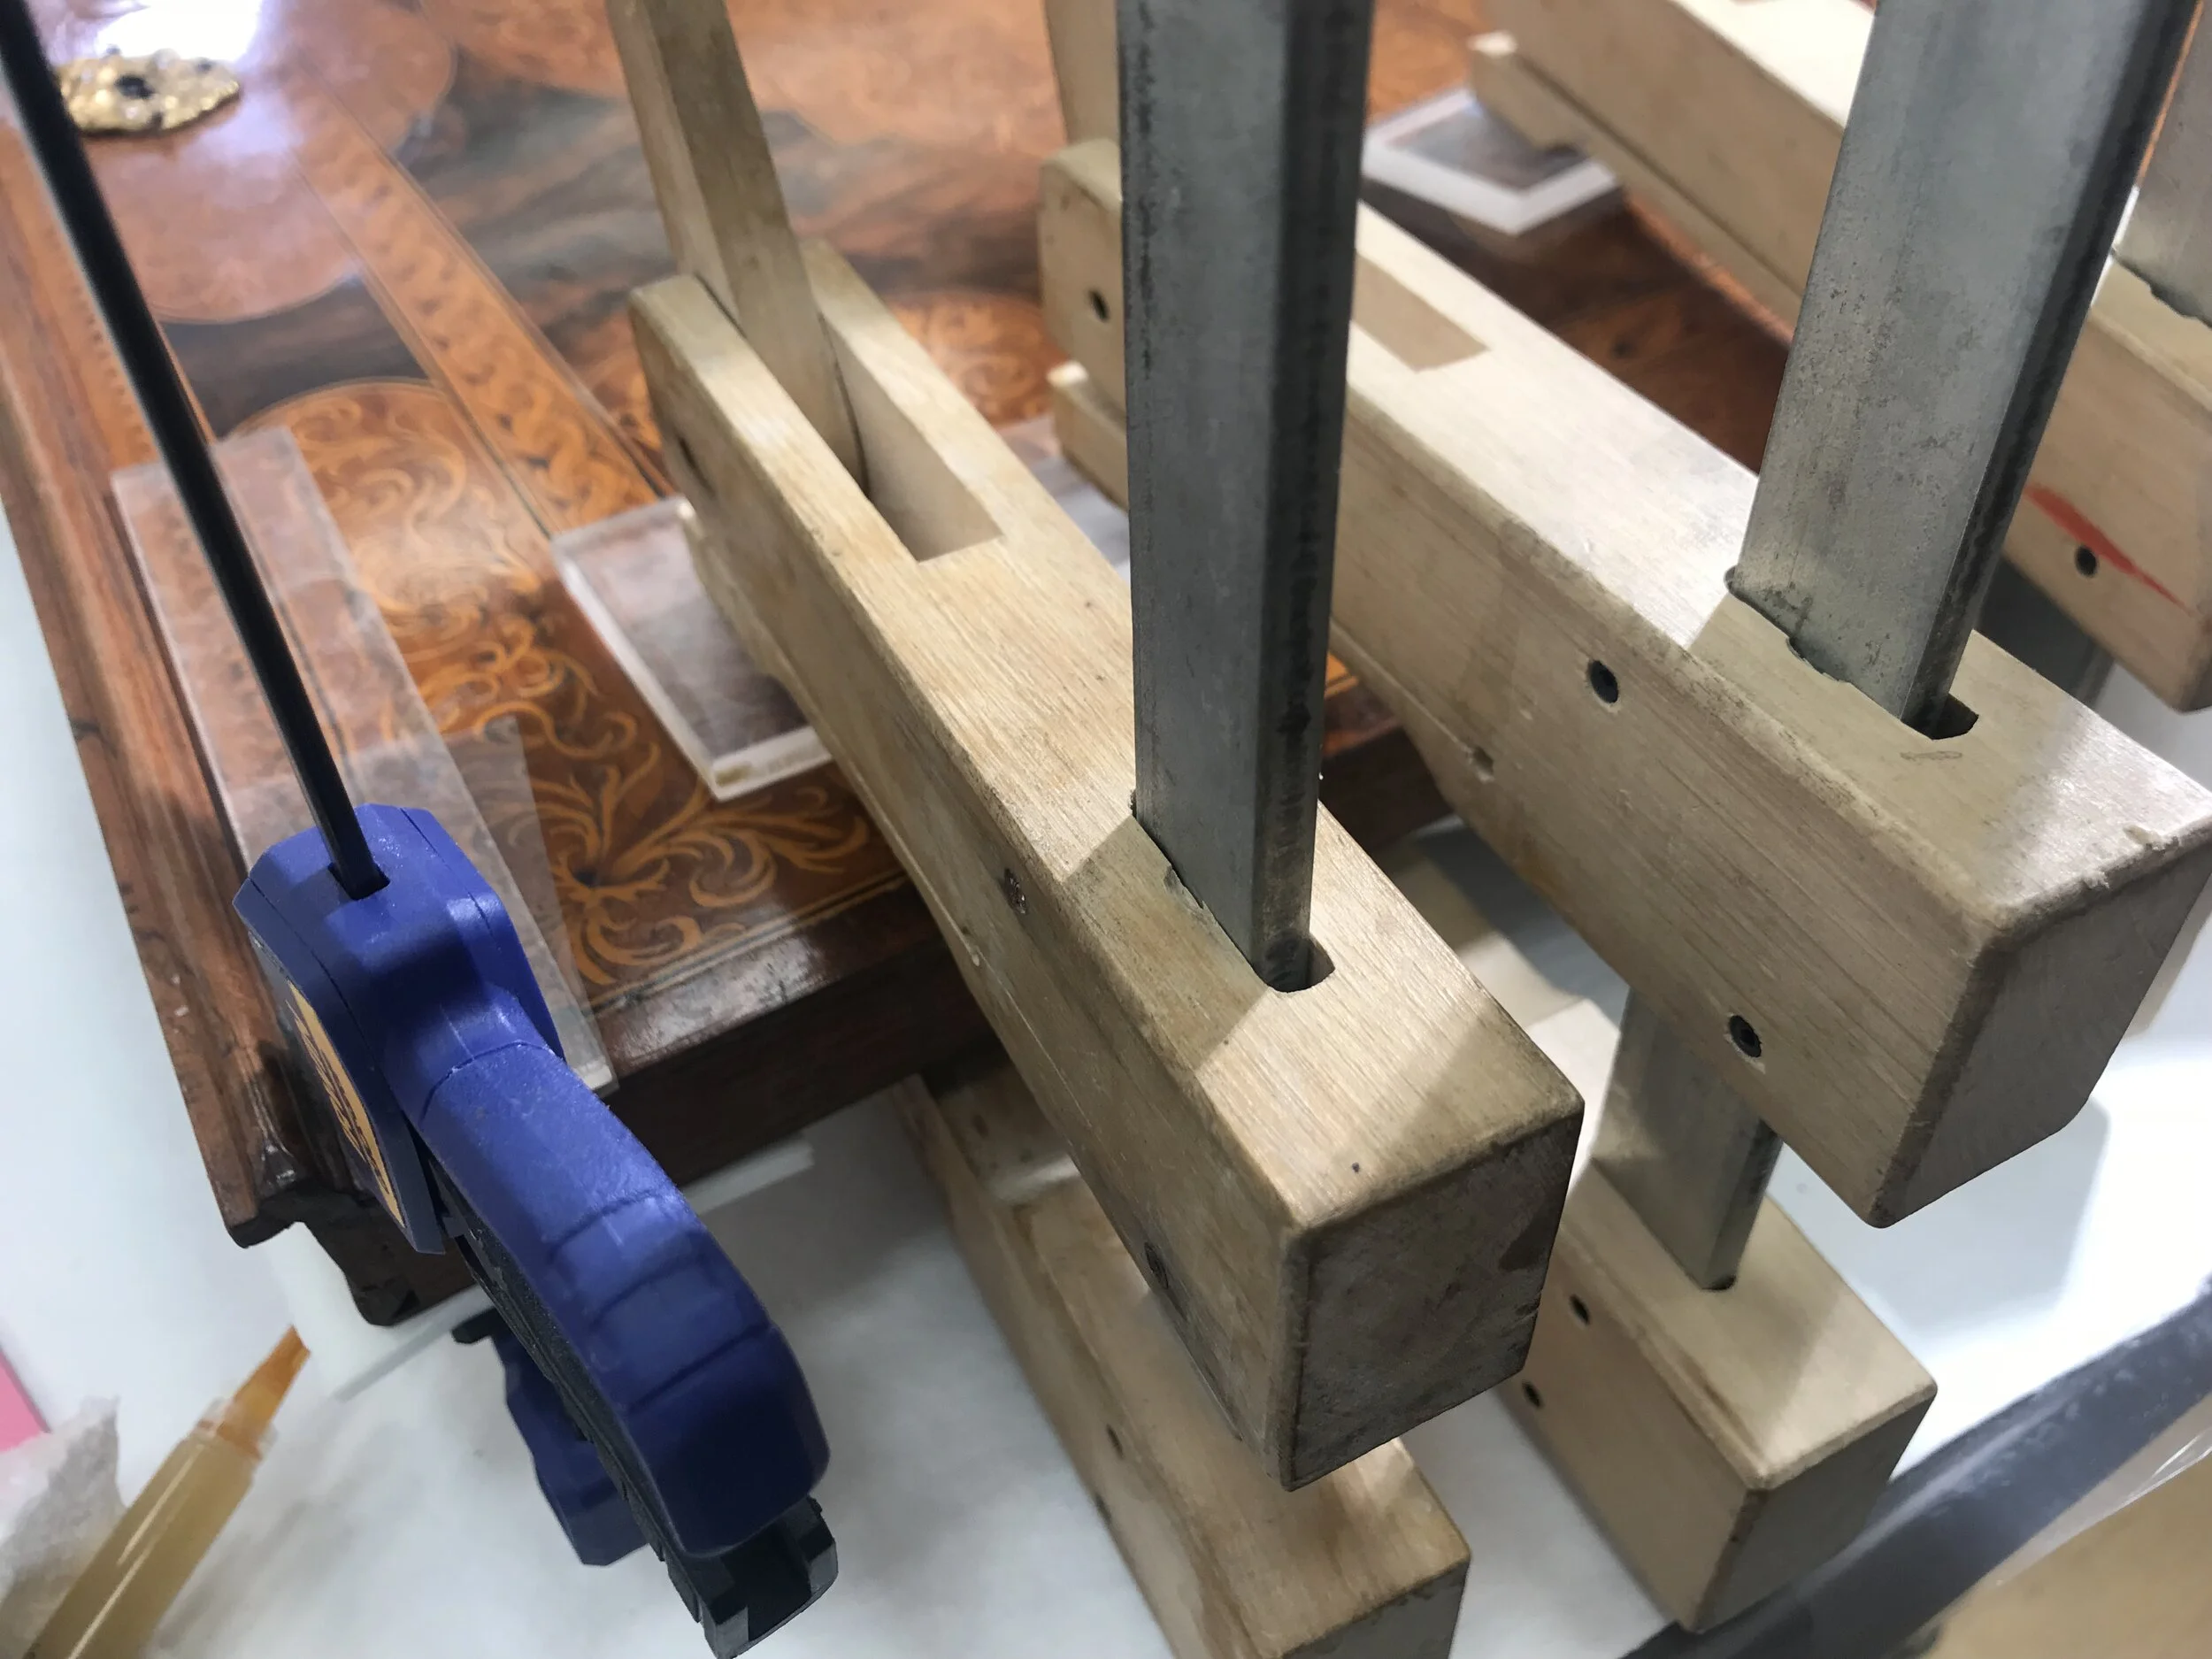
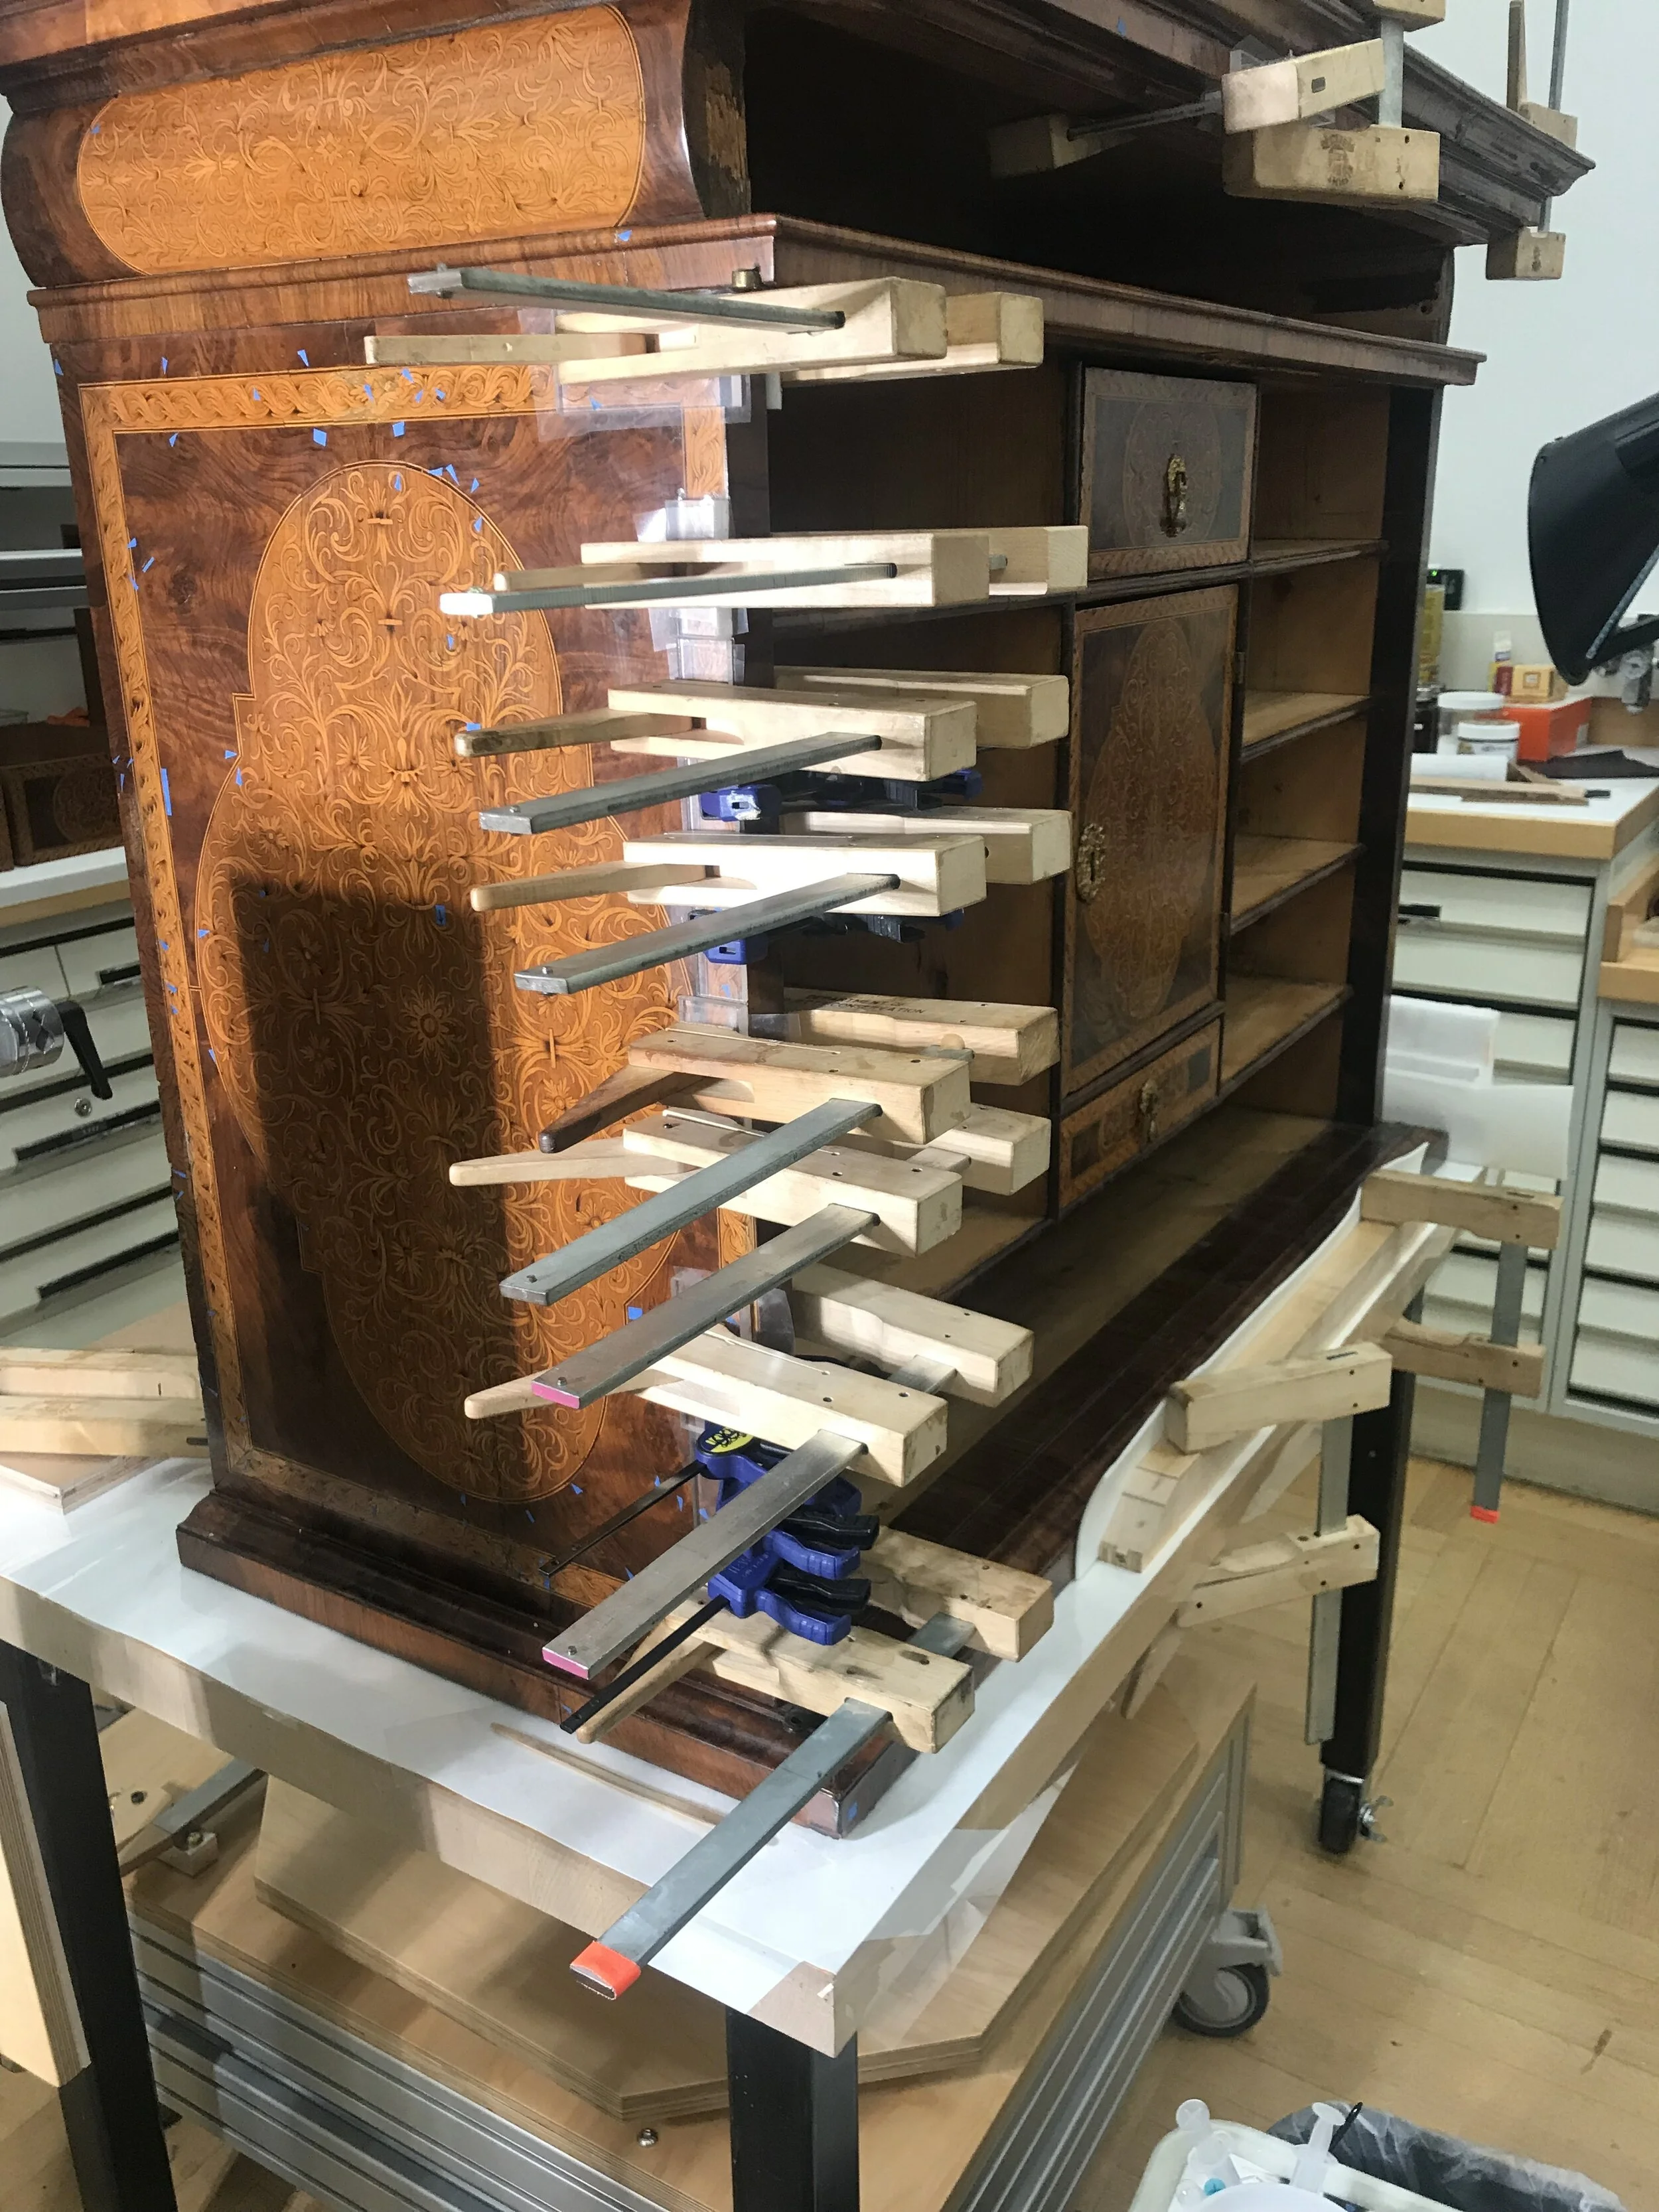
3. For the the pulvenated side friezes and the rear of the side panels, areas that conventional clamps can’t reach/perform well, the newly created Shimbari frame, invented and constructed by Met Staff and soon to be patented, and customized silicone molding pads were used for clamping. All clamping was left overnight for the consolidant to set.
4. Removed excessive glue residue on the surface with damp PVOH sponge.
Loss compensation:
5. Removed distractive old wax-resin fills as much as possible.
6. For small losses on the edges or cracks, filled with Modostuc. Used cold setting fish glue as barrier coating. Modostuc was prepared with fish glue, then applied and polished with Micromesh or damp PVOH sponge.
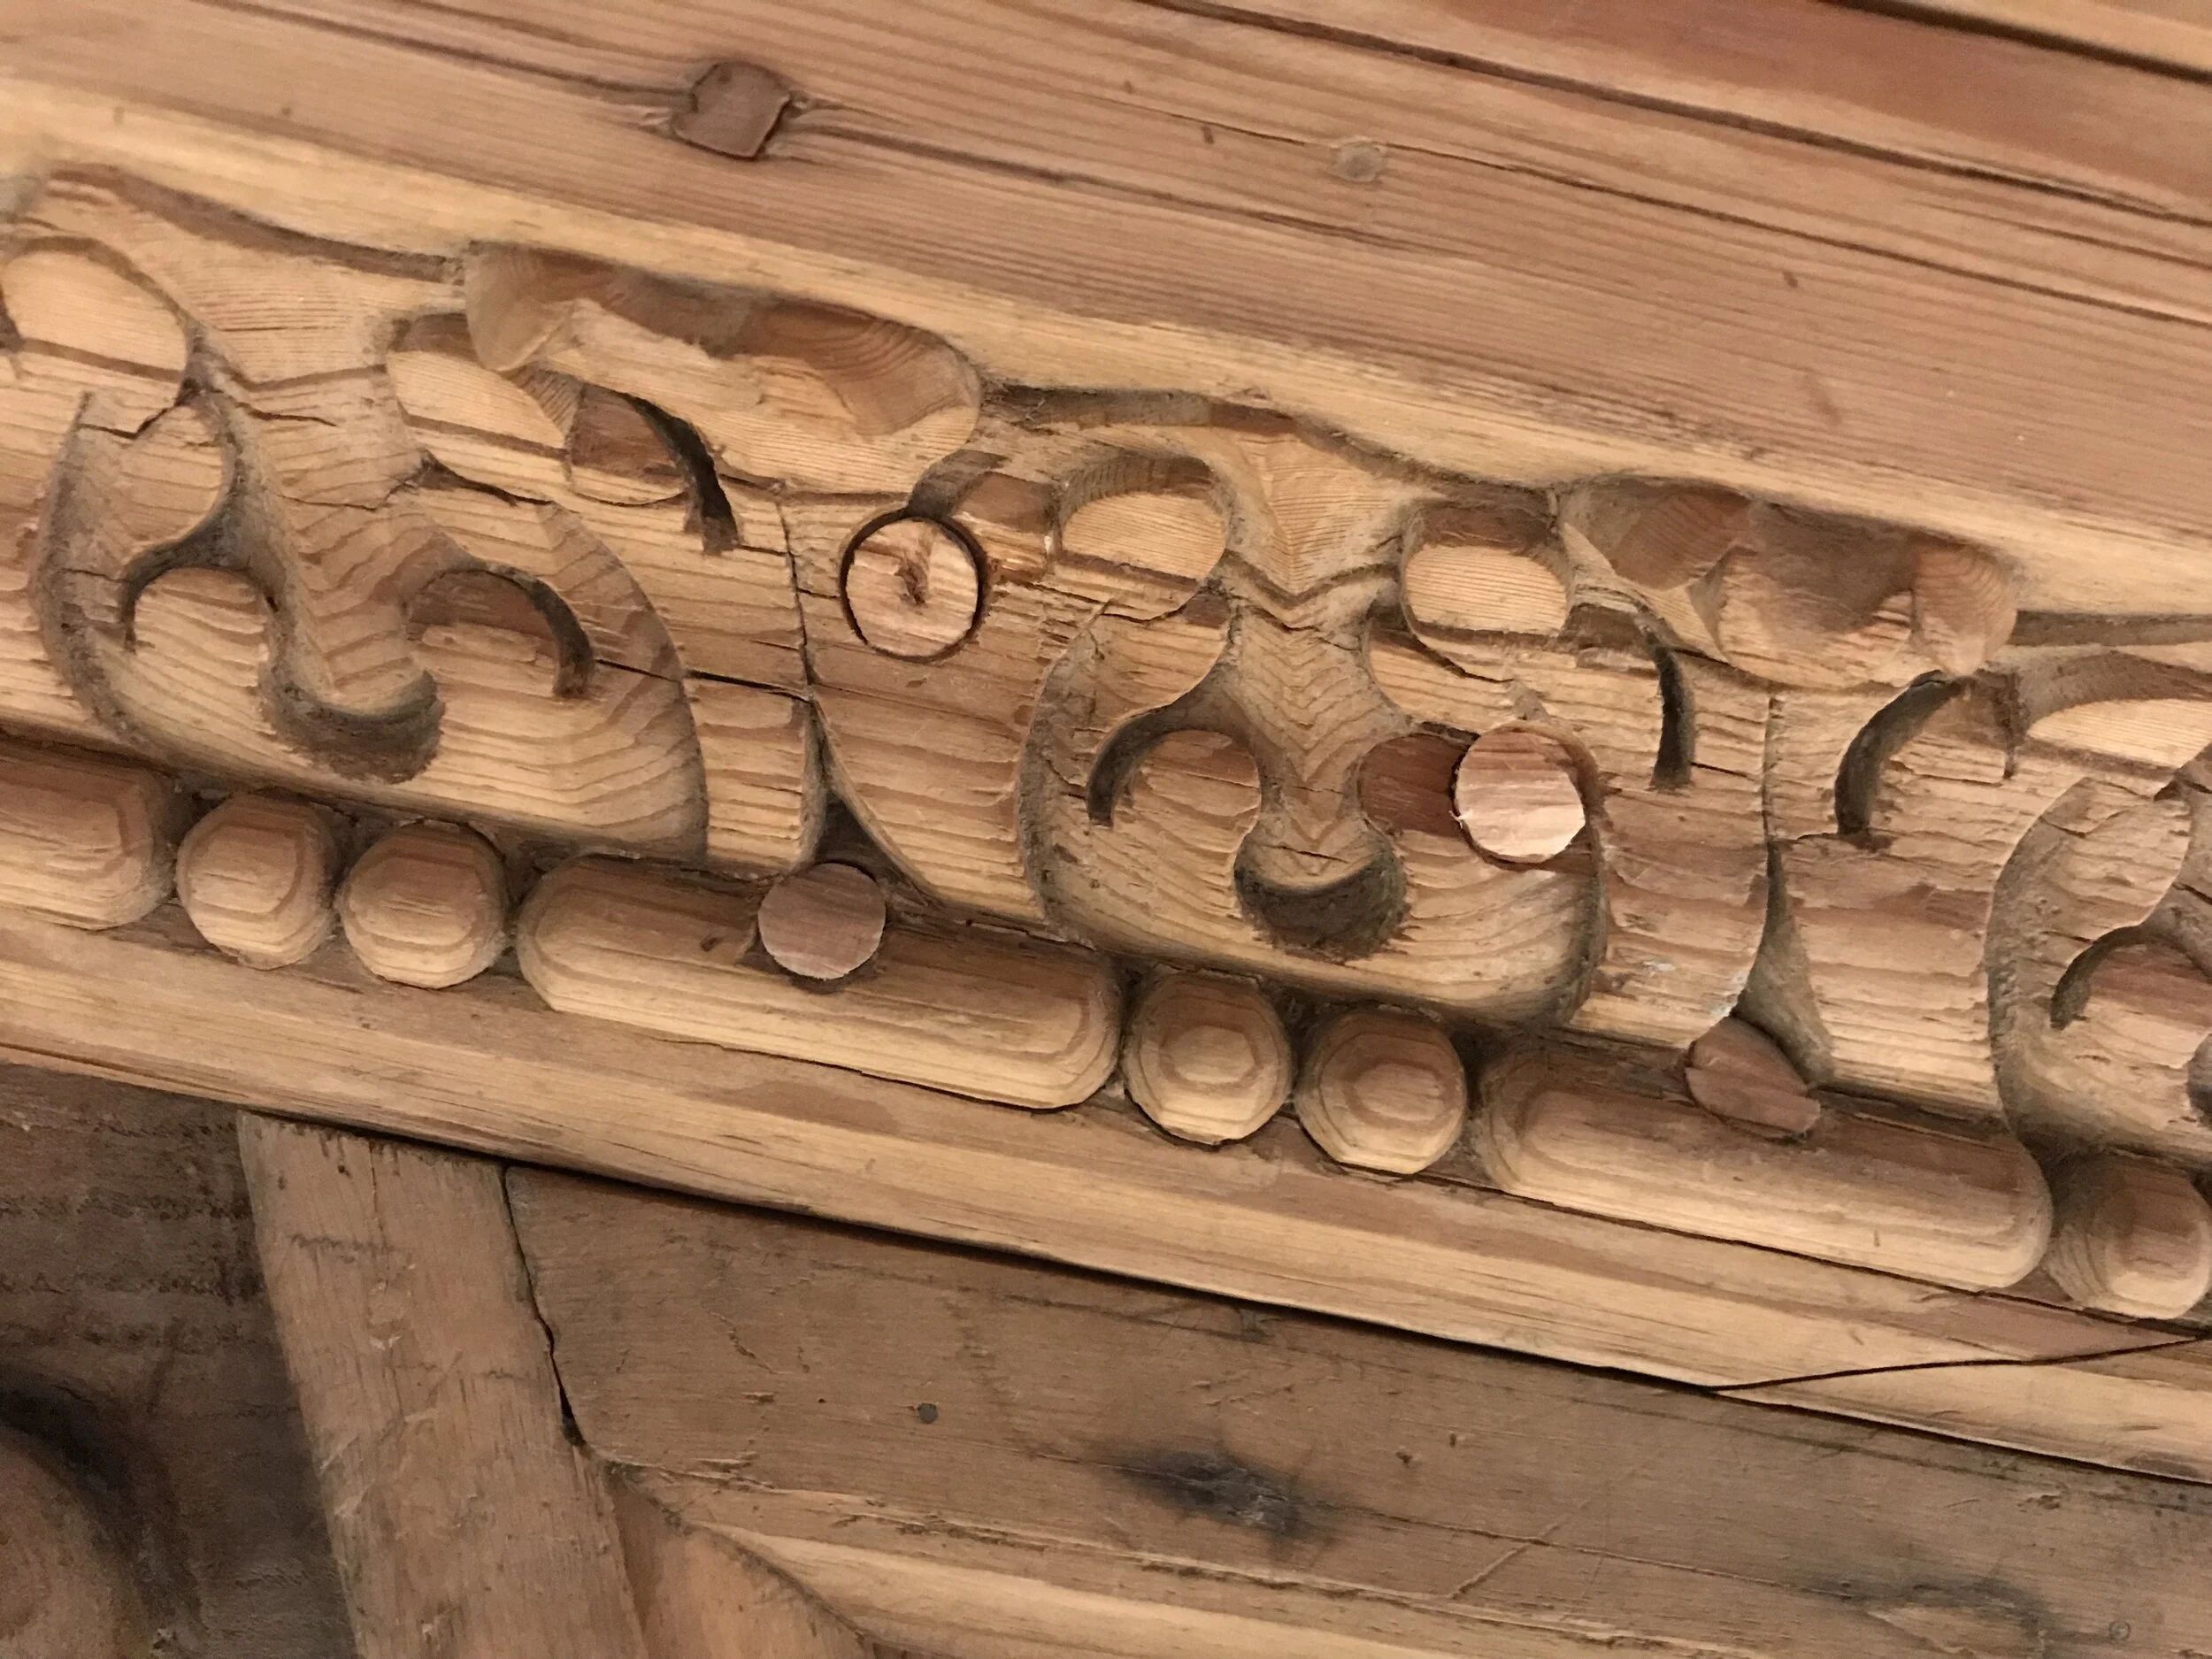
Consolidation of the infested feet and rail of the Court cupboard
Photo source: https://www.metmuseum.org/art/collection/search/203847:
Livery cupboard, “court” cupboard
Date: ca. 1585
Culture: British
Medium: Oak and walnut, inlaid with sycamore and holly (or poplar and bog oak)
Dimensions: Overall: 48 1/2 × 54 × 19 in. (123.2 × 137.2 × 48.3 cm)
Provenance: Gift of Irwin Untermyer, 1964
Accession Number: 64.101.1134
Conservation Intern: Yang Xu, assisted with X-radiograph examination of the back rail, consolidation of the infested feet and rail, and consolidation of the backing paper, supervised by Nicholas Pedemonti, Associate Conservator
Rationale for Treatment
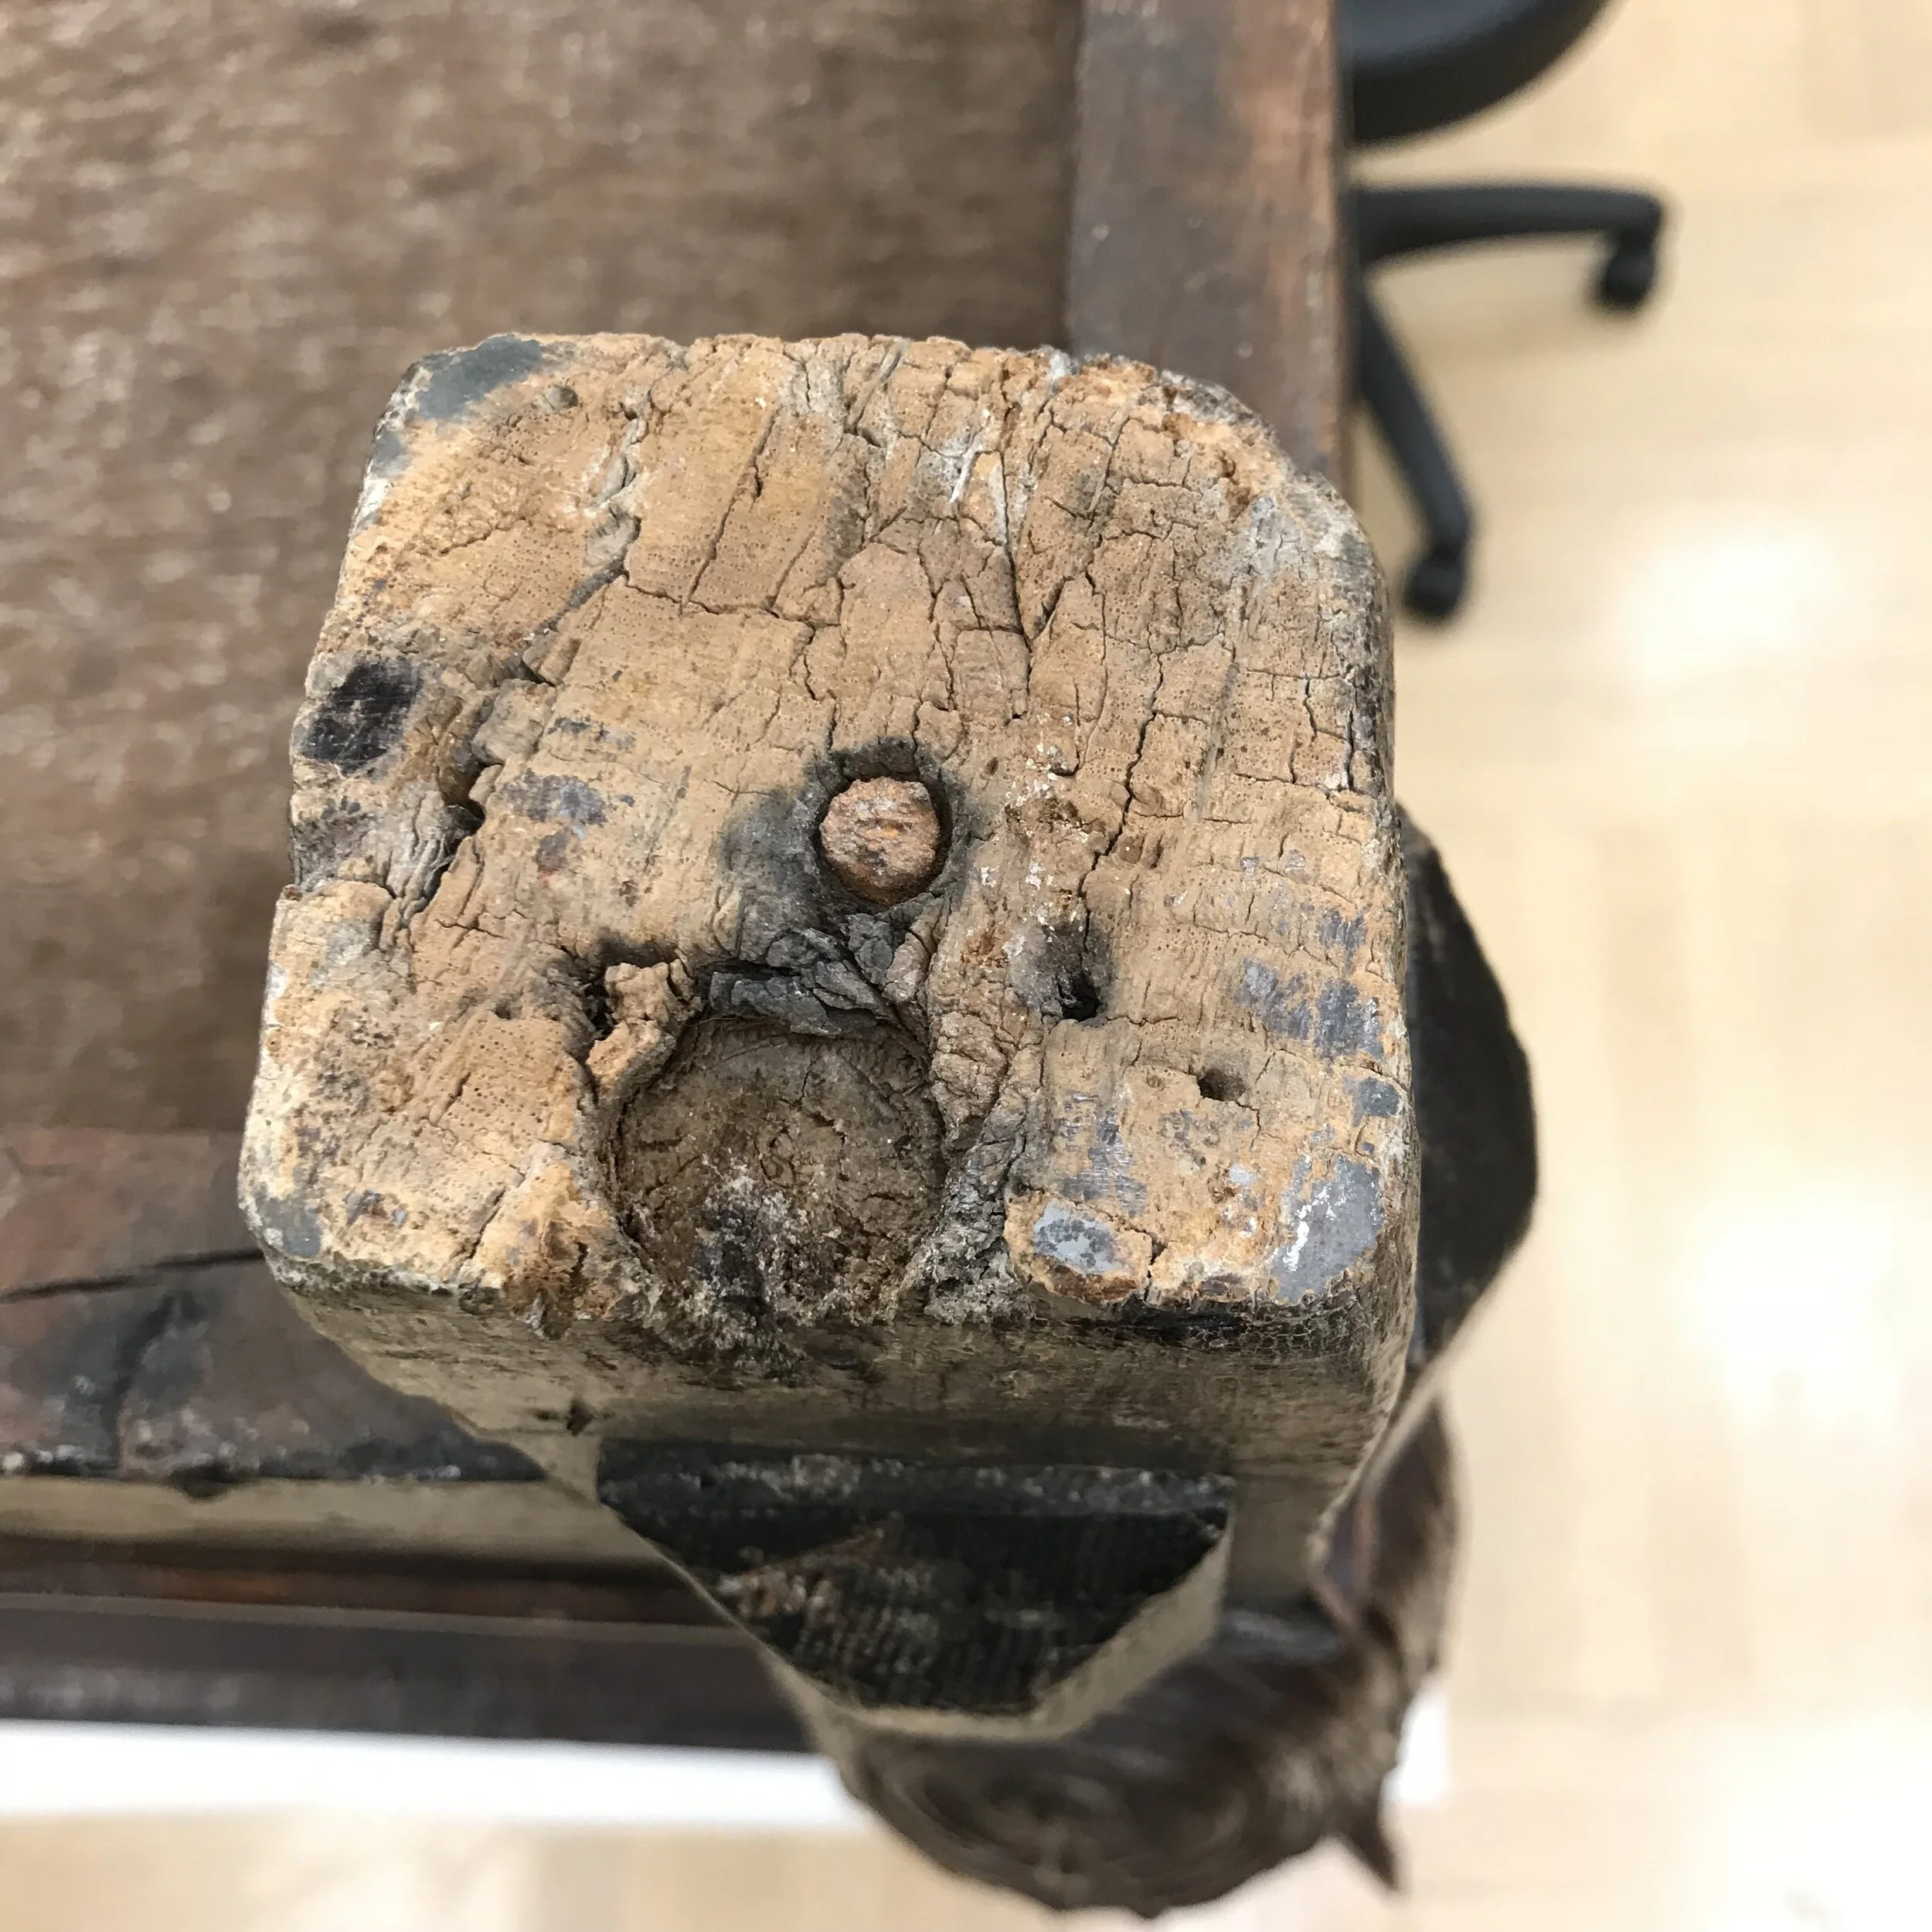
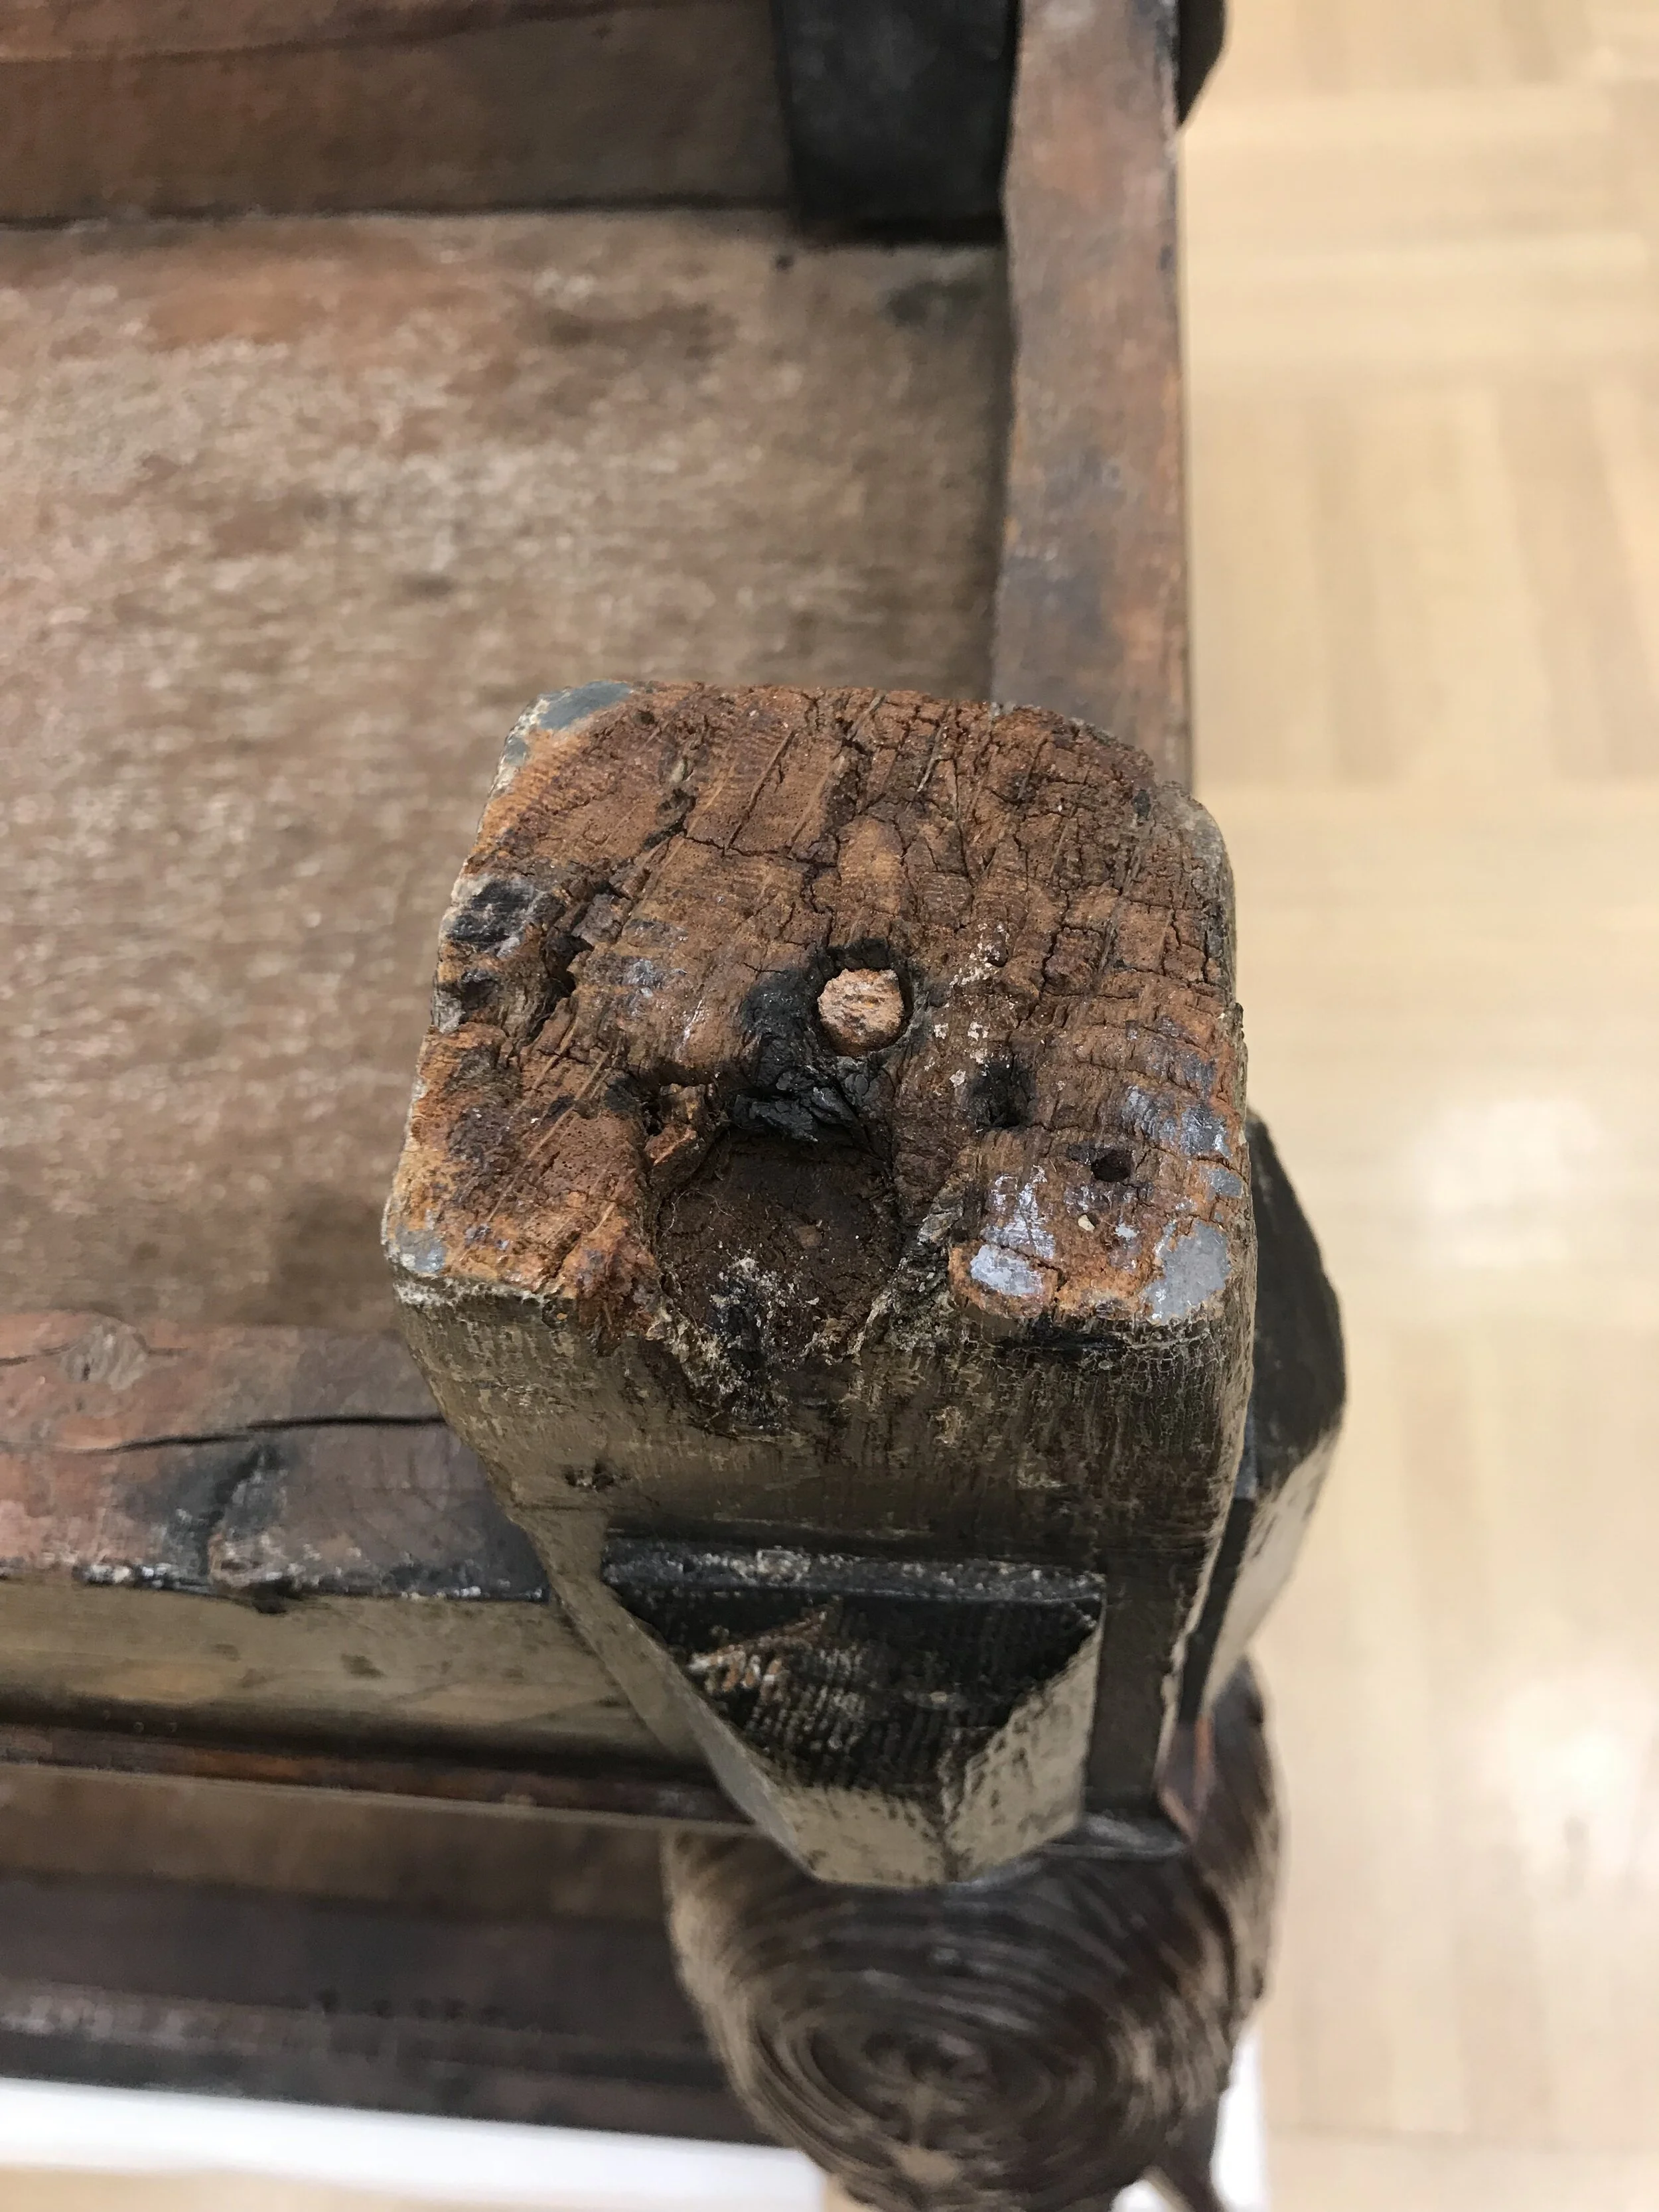
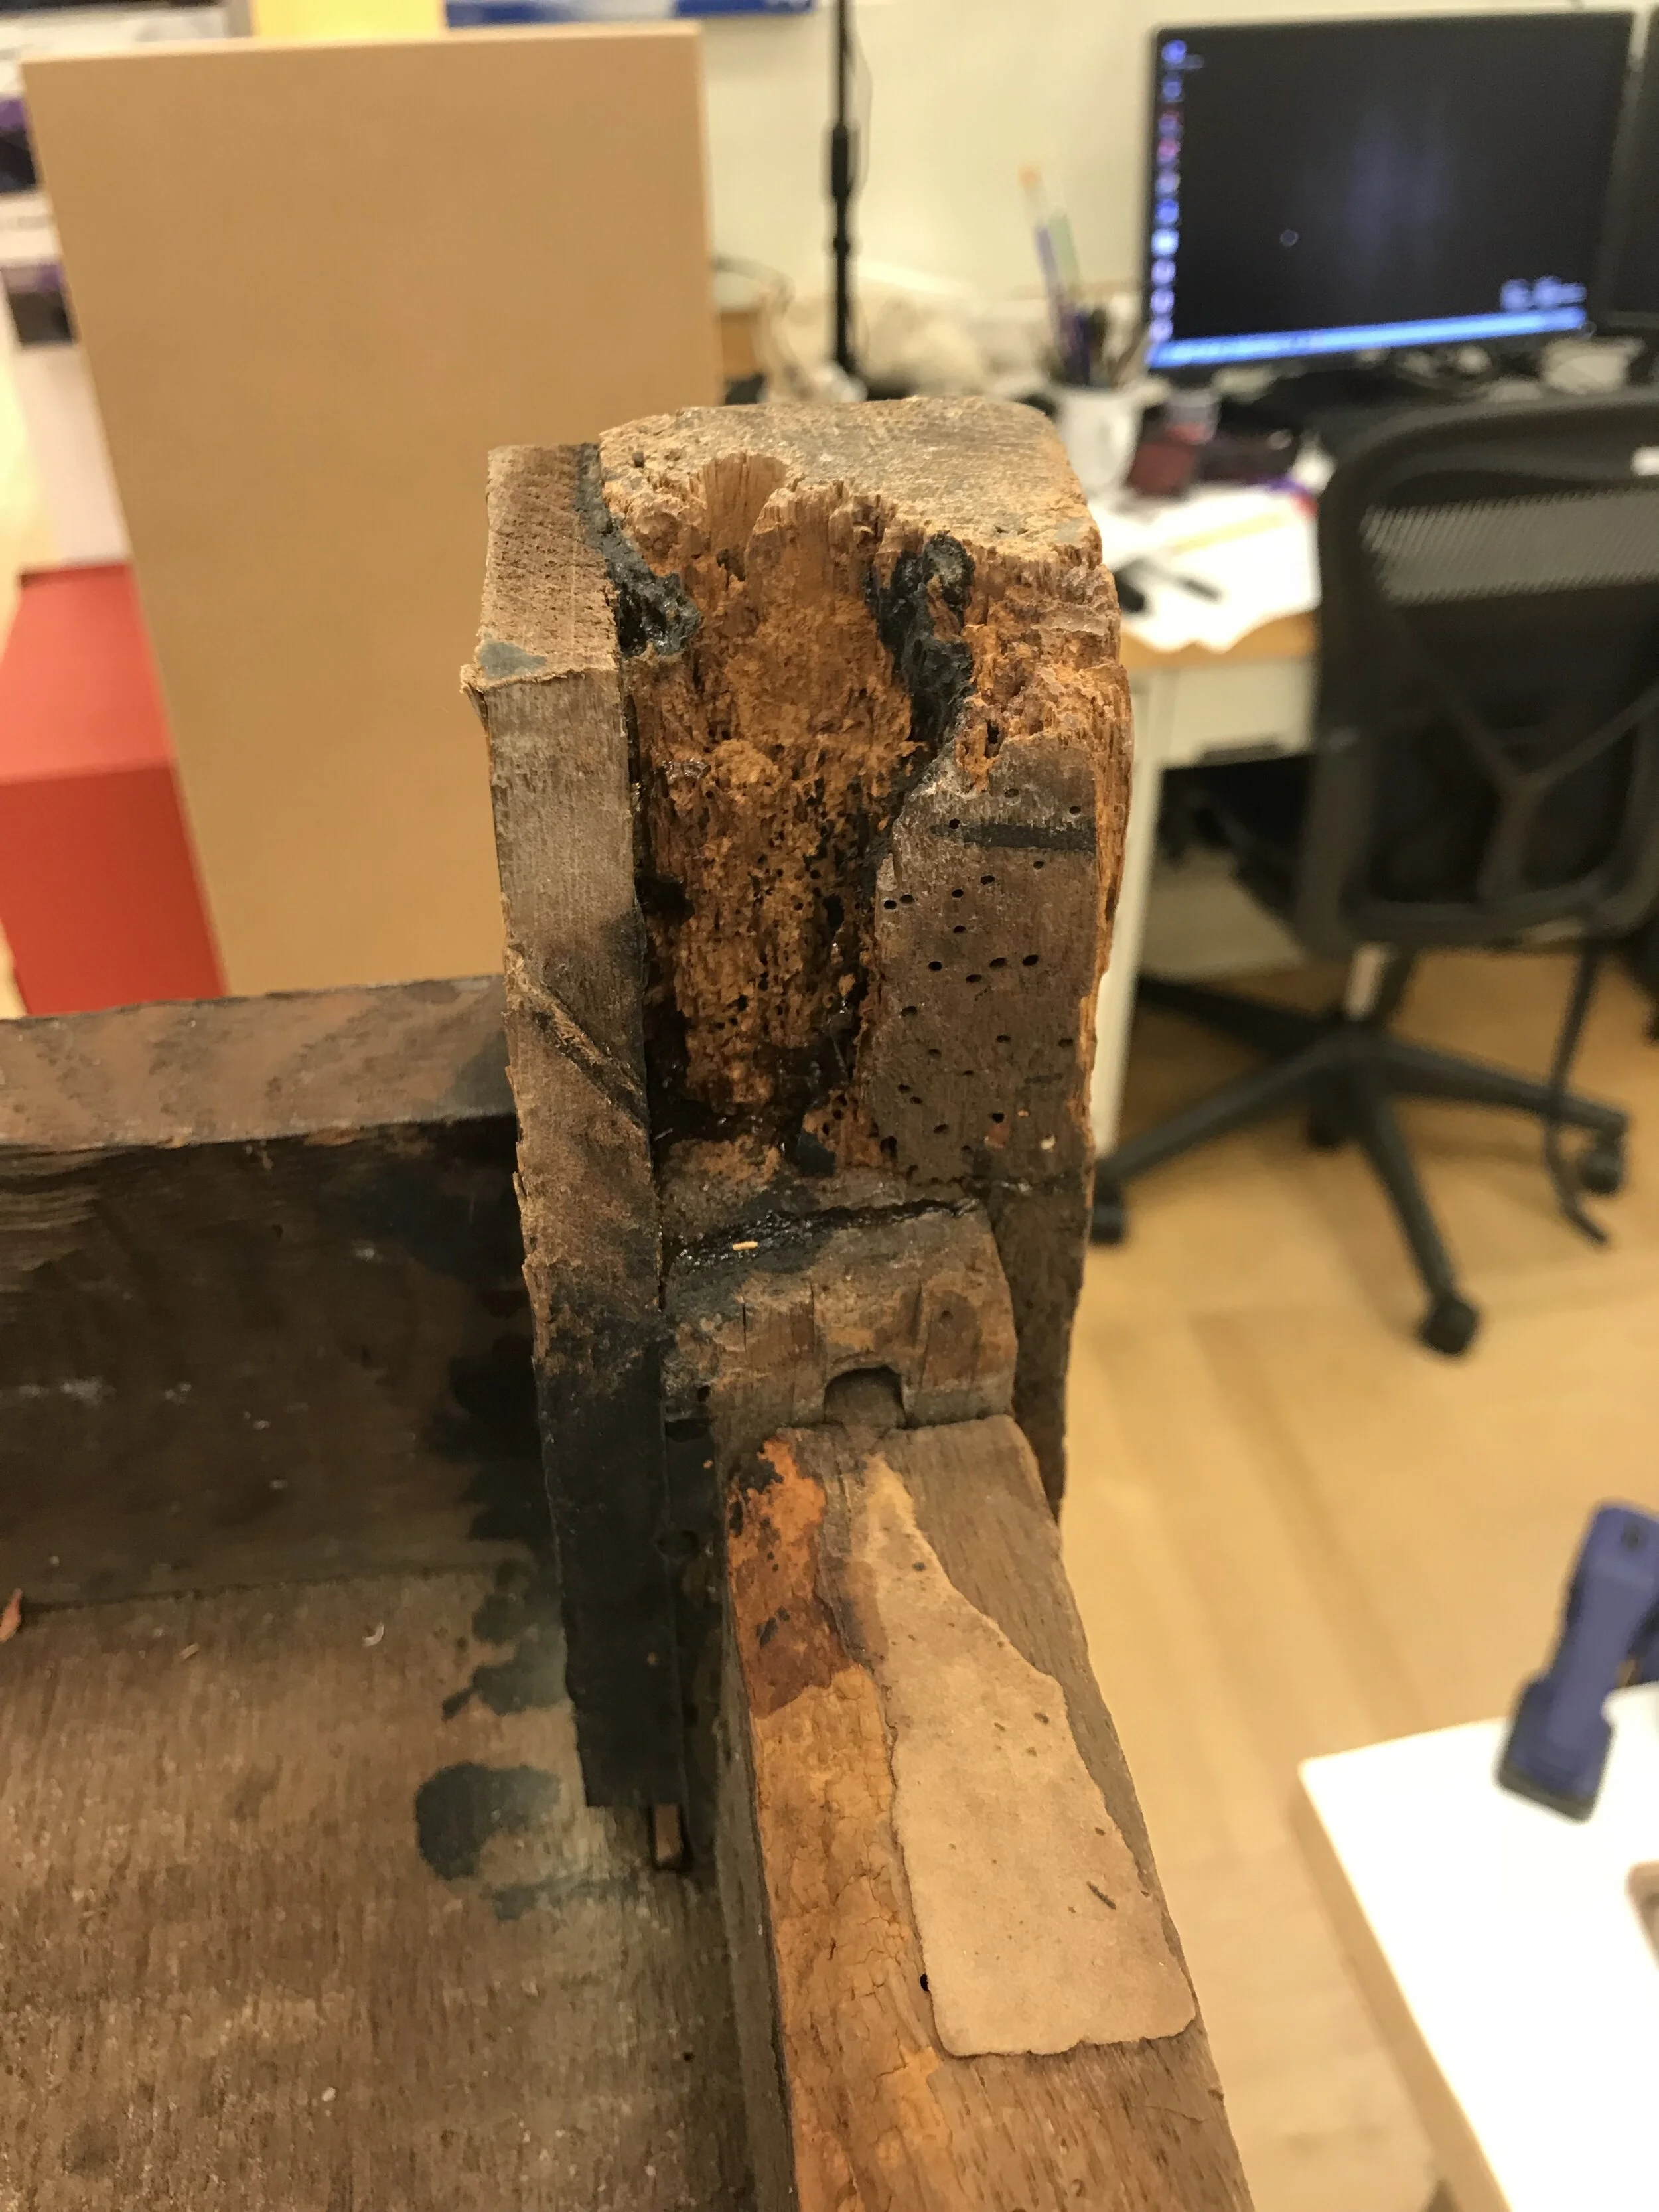
The Court Cupboard will be exhibited in the new British Galleries. The severely damaged feet and rails caused by pest infestation may cause structural issues. The infested areas are unstable, the powdery wood fell off during examination, Consulted with Mecka Baumeister, the damaged components, especially the feet, require consolidation and fills to evenly distribute the stress to reinforce and secure the structure. Due to the irregular surface and shape of the loss of the feet, removable PC Woody fills and oak wood fills were determined to work together for strengthening the structure. The new “cap” for the feet will also protect the friable surface of the exhibition stage. The rails play less role in the structure, the treatment will only focus on consolidation of the friable surface, loss compensation will not be conducted.
Consolidation of the infested feet and rails
• X-radiographs were taken to determine the infested areas of the rails and feet, and to evaluate the penetration of the consolidant with the after treatment shots.
X-radiograph of the infested back rail. The density of the wood shows the infested area. 40kV, 5mA, 30s
• Fed consolidant, Butvar B98 6% w/v in ethanol, into exit holes and exposed insect damage on bottoms of feet and rails. In order to achieve better result, the cupboard was flipped before the consolidation. Temporary supporting foam and cart was made, and the entire structure of the object was secured before the reorientation. Several applications (up to 10) of consolidant were conducted.
• Back rails were consolidated using Butvar B98 6% w/v in ethanol, applied by brush and/or a combination of brush and syringe
• The adjacent paper was protected using Mylar sheets to separate the consolidant from penetrating to the paper, or in the event Mylar was not practical, D4/D5 was brush applied to the paper and the consolidant was then introduced by brush to surrounding highly porous wood damage
Structural Fills for the feet
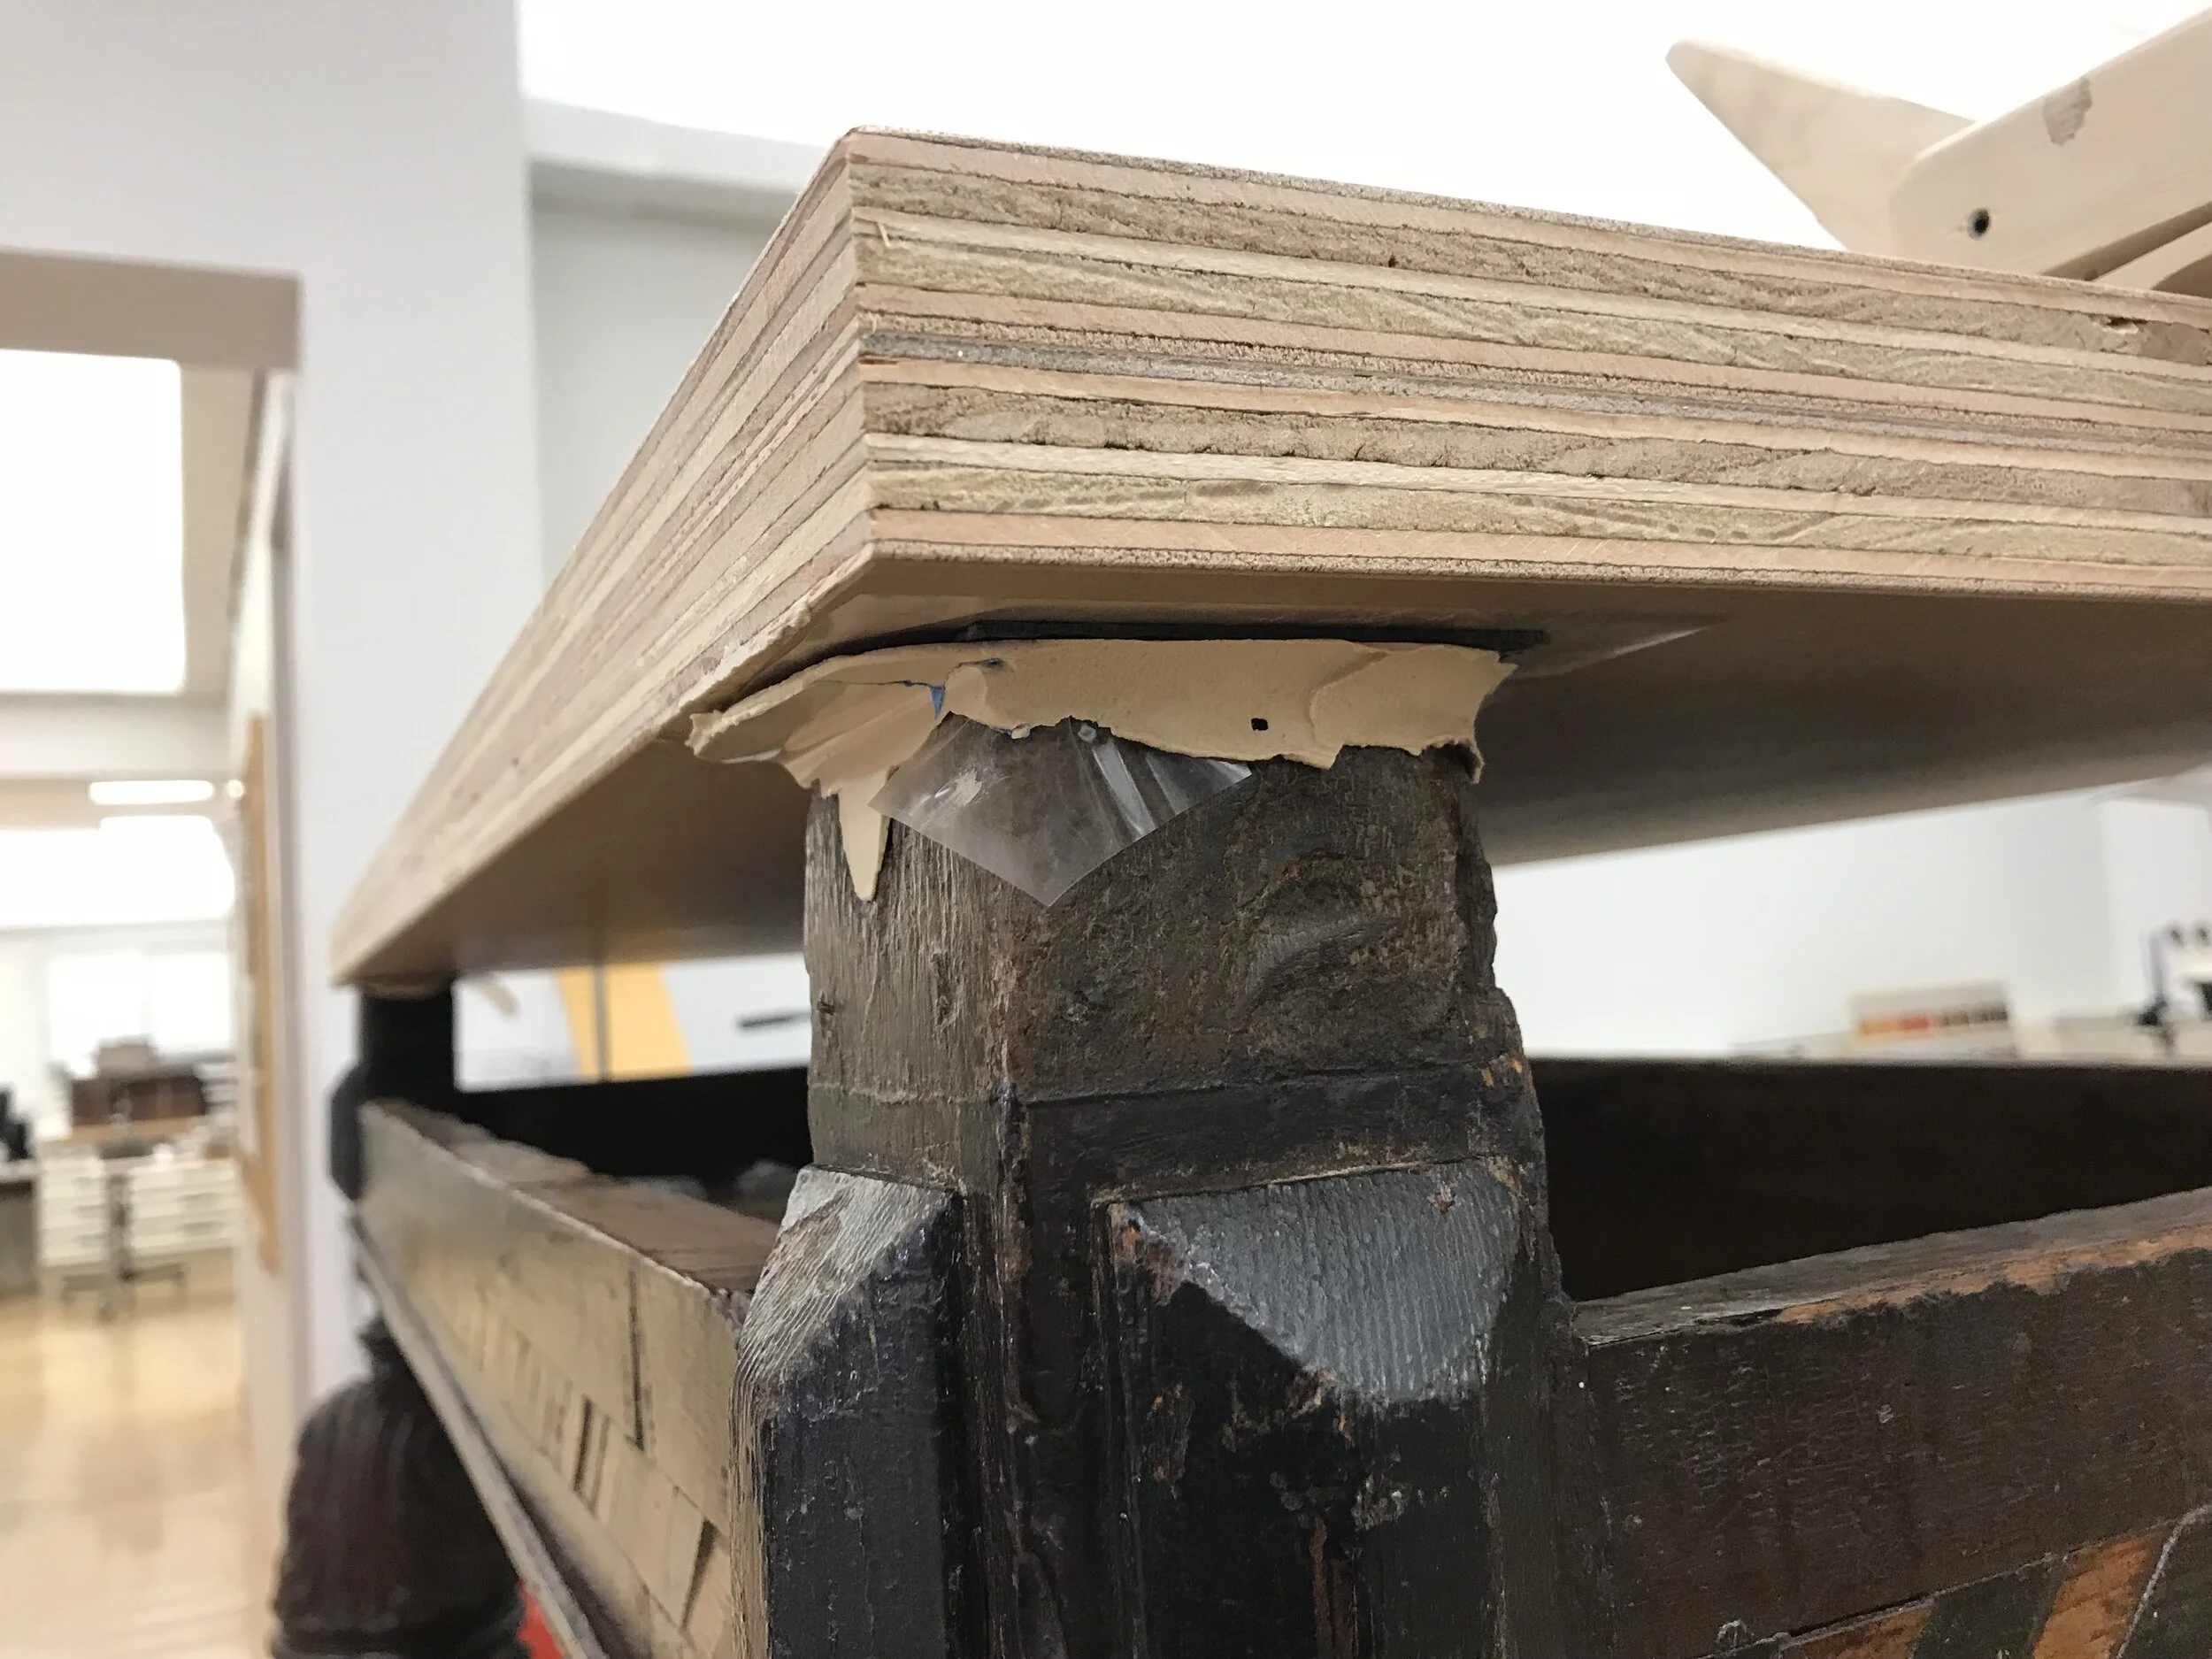
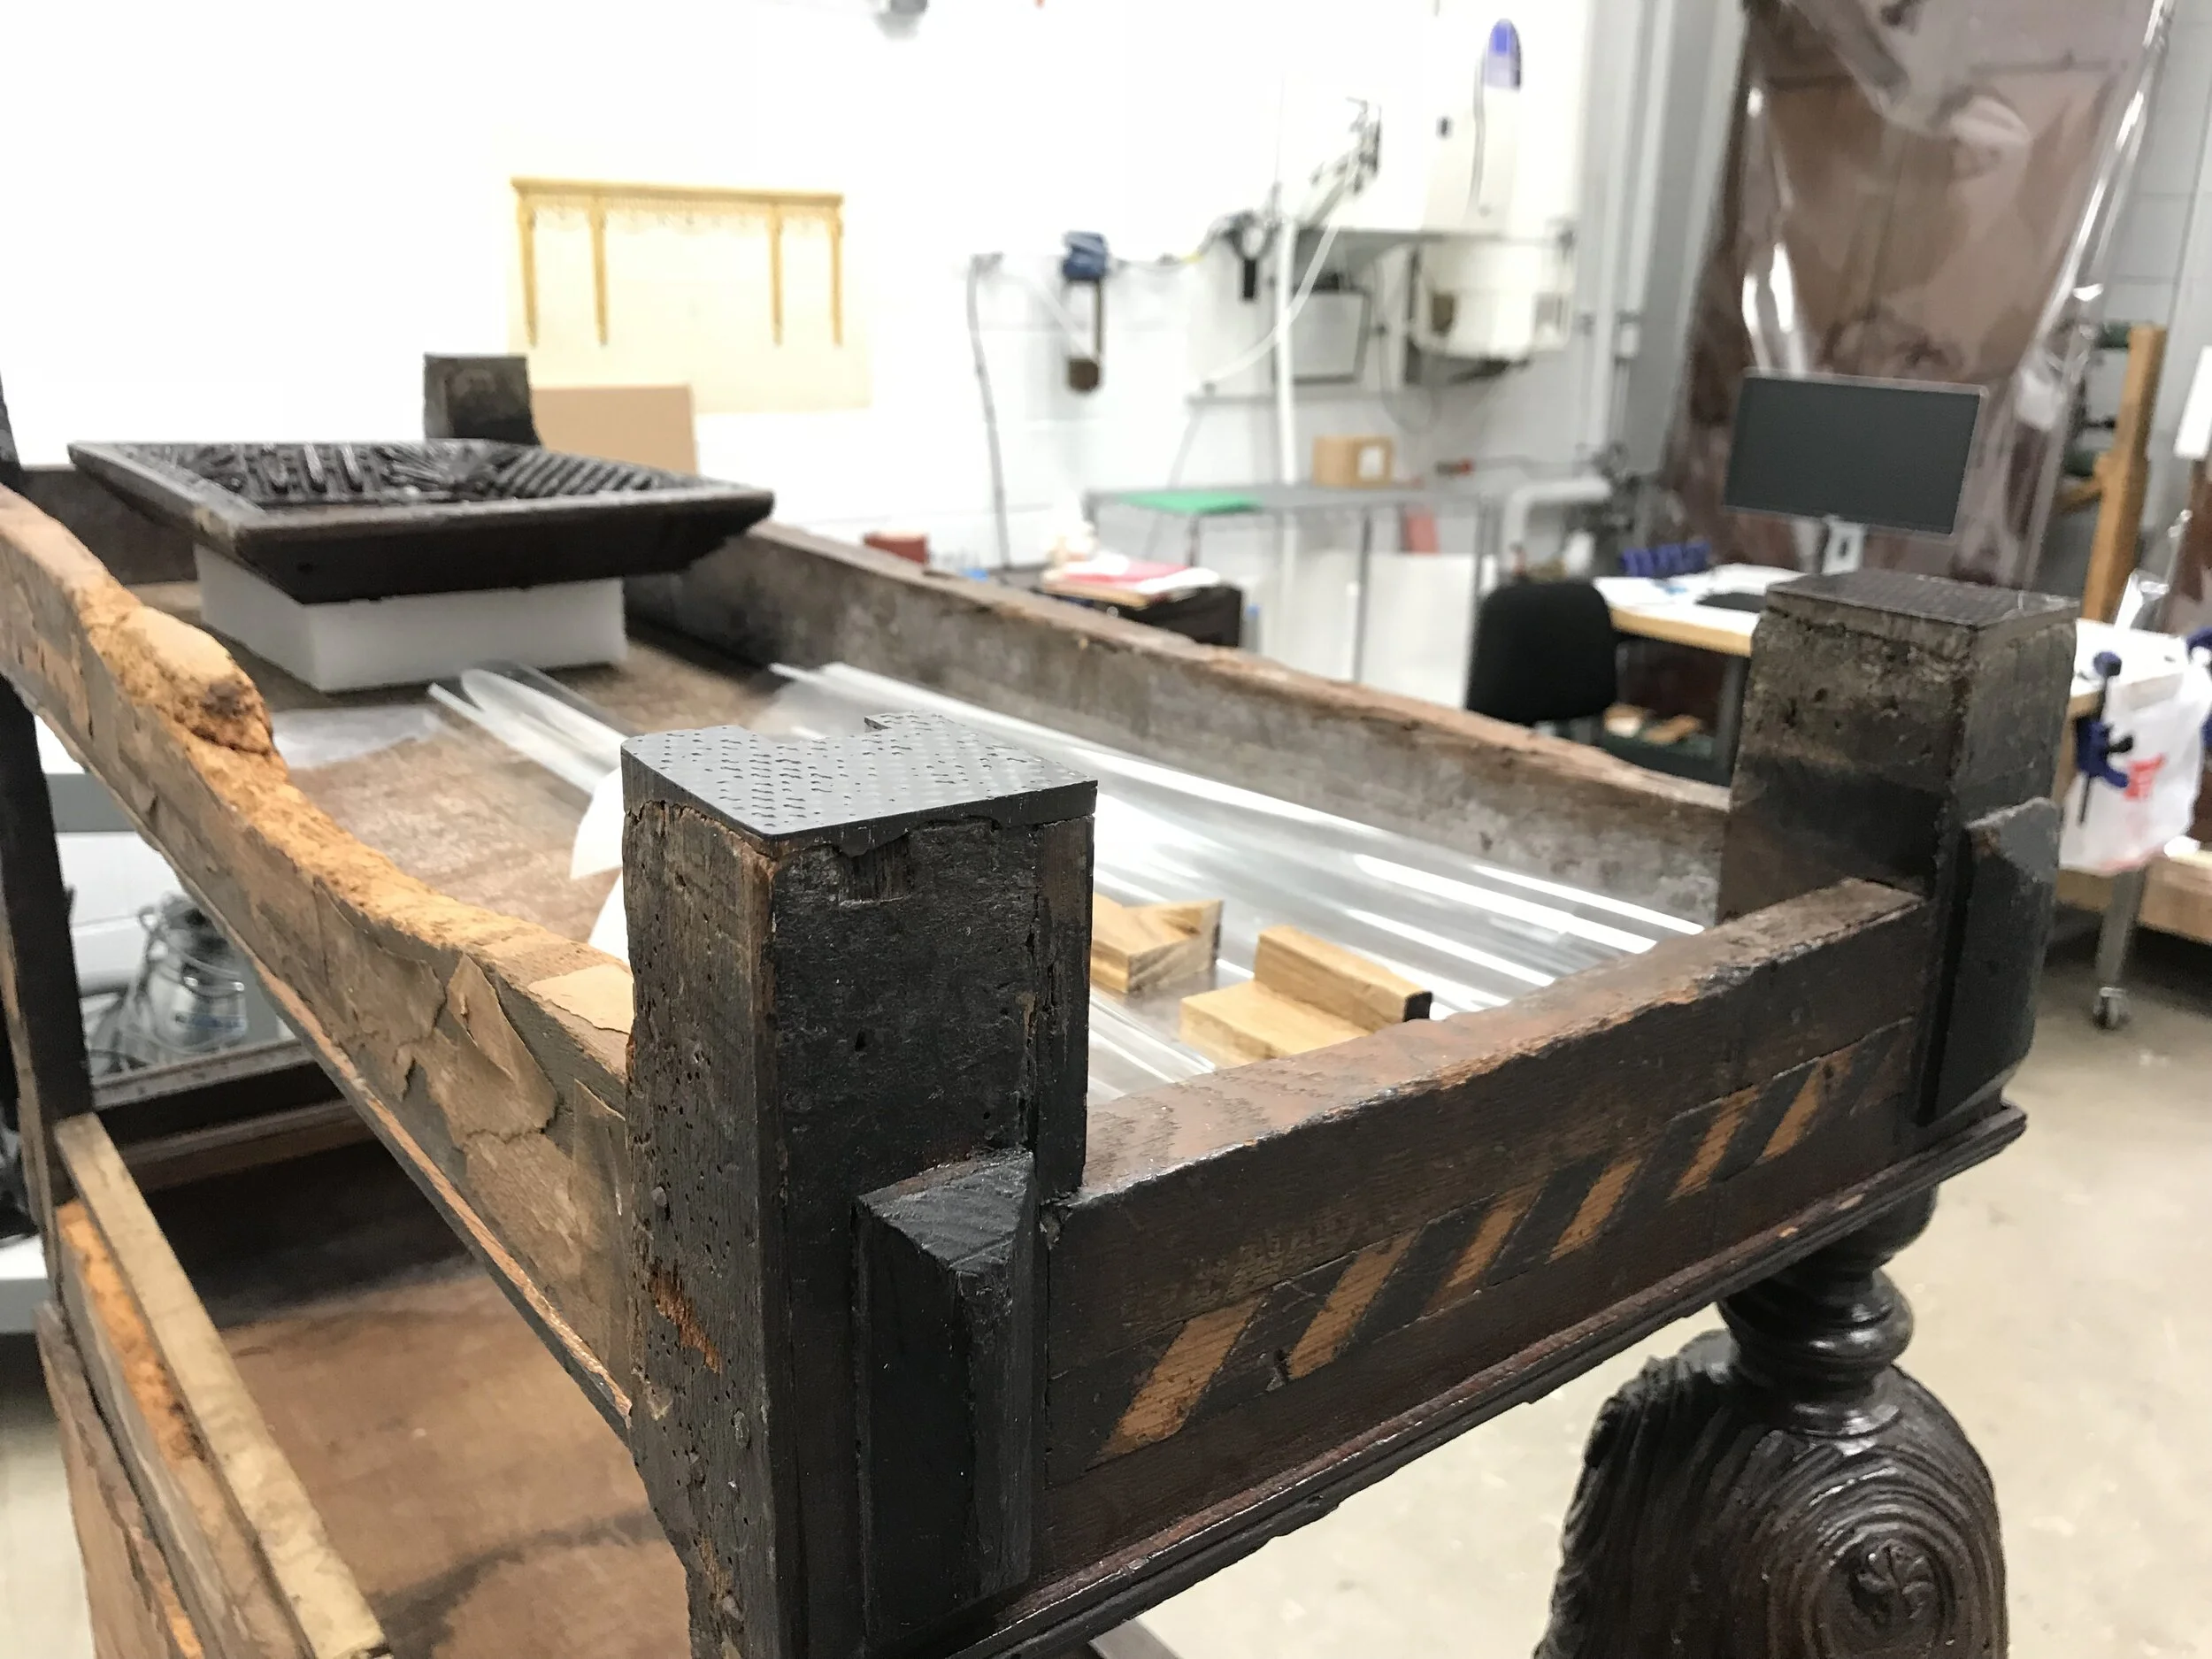
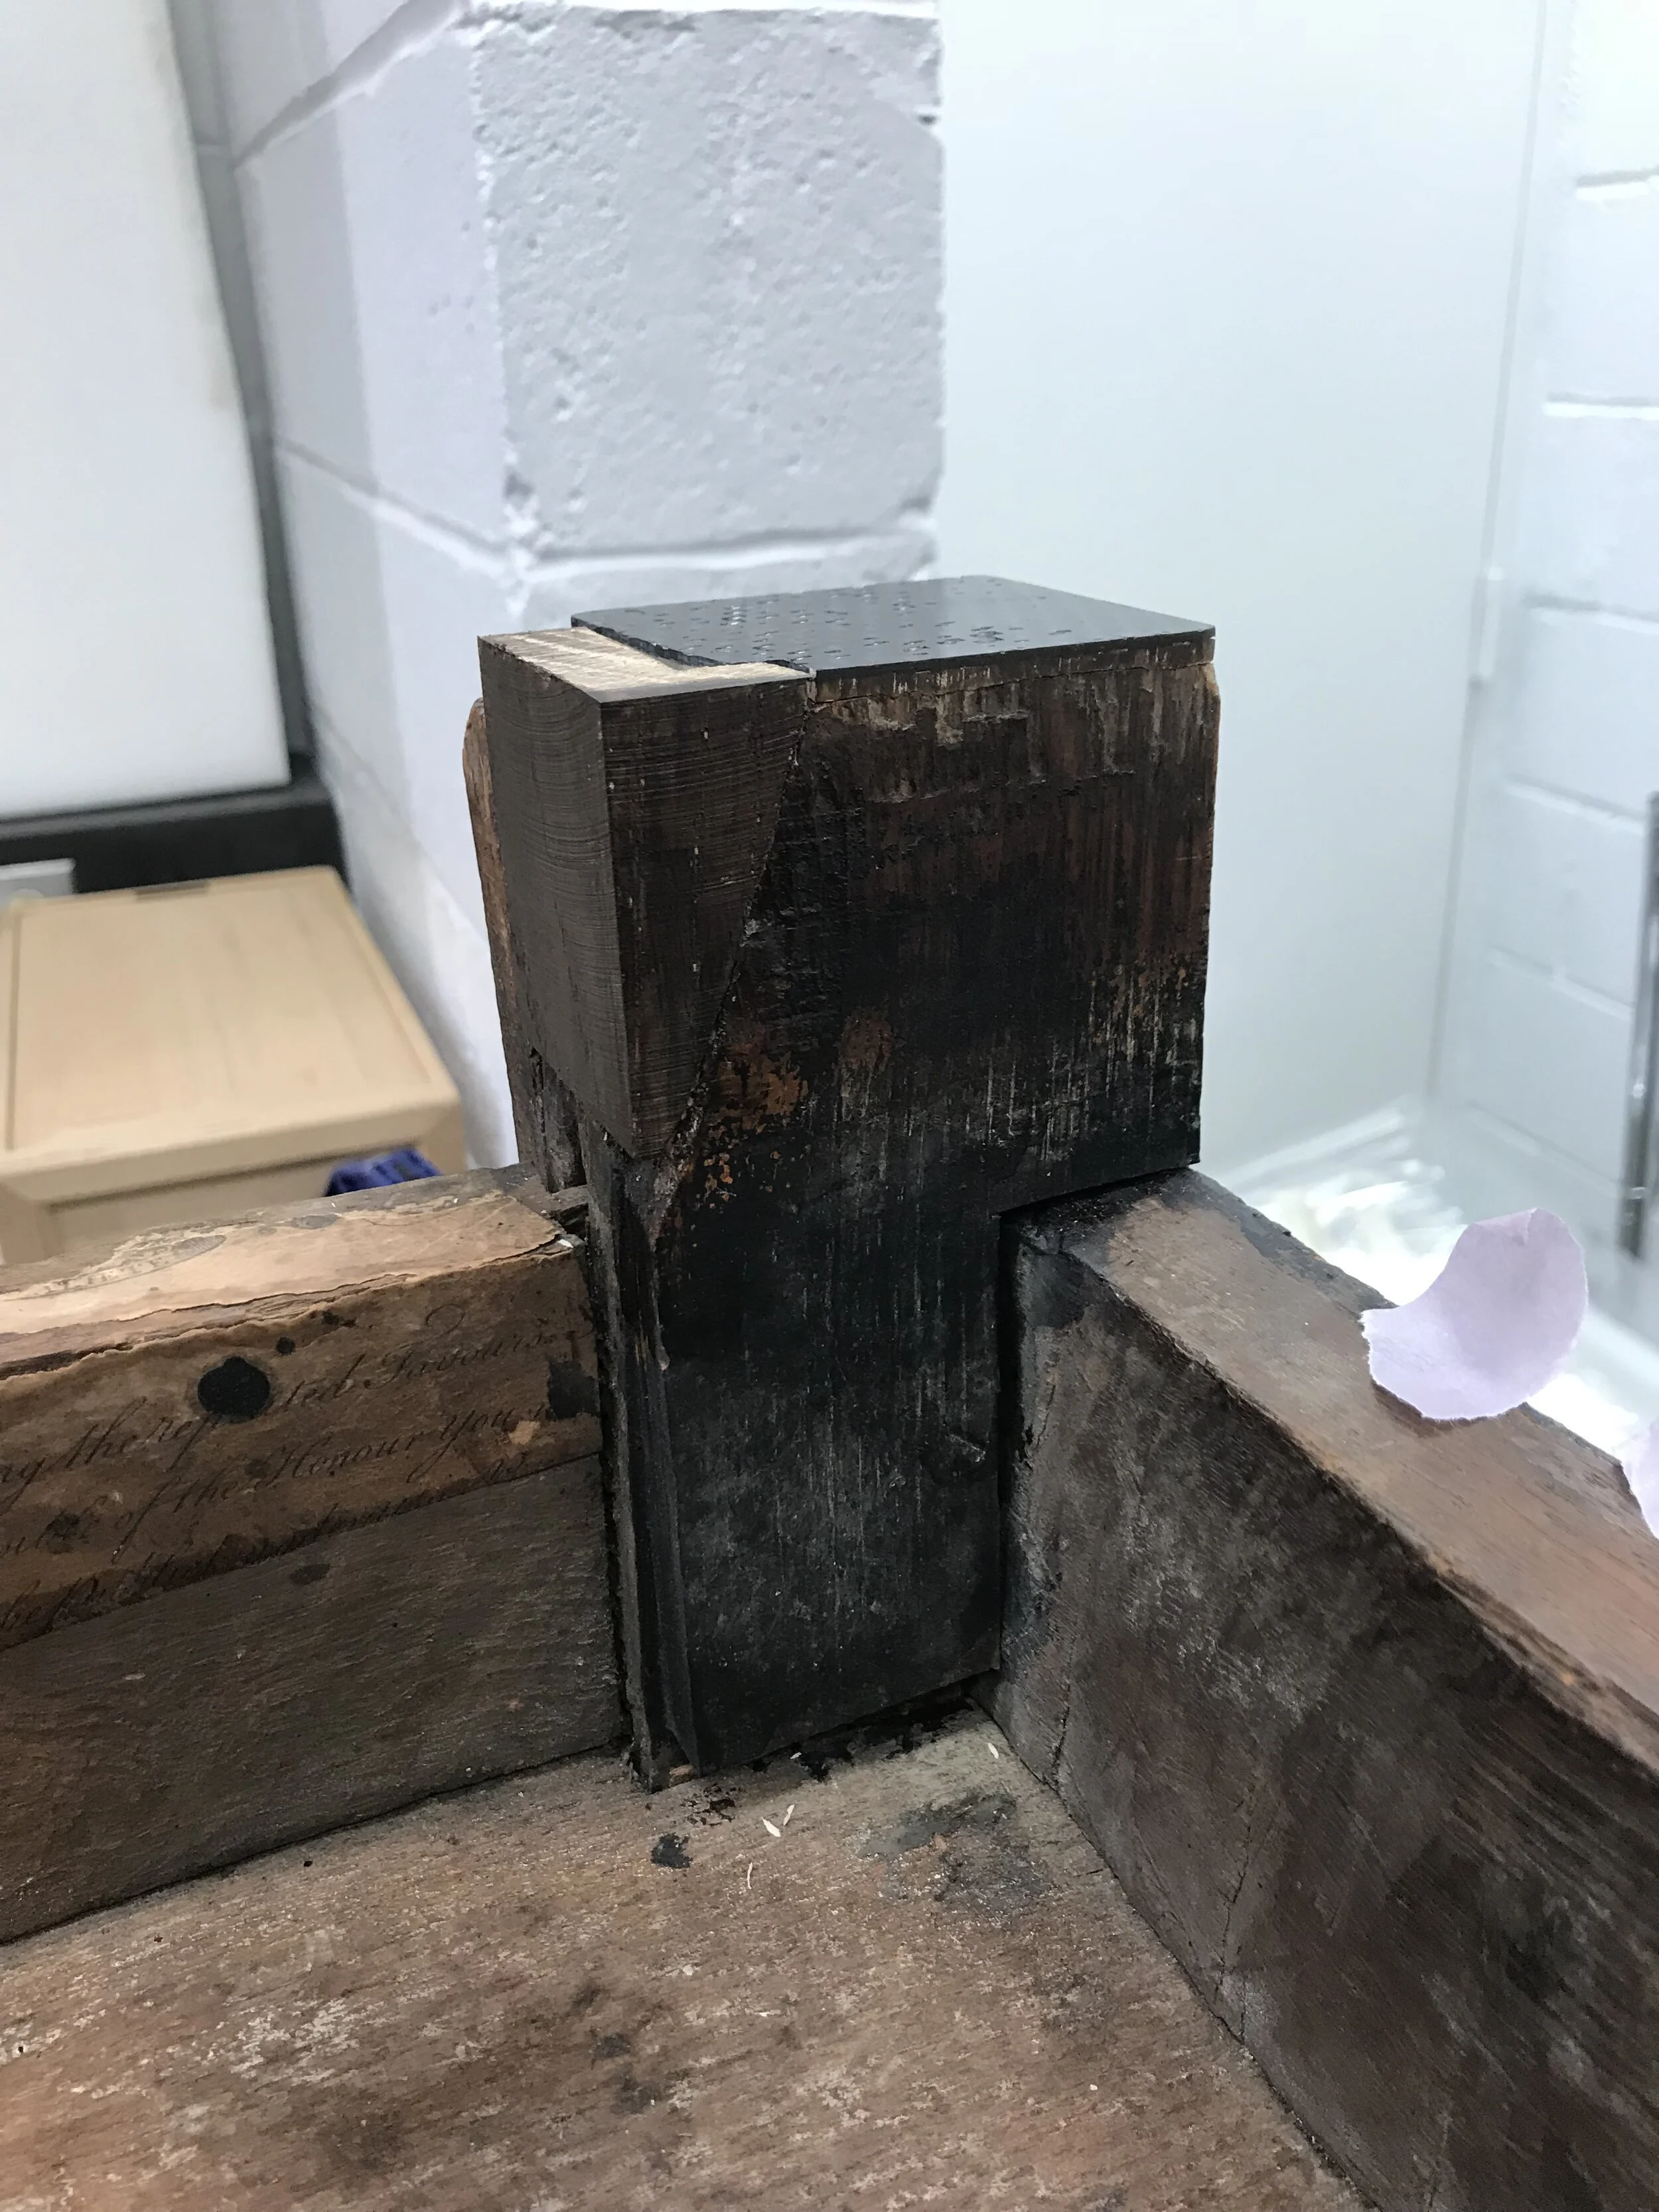
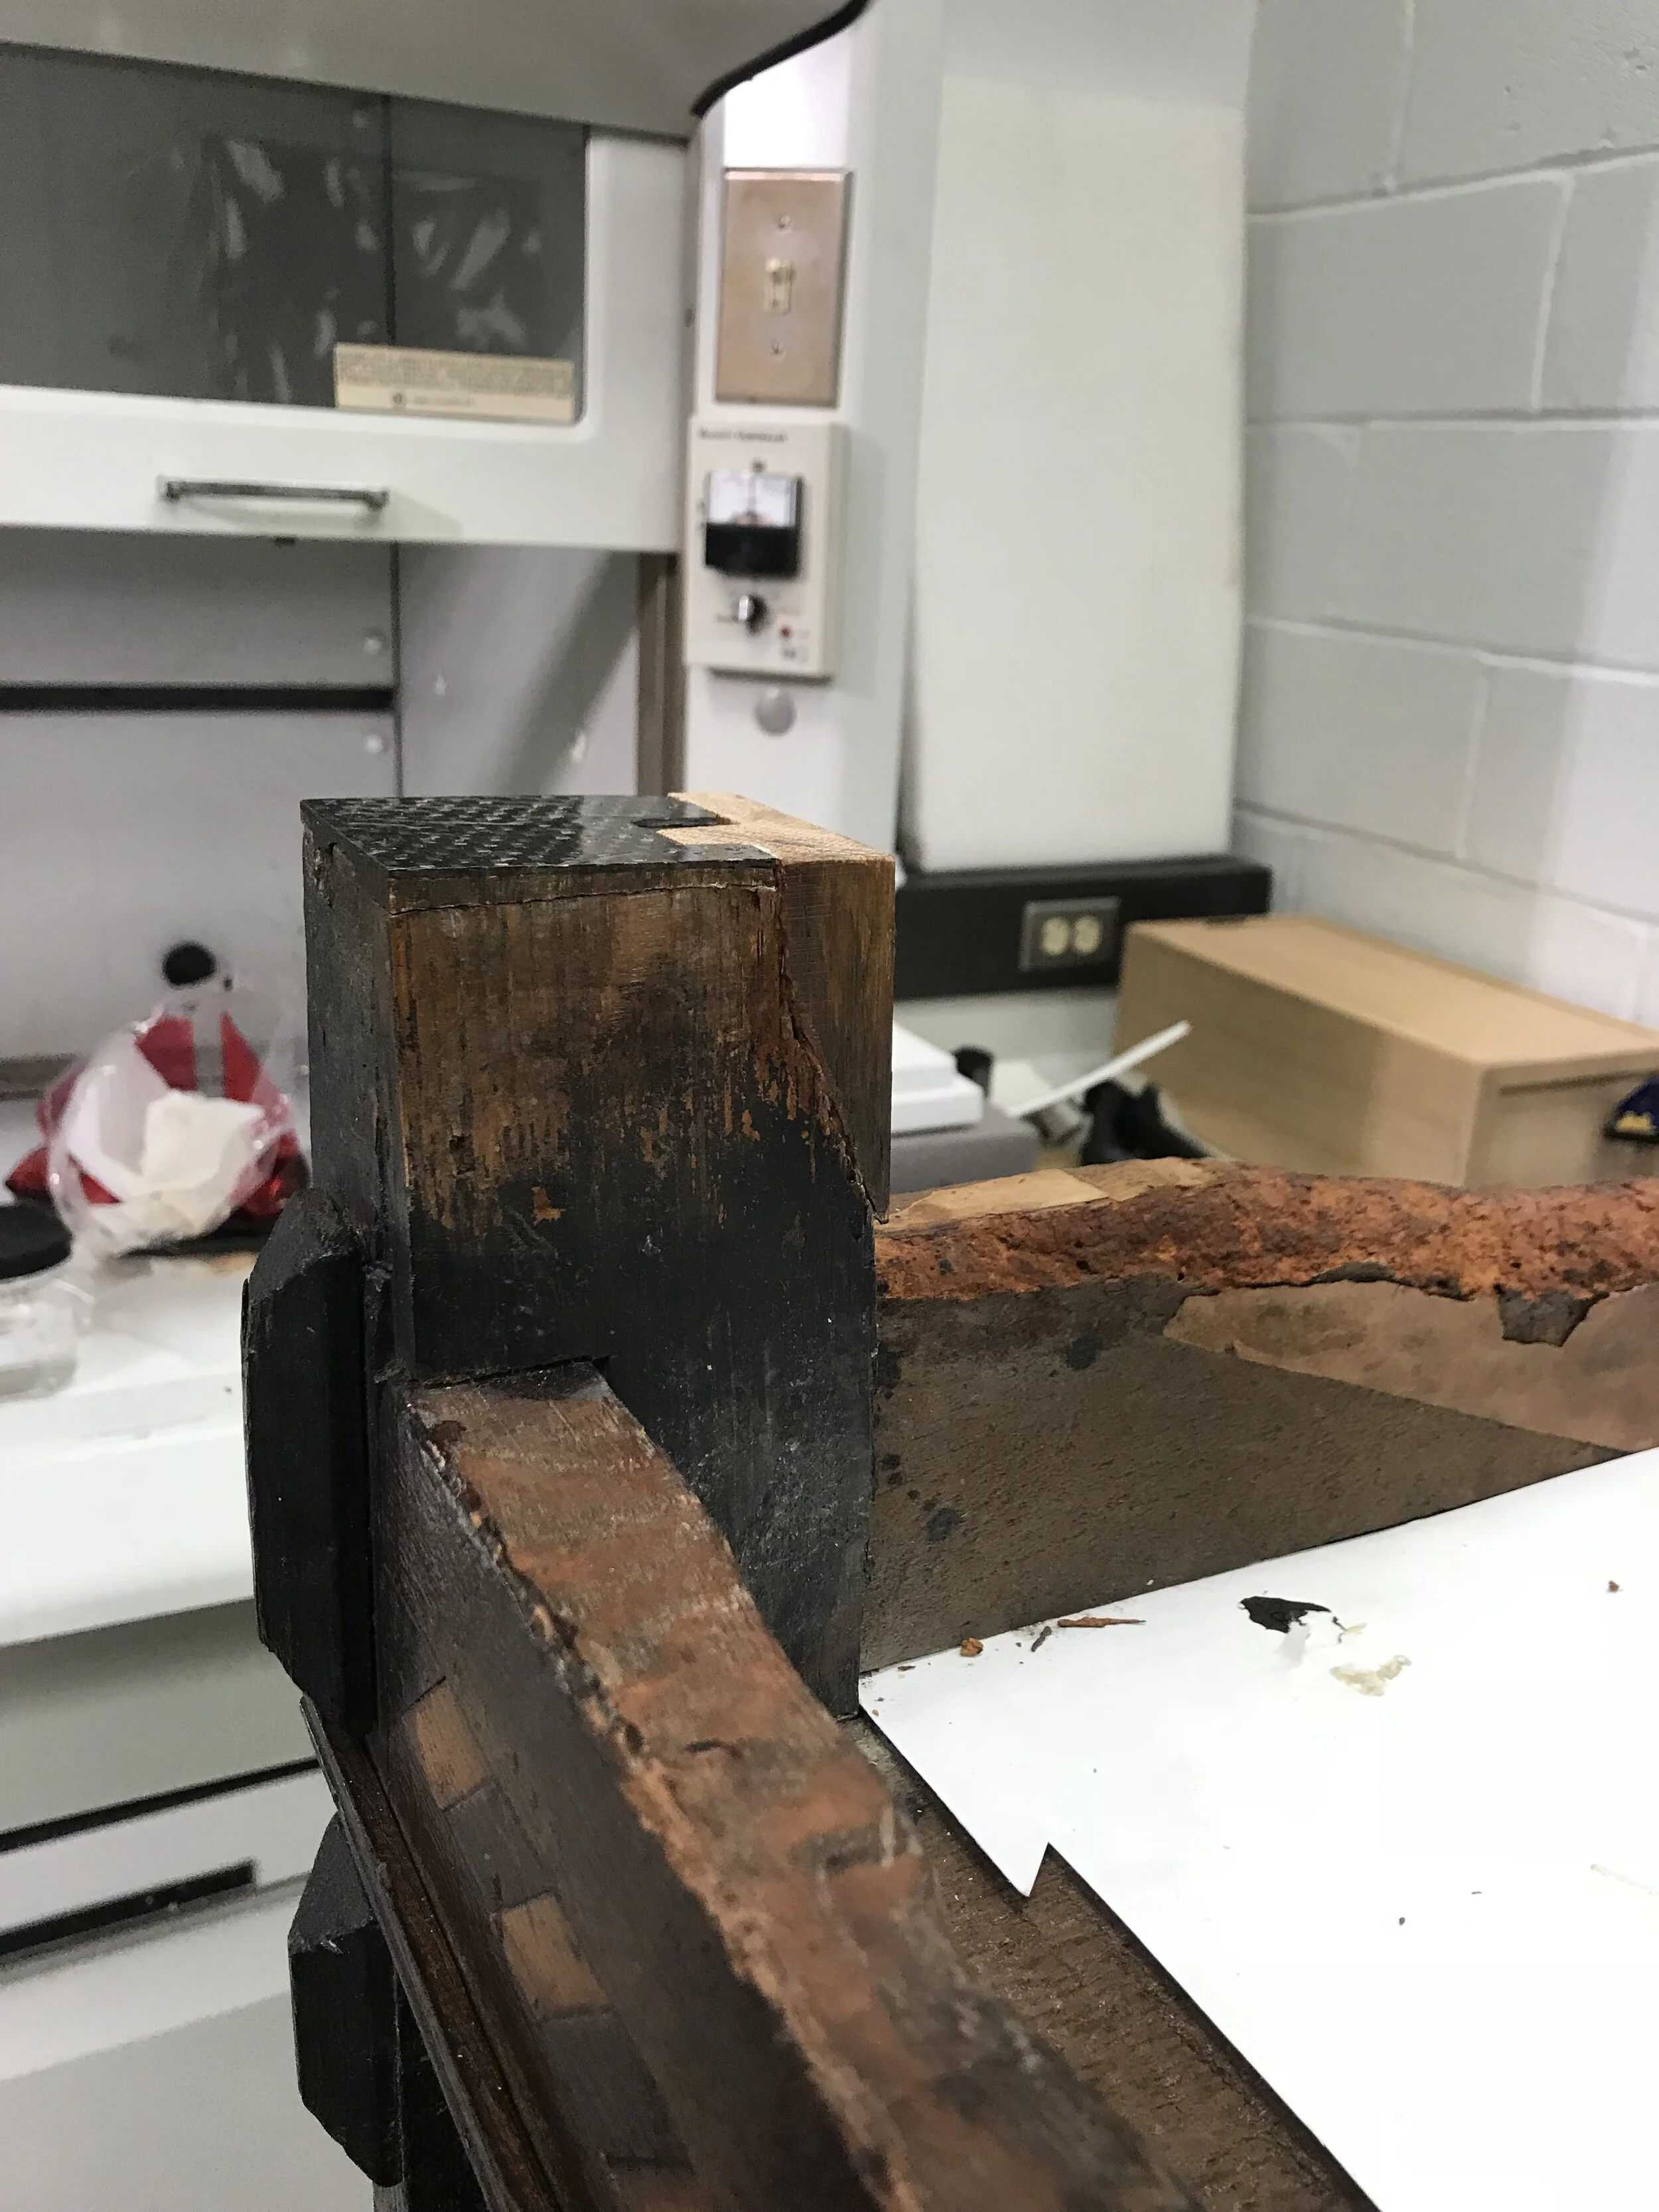
• Bottoms of the two back feet were structurally augmented using shaped fills of oak to cover exposed insect damage, and fill lost section of feet. The oak wood fills were shaped with hand tools to fill the loss generally but keep a gap between the infested original piece for protection and future reversibility, and follow the profile of the later restored piece for adherence. The fills were put into place for casting removable PC Woody fills, in order to fill in the gap and strengthen and level the feet.
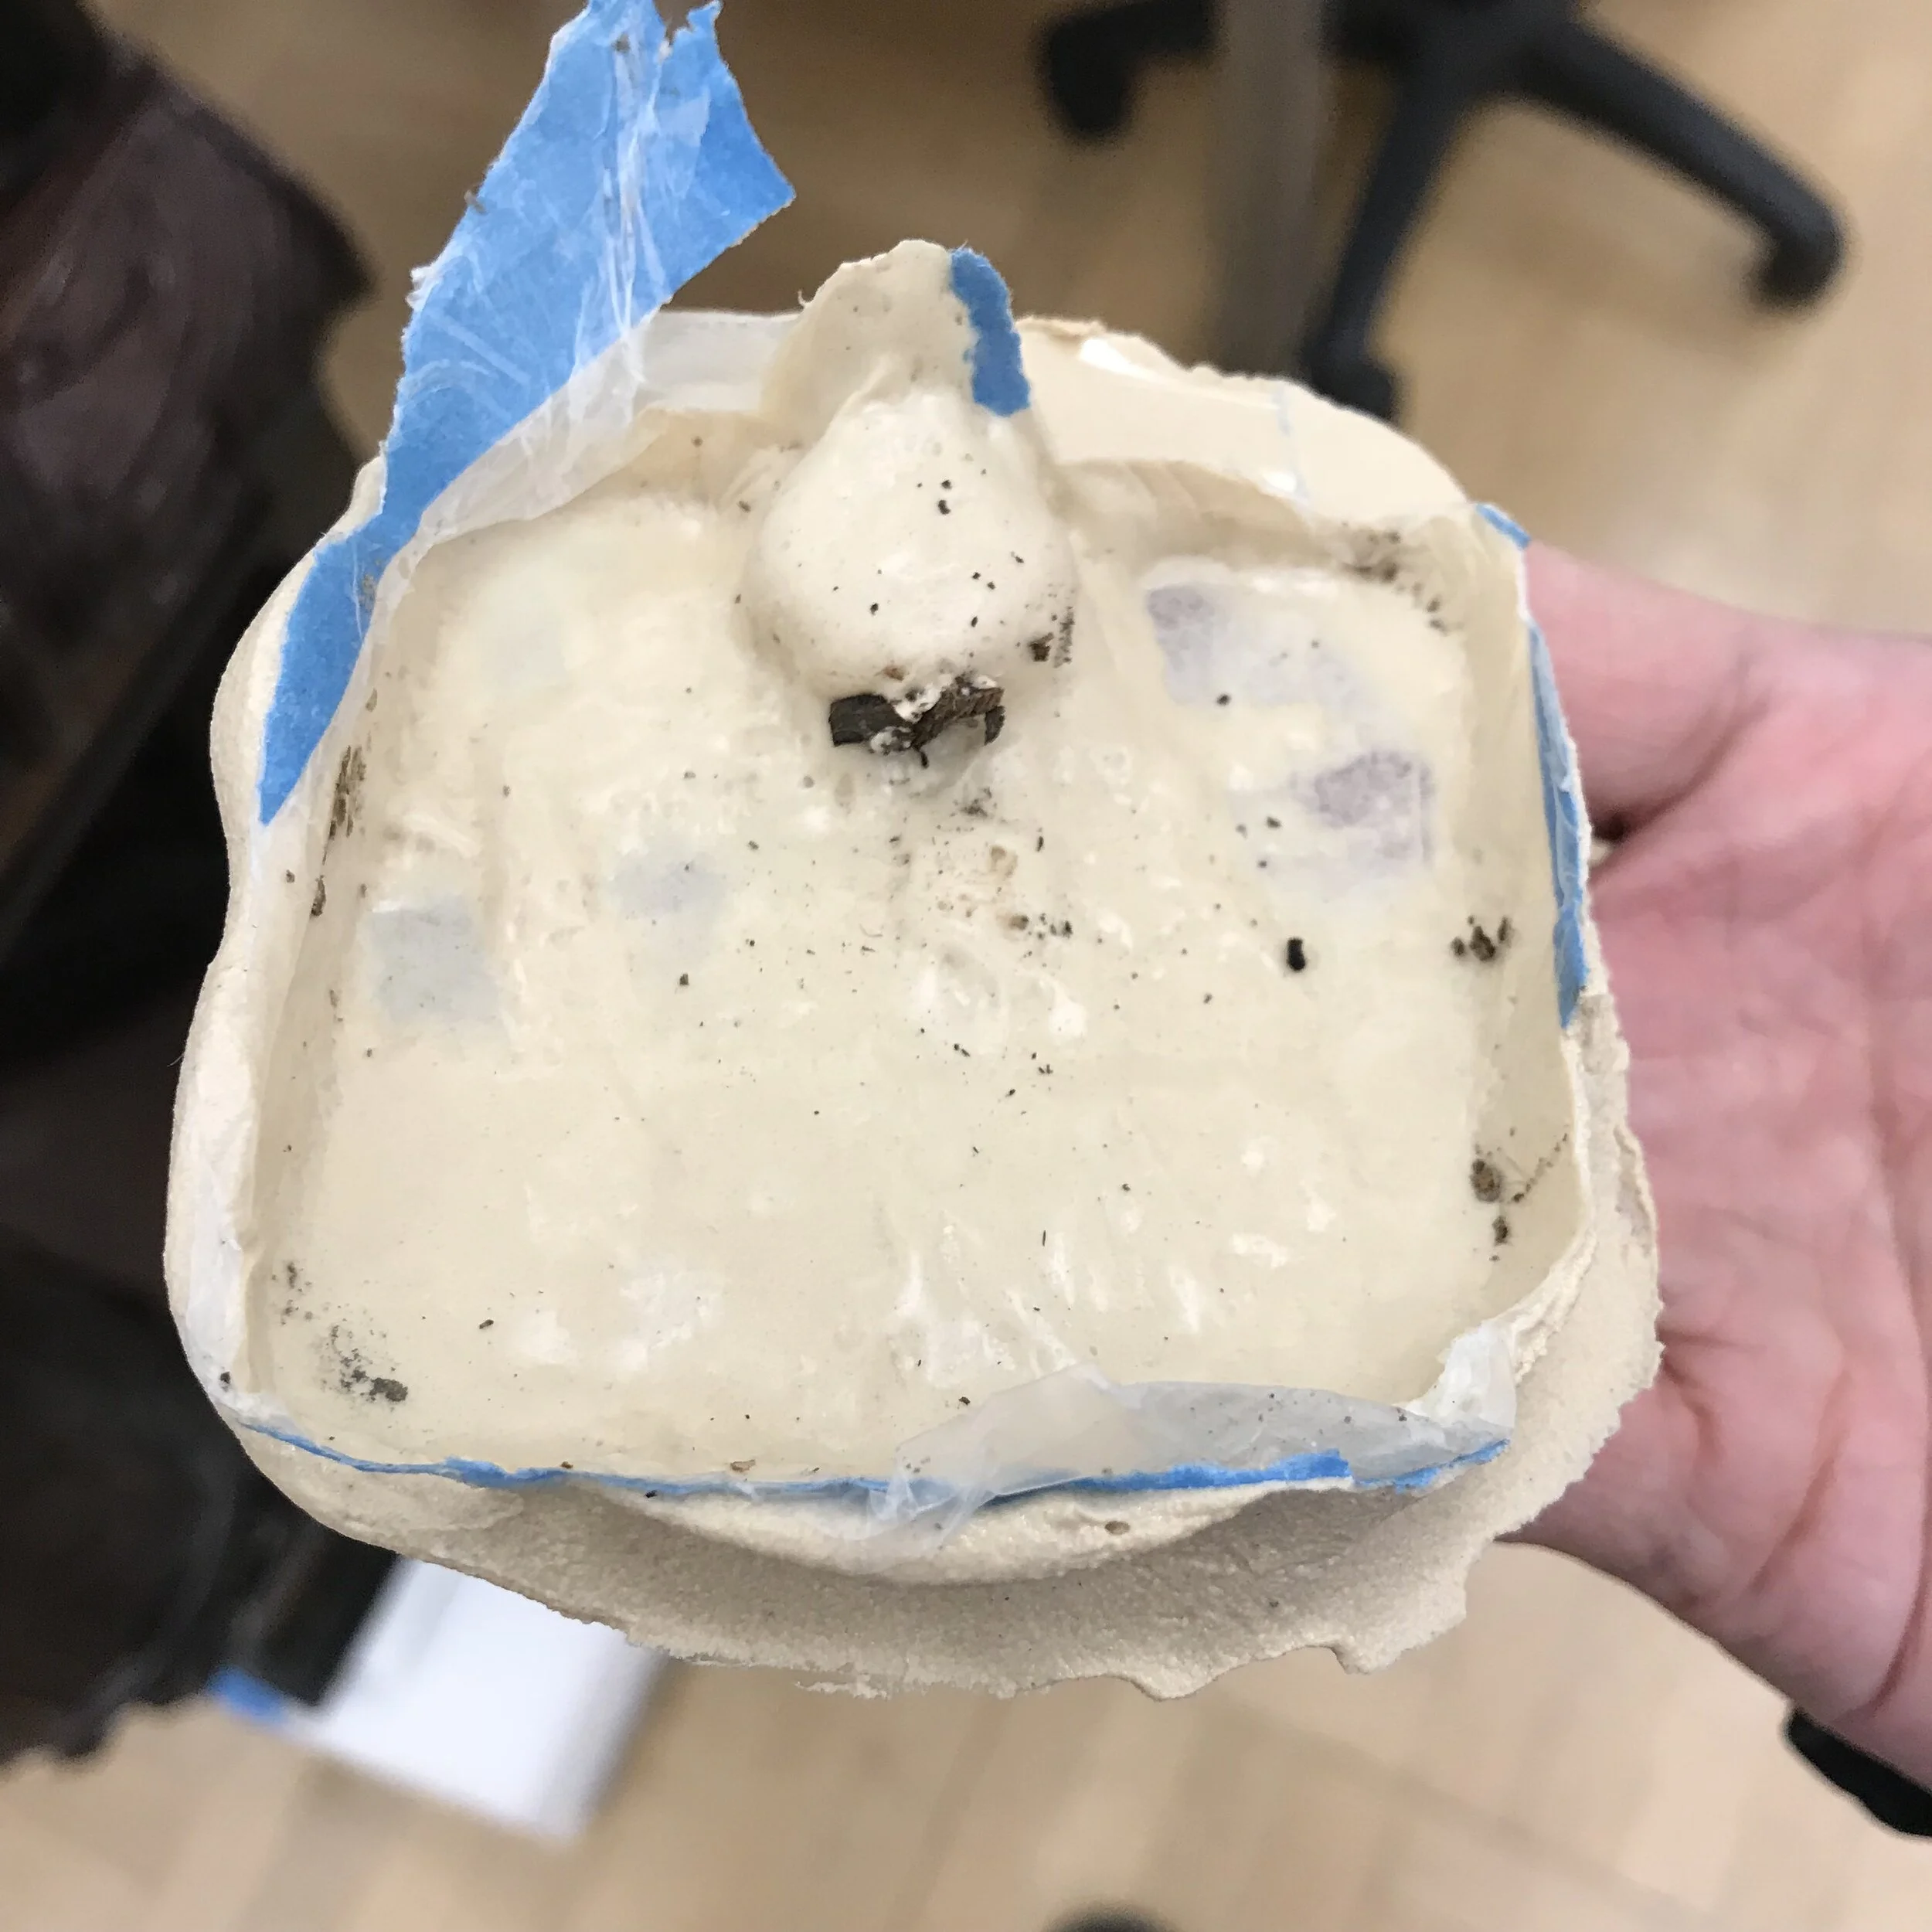
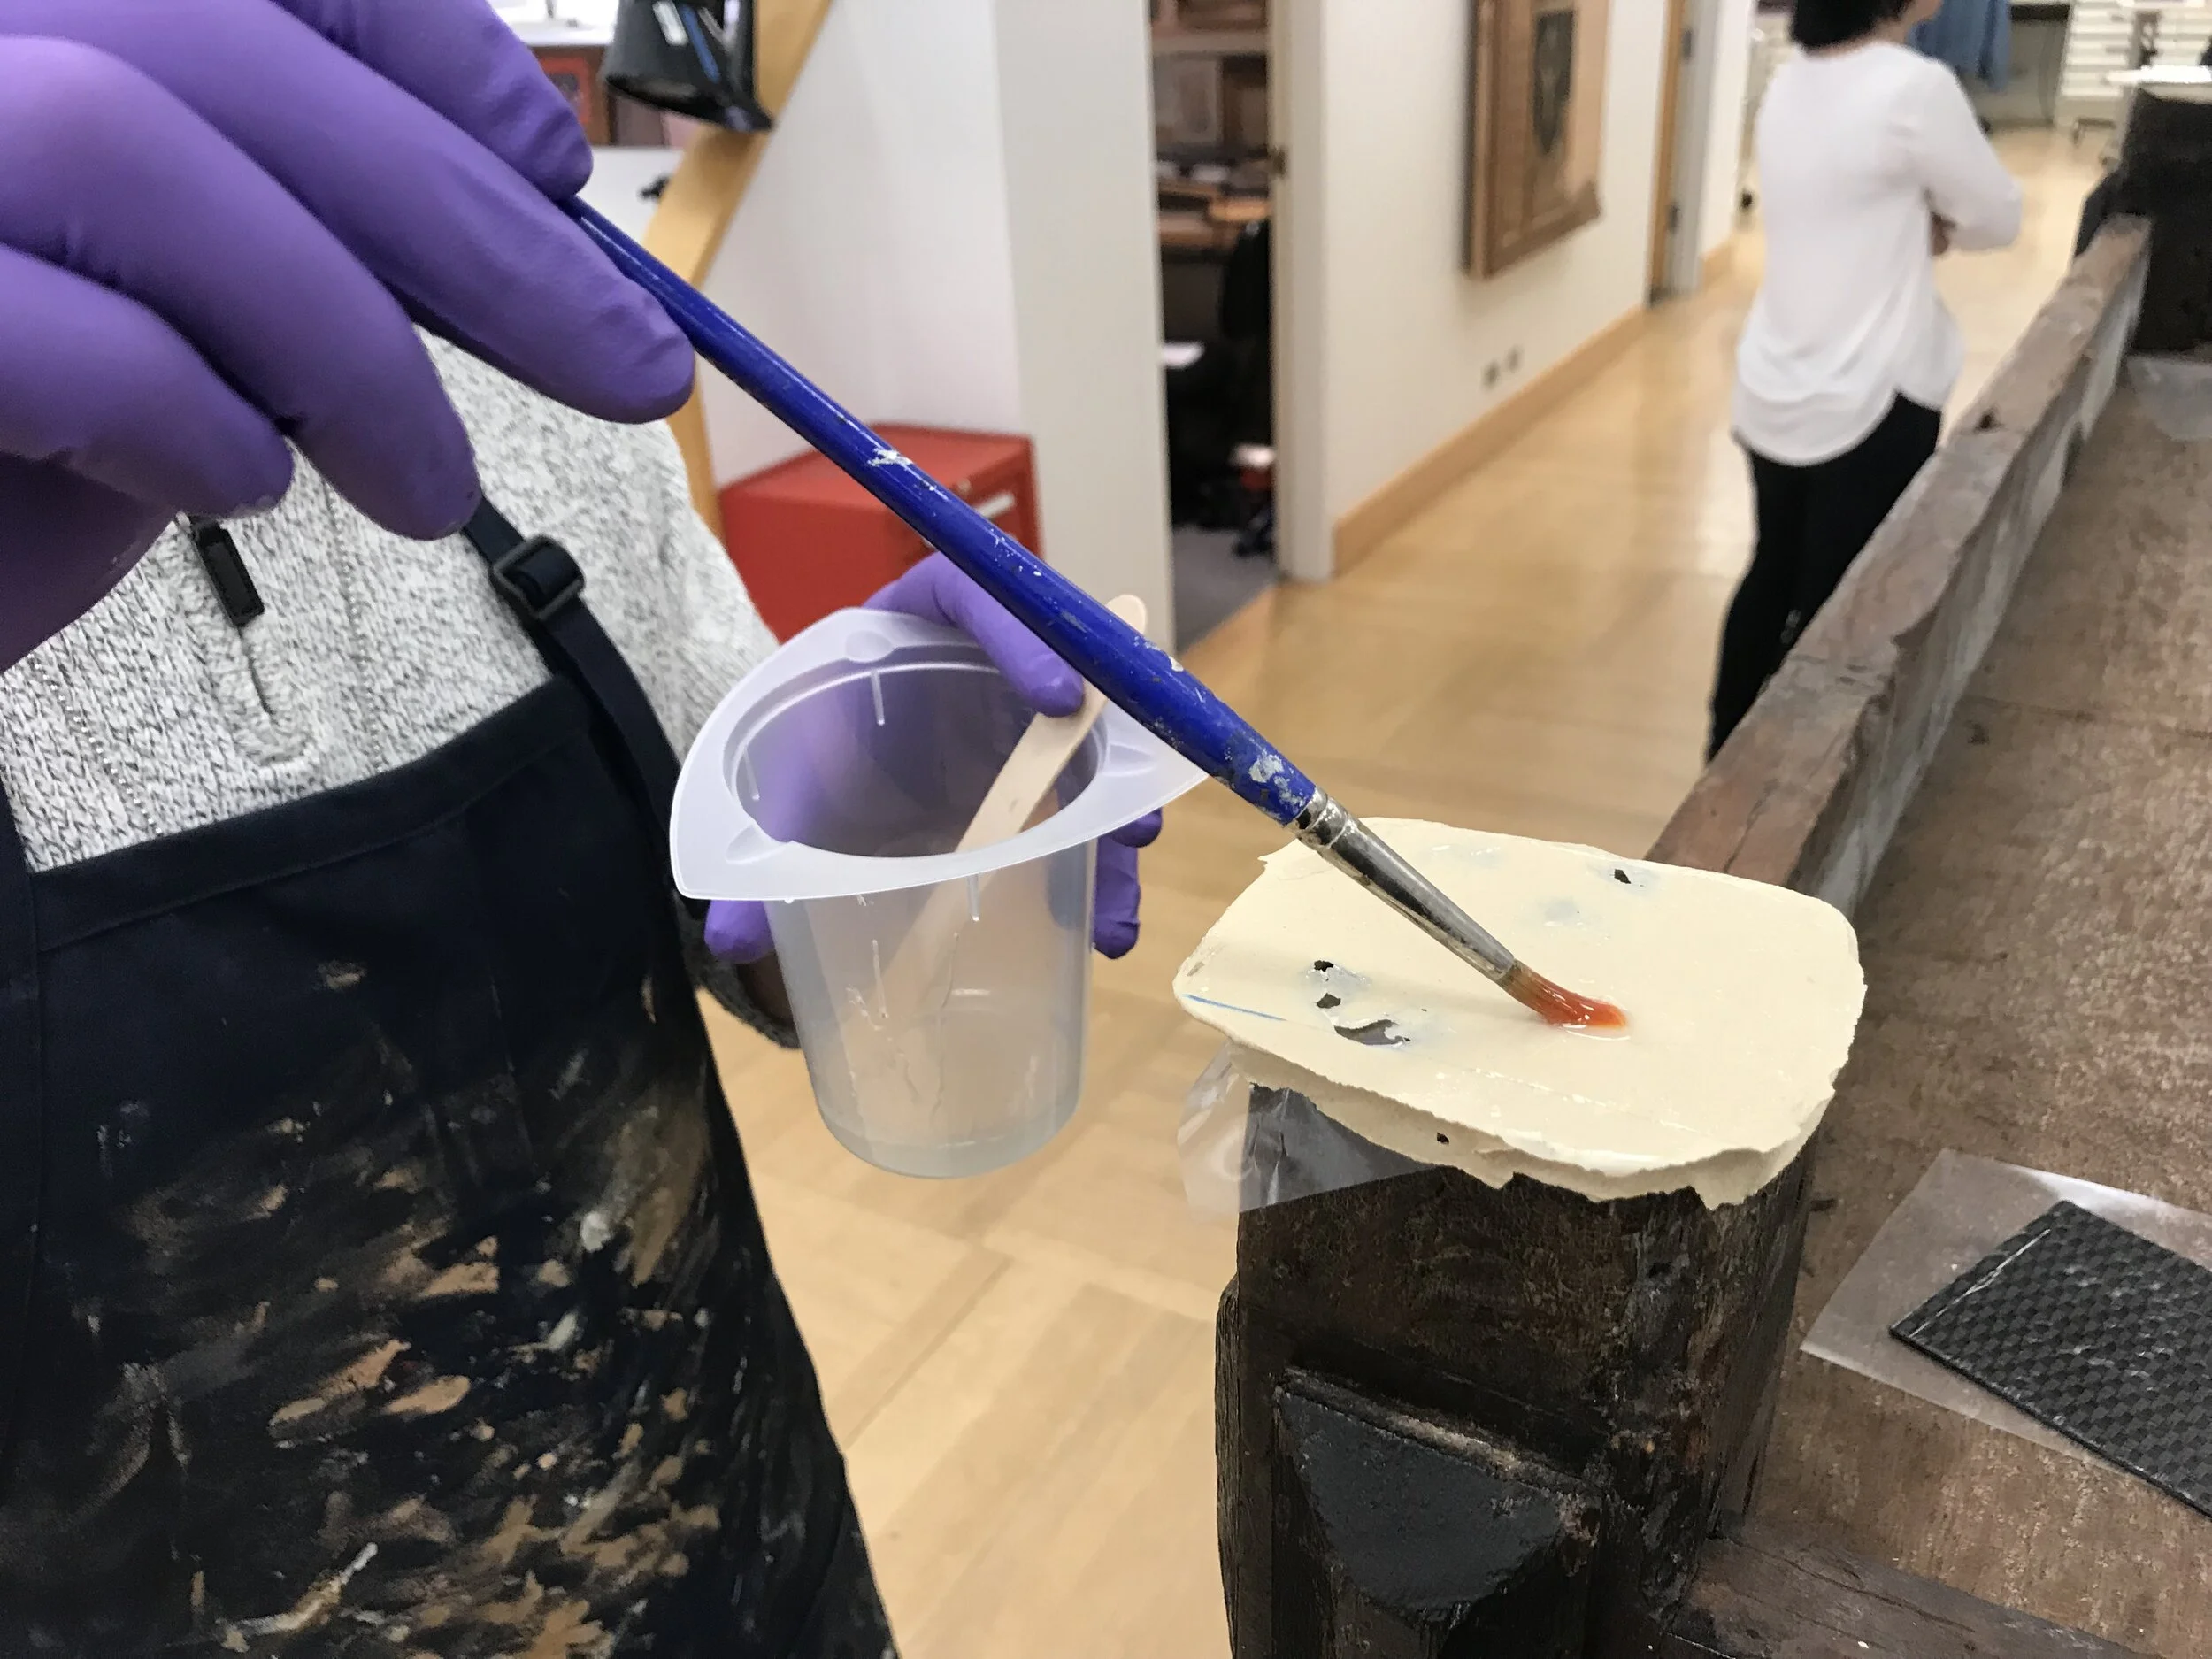
• Parafilm was used to wrap the damaged interior surfaces, taped in place with blue tape (avoiding paper surfaces and friable paint layers), and then filled with dollop of PC Woody to make removable fills. Covered and leveled with a large flat plank, pressed/clamped over feet with dollops spreading over feet to fill the gaps; squeeze out loosely cleaned up/removed with spatula, and allowed to fully cure before removal. After it set, remove the fills and strengthened the fills with carbon fiber sheets adhered onto the bottom with West Systems G-Flex Epoxy as adhesive. Then shaped them and inpainted.
• The oak wood fills were determined to be attached to the earlier restored piece only, since the contact surfaces are flat and stable and structurally sound. Then Adhered the oak wood fills to the flat and stable surface of the back feet (earlier restoration) with a thin PC-Woody (two-part epoxy resin) layer as adhesive and fillers, using cold setting fish glue coatings as barrier layer. Inpainted using Golden acrylic pigments to match the surrounding foot.
Before treatment, the back of the cupboard.
Consulted with paper conservator Yana Van Dyke about treatment for the backing paper
• Adhered most susceptibly lifting paper to backboard using PVA (Jade 403) applied to a piece of Mylar with a brush and inserted underneath the lifting edges of the paper.
• Covered back using Xmil sheet of non-woven polyester. Sheet cut to match dimensions of upper half of cupboard back. Two strips cut to match dimensions of lower halves of back stiles. The side and top edges of the upper sheet were stained with dilute golden fluid acrylics, and the full sheet was secured to the cupboard’s back using rare earth magnets painted black/brown. The and secured using rare-earth magnets to existing nails (Conducted by Nick)
In-situ Conservation for the Cassiobury Staircase
Filling the open holes
Plugs were made to fill open holes, either from extant screw holes or extant open plug holes, on hand rails, baluster bases, fasciae, baseboard, and newel post caps. These were all filled using plugs made from hemlock, dry fitted or glued, with the wood’s grain direction matching surrounding grain’s. Unless otherwise specified, the fills were inpainted directly with dilute solutions of Golden Fluid Acrylics (without a sealing layer of shellac).
Filling the cracks and gaps
Filling large cracks and misalignments with hemlock fir shims, shaping and inpainting, for structural purposes.
Paper fill/cover were used to cover the gaps and cracks for aesthetics. The Japanese Kozo paper comes in a variety of thicknesses and translucencies. The pre-toned Kozo paper was “sized up” to the corresponding aesthetic fill, the section either delineated with a watered brush or pulled dry (so that the paper’s fibers are splayed), and its back was brushed with a slightly dilute (in water) solution of wheat starch paste. The paper was then gently applied over the desired fill area on the staircase element with a brush and lightly brushed to spread its splayed fibers and to ensure a close bond with the surface. Mutiple layers may be applied to connect the uneven surfaces and to match the texture. In the event the paper’s artificial coloring was not sufficient to match the surrounding wood’s color, the paper fill was then further inpainted using Golden Fluid Acrylics
Shellacing the floor and steps with Mecka before opening
Opening night with Mecka


